Here's how to use Lightroom presets to transform your photos quickly:
- Import presets into Lightroom
- Find presets in the Presets panel
- Preview presets by hovering over them
- Click a preset to apply it to your photo
- Fine-tune settings after applying if needed
- Use on multiple photos with batch editing
Key benefits:
- Save time on editing
- Create consistent photo styles
- Learn how different adjustments affect images
To make your own presets:
- Edit a photo how you like
- Click "+" next to Presets panel
- Name your preset and choose settings to save
- Click "Create"
Tips:
- Start with unedited photos for best results
- Combine presets to create unique looks
- Use presets as a starting point, then tweak
Remember: Presets work best on well-exposed photos with good white balance. They're not magic - you may still need to adjust settings after applying.
| Preset Use | What It Does |
|---|---|
| Base edit | Quick overall fix |
| Layering | Create unique looks |
| Starting point | Kickstart your editing |
Related video from YouTube
What are Lightroom Presets?
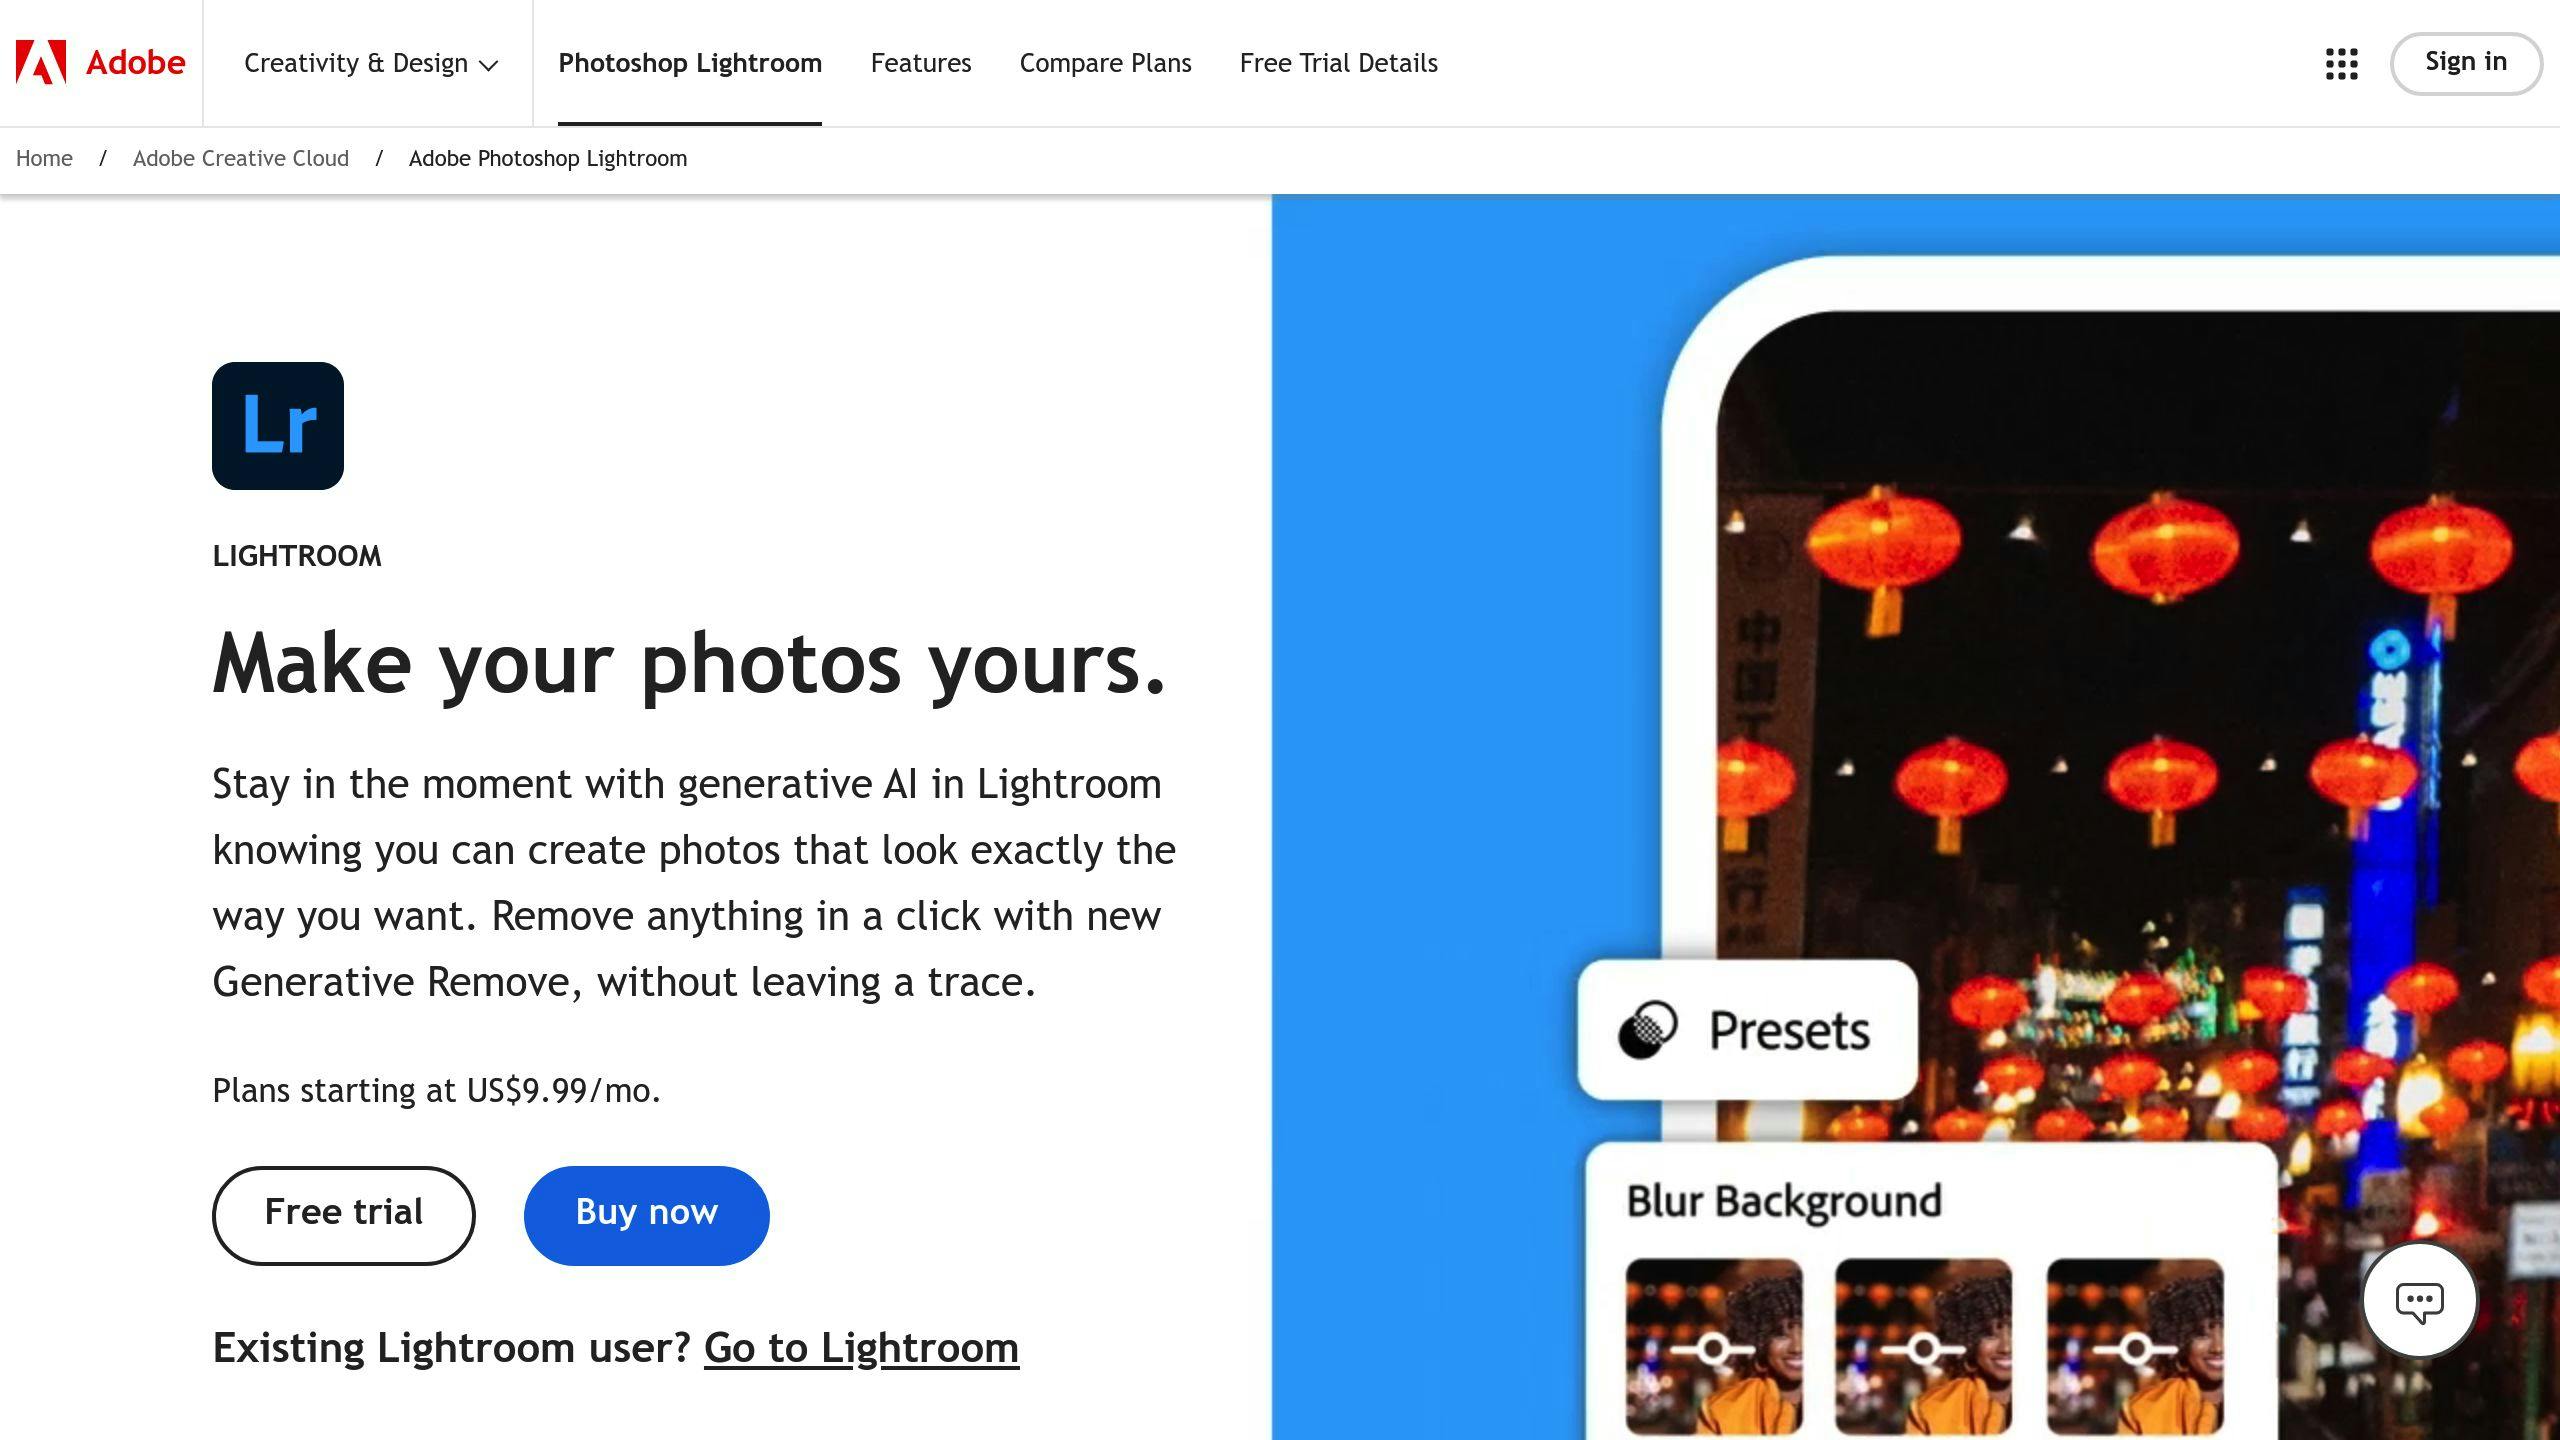
Lightroom presets are pre-saved editing settings that transform photos with one click. Think of them as recipes for your images - each with its own mix of adjustments.
Types of Presets
- Built-in: Come with Lightroom
- Custom: Made by users
- Third-party: Created by pros
These cater to different styles:
- Portraits: Enhance skin tones
- Landscapes: Boost outdoor colors
- Black and white: Classic monochrome
- Vintage: Add nostalgic touch
How Presets Work
Presets apply pre-set adjustments to your photos, including:
- Exposure
- Contrast
- Color balance
- Saturation
- Sharpness
One click applies all settings at once. This saves time and keeps your photos consistent.
"Lightroom presets speed up editing and ensure a consistent visual theme across images." - Refined Co
Remember: Presets aren't magic. They work best on well-exposed photos with good white balance. You can still tweak settings after applying a preset.
Setting Up Lightroom for Presets
Let's get Lightroom ready for presets. It's quick and will save you time.
Update Lightroom
First, update Lightroom:
- Open Creative Cloud desktop app
- Click "Updates"
- If available, click "Update" for Lightroom
"Install the update if you bought before August 6th, 2024." - Mastin Labs
Organize Your Presets
Now, let's tidy up your presets:
- Open Presets panel in Lightroom
- Click "+"
- Select "Manage Presets"
Here's what you can do:
- Hide unused preset folders
- Make new folders
- Mark favorites
| Want to... | Do this |
|---|---|
| Hide folders | Uncheck folder names |
| New folder | Click "+" > "New Preset Folder" |
| Favorite a preset | Right-click > "Add to Favorites" |
Pro tip: Before updating, delete old preset versions. Right-click the pack name, choose 'Delete Group'.
This setup will streamline your editing. Ready to create some stunning images?
How to Apply Presets: Step-by-Step
Let's walk through applying presets in Lightroom. We'll cover different versions so you can follow along no matter which one you're using.
Adding Presets to Lightroom
First, import your presets:
- Lightroom Classic (7.3+): Develop Module > File > Import and Develop Profiles and Presets
- Lightroom CC: Select image > File > Import Profiles and Presets
- Older Lightroom (4, 5, 6): Copy .lrtemplate files to Develop Presets folder, restart Lightroom
Finding Presets in Lightroom
Once imported, here's where to look:
| Version | Location |
|---|---|
| Classic | Develop Module > Presets tab |
| CC | Edit icon > Presets option |
| Mobile | Presets panel (after syncing from desktop) |
Previewing Presets
Want to see how a preset looks?
- Select a photo
- Hover over a preset name in the Presets tab
- Watch the effect temporarily apply to your image
This quick peek helps you choose the best fit without committing.
Applying to One Photo
It's easy:
- Select your photo
- Go to the Presets tab
- Click your chosen preset
Boom! It's applied. Fine-tune if needed.
Batch Editing with Presets
For multiple photos:
Lightroom Classic:
- Select multiple images
- Apply preset to current photo
- Click "Sync..." to apply to all selected images
Lightroom CC:
- Edit one image with preset
- Copy settings (Command-Shift-C on Mac, Control-Shift-C on PC)
- Select other images
- Paste settings (Command-Shift-V on Mac, Control-Shift-V on PC)
Pro tip: Start with unedited images for the full preset effect.
"Install the update if you bought before August 6th, 2024." - Mastin Labs
Keep your Lightroom up-to-date for the best preset experience.
Making Your Own Presets
Want to create a unique editing style and save time? Let's dive into making custom presets in Lightroom.
Tweaking Presets
Here's how to modify an existing preset:
- Apply it to an image in Develop
- Adjust Basic panel sliders
- Fine-tune other settings as needed
"Start with a neutral image to see the full effect of your adjustments."
Saving Custom Presets
Happy with your edits? Here's how to save them:
- Click '+' next to Presets panel
- Hit 'Create Preset'
- Name it (e.g., "Warm Vintage Look")
- Pick a folder
- Choose settings to include
- Click 'Create'
| Setting Type | Include? | Why? |
|---|---|---|
| Basic Adjustments | Yes | Core edits |
| Color | Yes | Consistent grading |
| Effects | Maybe | Style-dependent |
| Lens Corrections | No | Image-specific |
You can always update your preset later. Just right-click and select 'Update with Current Settings'.
Adobe's Sharad Mangalick says, "Custom presets are like your signature editing style. They help maintain consistency across your portfolio."
sbb-itb-b27063b
Fixing Common Preset Problems
Let's tackle two frequent issues with Lightroom presets and how to solve them.
Preset Not Appearing
Can't see your presets? Try these:
1. Check permissions and folders
- Ensure user account permissions are correct
- Give preset folders Read & Write access
- Confirm presets are in the right folder and .xmp format
2. Reset Lightroom preferences
- Open Lightroom holding Shift + Option (Mac) or Shift + Alt (Windows)
- Click "Yes" to reset preferences
3. Adjust preset storage
- Uncheck "Store presets with this catalog" in Preferences
- Restart Lightroom
- Look for presets in the global presets folder
Preset Looks Wrong
When a preset doesn't work on your photo, consider:
| Factor | Impact | Fix |
|---|---|---|
| Lighting | Changes preset look | Tweak exposure, curves, lighting |
| Image type | Not all presets fit every photo | Pick presets that suit your image |
| Photo quality | Affects preset results | Improve your skills and gear |
To fix an off-looking preset:
- Use the amount slider to adjust intensity
- Fine-tune individual settings
- Calibrate your monitor for accurate colors
Remember, presets are starting points. As Ryan from Signature Edits says:
"If your presets look like crap, first look at what photo you're working with."
Presets aren't one-size-fits-all. They're just the beginning of your editing journey.
Advanced Ways to Use Presets
Let's dive into some pro-level preset techniques. These will help you create unique edits and speed up your workflow.
Combining Presets
Want to create complex edits? Stack your presets. Here's how:
1. Start with a base: Apply a preset for overall tone and color.
2. Layer on specifics: Add presets for things like exposure, white balance, vignette, and noise reduction.
3. Tweak it: Make manual adjustments to nail the look.
For example, using Pretty Presets for Lightroom's Clean Edit Portrait Workflow, you might stack:
- White balance adjustment
- Exposure boost
- Base color preset
- Soft matte effect
- Split tone for color grading
- Center light enhancement
- Noise reduction
This layering gives you detailed control while keeping things flexible.
Presets as a Starting Point
Kick off your edits with presets to save time:
- Apply a preset that's close to what you want
- See what works and what doesn't
- Manually adjust to perfect the image
| Preset Does | You Do |
|---|---|
| Overall tone and color | Fine-tune exposure |
| Basic contrast | Recover highlights and shadows |
| General white balance | Refine color temperature |
Wrap-Up
Lightroom presets can supercharge your photo editing. Here's the lowdown:
They're time-savers. One click, and bam! Complex edits done.
They keep your style consistent. Great for building a strong visual brand.
But don't just set it and forget it. Tweak each photo for the best results.
Quick tips:
1. Start with unedited images
Apply presets to raw photos. It's like giving your preset a blank canvas.
2. Fine-tune after applying
Adjust white balance and exposure. It's like putting the finishing touches on a painting.
3. Use HSL for skin tones
The HSL panel is your friend for perfecting colors, especially skin tones.
| Preset Use | What It Does |
|---|---|
| Base edit | Quick overall fix |
| Layering | Create unique looks |
| Starting point | Kickstart your editing |
Nicole Morley, a pro photographer and editor, says:
"Use these tips with your Lightroom Presets, and your photos will pop!"
And hey, why not make your own presets? Save your favorite edits and use them again and again.
Remember: Presets are tools, not magic wands. Use them wisely, and your photos will thank you.
More Help and Resources
Want to level up your Lightroom preset game? Here's where to look:
Preset Collections to Try
Check out these preset collections to jumpstart your editing:
| Collection | Style | Best For |
|---|---|---|
| Creamy Moody | Warm colors, creamy skin | Weddings, portraits |
| Natural | Dreamy skin, subtle warmth | Portraits |
| Honey | Golden tones, true skin | Weddings, portraits |
Find these and more on Presets.io.
Make Your Own Presets
Boost your editing speed with custom presets:
1. Use Lightroom's Develop Module
Tweak sliders to your liking, then save as a new preset.
2. Create for Specific Conditions
Anita Sadowska, video tutorial creator, says:
"I have a preset for my regular concert hall shoots. It saves me tons of time when importing photos to Lightroom."
3. Grab Free Resources
Many sites offer free Lightroom presets. They often work with Lightroom 4-6, Classic, and CC.
4. Practice Makes Perfect
Presets aren't magic. Understanding Lightroom is key to making the most of them.
FAQs
How do you use a preset in Lightroom?
Using a preset in Lightroom is simple:
- Open the Presets panel
- Click on a preset to apply it
- Tweak the settings if needed
To update a preset, right-click and select "Update With Current Settings".
How do you apply presets in Lightroom?
Here's how to apply presets:
- Select your photo(s) in the Library module
- Switch to the Develop module
- Find the Presets panel on the left
- Click a preset to apply it
- Fine-tune with editing tools if necessary
How do I apply the same preset in Lightroom?
To use one preset on multiple photos:
- Select all target images in the Library module
- Right-click and choose "Sync Settings"
- Check the settings you want to sync
- Click "Synchronize"
Pro tip: Hover over a preset in the Presets tab for a quick preview on your image.


