Here's a quick rundown on installing Lightroom presets:
- Check your Lightroom version
- Download presets (.xmp or .lrtemplate files)
- Install via Import feature or manually add to preset folder
- Restart Lightroom
- Find presets in Develop module
For mobile:
- Sync from desktop
- Use DNG files
- Android: direct import
Key tips:
- Organize presets into folders
- Adjust exposure and white balance after applying
- Use local adjustments for fine-tuning
| Installation Method | Pros | Cons |
|---|---|---|
| Import Feature | Quick, built-in | May miss some presets |
| Manual Addition | Full control | Time-consuming, potential errors |
| Mobile Sync | Automatic | Requires desktop app |
| DNG Files | Works on all devices | More steps |
Remember: Presets are starting points. Always tweak for each photo.
Related video from YouTube
Types of Lightroom Presets
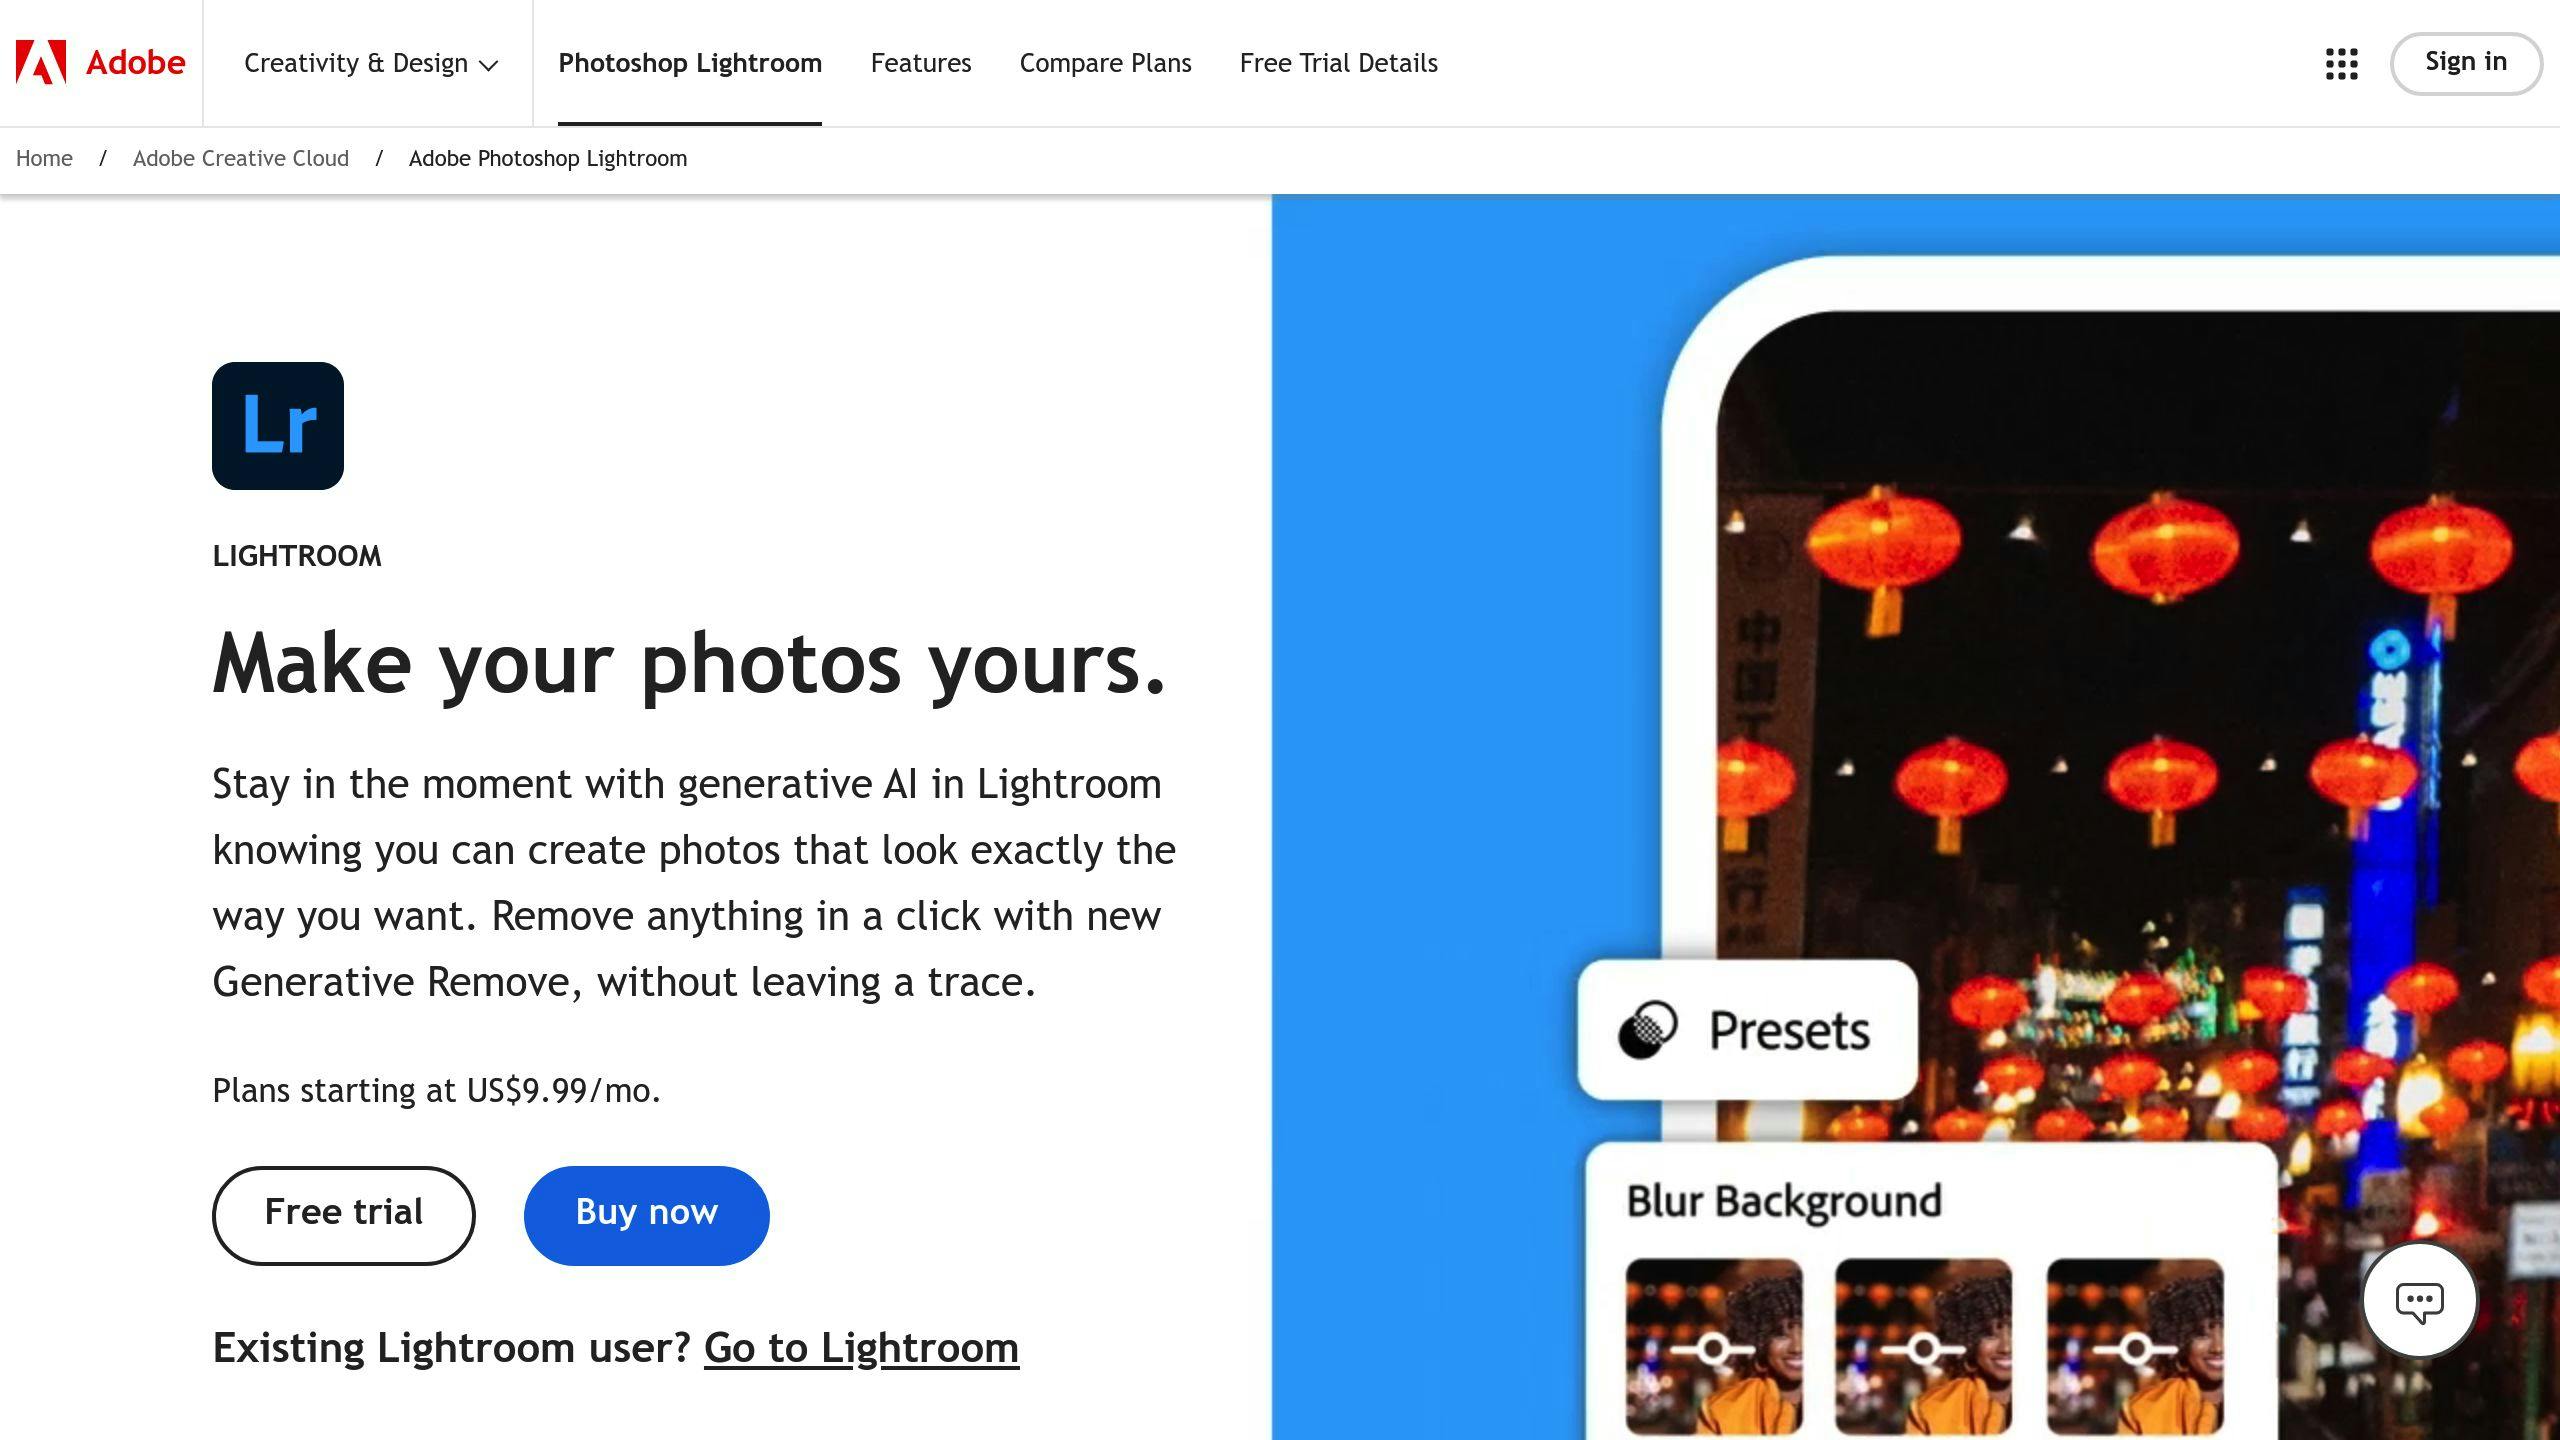
Let's look at the main Lightroom preset types. Each one helps your editing in a different way.
Develop Presets
These are your go-to presets. They change your whole image with one click.
Develop presets come in three types:
- Single-click: Apply a look fast. Tweak if needed.
- Modular: Built for speed. Great for quick edits.
- Advanced: Mimic film looks. For experienced photographers.
Local Adjustment Presets
Need to edit just part of your photo? Use these. They target specific areas without changing the whole image.
| Tool | What It Does |
|---|---|
| Adjustment Brush | Edits small areas |
| Graduated Filter | Makes gradual changes |
| Radial Filter | Circular or oval edits |
Want to make your own? Set up your edits, click the Effect drop-down menu, and pick "Save Current Settings as a New Preset".
Import and Export Presets
These presets aren't for editing. They're for getting photos in and out of Lightroom fast.
Import presets can add metadata, apply develop settings, and rename files.
Export presets handle file format, image size, and watermarking.
Use these to save time and keep your work consistent.
Before You Install
Before you jump into Lightroom presets, take these two steps:
Check Your Lightroom Version
Your Lightroom version is crucial. Here's why:
- Lightroom Classic v7.3 and later: Uses XMP format. You're set for most modern presets.
- Older versions (pre-v7.3): Uses .lrtemplate format. You might hit snags with newer presets.
"Lightroom Classic CC v.7.3 or later can install LRTEMPLATE files and auto-convert them to XMP", says Adobe's support docs.
To check your version:
- Open Lightroom
- Go to Help > About Adobe Lightroom Classic (Windows) or Lightroom Classic > About Lightroom Classic (Mac)
Running an older version? Think about updating to dodge future headaches.
Where to Get Presets
Not all presets are equal. Here's a quick rundown:
| Source | Pros | Cons |
|---|---|---|
| Adobe site | Works for sure | Few choices |
| Presets.io | Lots of options, user reviews | Some cost money |
| Photo blogs | Often free, unique looks | Might lack help |
When downloading:
- Check the format (.xmp or .lrtemplate)
- Look for what versions it works with
- Skip shady sites or torrents
"Got AI presets but can't update? Hit up support before downloading", says a Presets.io dev.
Installing on Lightroom Classic (Desktop)
Here's how to add presets to Lightroom Classic on your computer:
Using the Import Feature
- Open Lightroom Classic and go to the Develop Module (hit "D").
- Find the Presets Panel on the left.
- Click the "+" icon at the top of the Presets Panel.
- Choose "Import Presets".
- Find your preset files (.xmp or .lrtemplate) and click "Import".
Your new presets will appear under "User Presets" or in your chosen folder.
Adobe's support team says: "If you can't see your presets after importing, just close and restart Lightroom."
Adding Presets Manually
For the DIY crowd:
- Unzip your preset files if they're in a .zip folder.
- Mac: Users > [Your Username] > Library > Application Support > Adobe > CameraRaw > Settings
- Windows: C:\Users[Your Username]\AppData\Roaming\Adobe\CameraRaw\Settings
- Copy and paste your preset files into this folder.
- Restart Lightroom Classic.
| Method | Pros | Cons |
|---|---|---|
| Import Feature | Quick, built-in tool | Might miss some presets |
| Manual Addition | Full control | More time-consuming, potential file location errors |
Extra tips:
- For older Lightroom versions, uncheck "Store presets with this catalog" in Preferences.
- PC users: Try WinRar (it's free) if you can't unzip files.
- Always restart Lightroom after adding new presets.
Installing on Lightroom CC (Desktop)
Adding presets to Lightroom CC is simple. Here's how:
- Open Lightroom CC
- Go to File > Import Profiles & Presets
- Find and select your preset ZIP file
- Click Import
Your presets should now appear in the Presets panel.
"If presets don't show up, restart Lightroom CC", - Adobe support
Can't see them? Try this:
- Unzip preset files
- Mac: Go to ~/Library/Application Support/Adobe/CameraRaw/Settings PC: Go to C:\Users[Username]\AppData\Roaming\Adobe\CameraRaw\Settings
- Copy presets into this folder
- Restart Lightroom CC
| Method | Pros | Cons |
|---|---|---|
| Import Feature | Fast, easy | Might miss some |
| Manual | Full control | Takes longer |
Lightroom CC uses .xmp or .lrtemplate files. Older presets might not work.
Tip: Keep presets organized. Right-click in the Presets panel to create groups for easy access.
sbb-itb-b27063b
Installing on Lightroom Mobile
Getting presets on your phone or tablet is different from desktop. Here's how:
Syncing from Desktop
Got Lightroom CC on your computer? This is your easiest option:
- Open Lightroom CC on desktop
- Import presets (File > Import Profiles & Presets)
- Turn on syncing (cloud icon, top right)
- Open Lightroom Mobile, sign in with same account
Your presets should pop up in the mobile app. No luck? Close and reopen.
Using DNG Files
Mobile-only? You'll need DNG files:
- Download preset DNG files
- Move them to your phone
- Open Lightroom Mobile, create new album
- Import DNG files
- For each file:
- Open it
- Tap three dots (top right)
- Hit "Create Preset"
- Name it, choose a group
Takes longer, but works without desktop.
Android Direct Import
Android users get a bonus method:
- Download preset files to phone
- Open Lightroom Mobile
- Tap add, choose "Add Photos"
- Find and select presets
- Follow steps 5-6 from DNG method
Android only, sorry iOS users.
| Method | Good | Bad |
|---|---|---|
| Desktop Sync | Quick, automatic | Needs desktop app |
| DNG Files | Works everywhere | More steps |
| Android Direct | No computer | Android only |
"The mobile app allows users to enhance photos without complex editing", says Adobe's docs.
Pro tip: Group your presets. Keeps things neat as you collect more.
Fixing Common Problems
Can't find your new Lightroom presets? Let's troubleshoot.
Presets Not Showing Up
First, check your Lightroom version (Help > System Info). Here's a quick guide:
| Lightroom Version | File Type | Installation Folder |
|---|---|---|
| Classic CC 7.0+ | .xmp | Camera Raw > Settings |
| CC 1.0+ | .xmp | Camera Raw > Settings |
| Classic 5/6 or CC 2015 | .lrt | Lightroom > Develop Presets |
If your files are in the right place but still MIA:
- Open Lightroom
- Edit > Preferences (Windows) or Lightroom Classic > Preferences (macOS)
- Click Presets tab
- Check "Show Partially Compatible Develop Presets"
No luck? Make sure you've got an image loaded. Presets need an active photo to show up.
Older Version Issues
Using an older Lightroom? You might hit some snags.
For JPEGs:
- Presets might look grayed out or italicized
- This happens due to built-in camera profiles
Working with JPEGs? Check if your preset has a JPEG profile. Without it, it's like trying to fit a square peg in a round hole.
Last resort:
- Uninstall Lightroom
- Delete all related files
- Reinstall from scratch
- Import presets again
It's a hassle, but sometimes you need a clean slate.
"If you are wondering why your presets suck take a look at the photos themselves work on mastering the basics of your photography your color your lighting your composition." - Ryan, Signature Edits
Sometimes, it's not a tech issue. It's about nailing the shot first.
Keeping Presets Organized
A messy preset collection can slow you down. Here's how to keep your Lightroom presets tidy:
Making Preset Folders
Create folders to organize your presets:
- Right-click any user preset in the Presets Panel
- Select 'Move'
- In the 'Move Preset' dialog box, choose 'New group…'
Name folders based on creators, seasons, themes, or favorites.
Pro tip: When creating custom presets, make a new folder by clicking 'Create Preset...' and selecting 'New Group..' from the Groups drop-down.
Naming and Sorting Presets
Smart naming keeps your presets in order:
- Use numbers or letters at the start of preset names to control their order
- Add descriptive terms for similar presets
| Naming Strategy | Example | Benefit |
|---|---|---|
| Numbers first | "01 - Sunset Glow" | Appears at the top |
| Descriptive prefixes | "Portrait - Soft Skin" | Groups similar presets |
| Alphabetical order | "A - Classic B&W" | Easy to find |
Quick tip: Mark top presets as favorites. Right-click, select "Add to Favorites", and they'll appear in a "Favorites" folder at the top of your list.
"If you put numbers in front of your presets then they'll appear first (at the top) in the list." - Lightroom Expert
Keep it lean. Regularly delete outdated or unused presets.
Tips for Using Presets
Presets can supercharge your photo editing, but you need to know how to use them right. Here's how to make the most of Lightroom presets:
Tweaking Presets for Each Photo
Presets aren't perfect out of the box. Here's how to fine-tune them:
- Adjust exposure: After applying a preset, use the Basic Panel to brighten or darken your image.
- Fix white balance: Use the Temp slider to correct any color temperature issues.
- Check the tone curve: Don't like the matte effect? Pull down the circles on the left side of the Tone Curve panel.
- Use local adjustments: Brighten specific areas with the Brush Masking Tool without changing overall exposure.
"I have a dedicated preset I apply to all photos upon importing them to Lightroom that saves me a fair amount of time and work." - Anita Sadowska, Photographer
Making Your Own Presets
Custom presets can speed up your editing:
- Import a photo and adjust settings in the Develop module.
- Click the '+' icon next to the Presets panel.
- Name your preset and choose which settings to include.
Pro tip: Only save the edits you've actually made.
| Preset Type | Use Case | Benefit |
|---|---|---|
| Import Preset | Apply settings during import | Speeds up initial edits |
| Develop Preset | Adjust photo appearance | Creates consistent style |
| Metadata Preset | Add copyright info | Protects your work |
Great presets start with great photos. Shoot in early morning or late evening for the best light. If you're stuck shooting midday, put subjects in the shade.
"Great lighting is your best friend especially when it comes to presets." - Nicole Morley, Photographer and Photo Editor
Wrap-Up
Lightroom presets can speed up your photo editing. Here's what you need to know:
Installation:
- Check your Lightroom version
- Use Import for newer versions
- Manually add to Develop Presets folder for older versions
Mobile:
- Sync from desktop or use DNG files
- Android: import XMP presets directly
Using presets effectively:
- Start with a well-lit photo
- Adjust exposure and white balance after applying
- Use local adjustments for fine-tuning
Tom Jurjaks, video tutorial creator, says:
"Presets often get a bad rap, but that is because they are frequently misused."
To avoid this, always tweak presets for each image:
1. Apply preset
2. Adjust exposure
3. Fine-tune white balance
4. Use local adjustments
This helps create a consistent style while keeping each photo unique.
Organize your presets:
| Tip | Benefit |
|---|---|
| Create folders | Find presets easily |
| Use clear names | Identify effects quickly |
| Make your own | Streamline editing |
Now you're ready to use Lightroom presets to boost your photo editing.
FAQs
How do I import develop presets into Adobe Lightroom?

Here's how to do it:
- Open Lightroom and go to the Develop Module
- Click File -> Import and Develop Profiles and Presets
- Find your Presets folder
- Pick the .zip file with your presets (or individual files if unzipped)
Heads up: This method won't work for old .lrtemplate presets. You'll need a different approach for those.
How do I install Lightroom presets on my Android app?
It's pretty simple:
- Open Lightroom and pick an image
- Scroll to the bottom toolbar
- Tap the Presets tab (right side)
- Hit the three dots icon
- Choose Import Presets
What about installing XMP Lightroom presets on my Android phone?
Here's the process:
- In Edit mode, tap the Presets icon (bottom panel)
- Tap the three-dots icon (top-right corner)
- Pick Import Presets
- Choose your presets from Google Drive or your phone storage
Can I get free presets in Lightroom mobile?
Sure! Here's how to install them:
- Unzip the preset files
- Save them to your device
- Open Lightroom Mobile CC App
- Add the DNG/Preset files to Lightroom Mobile
- Make Lightroom Presets from the DNG files
For DNG files specifically:
- Download DNG files to your phone
- Make a new album in Lightroom Mobile
- Add your DNG files to it
- Open each file, tap the three dots, and hit Create Preset


