

Table of Contents
- Ultimate Guide to Lightroom Batch Processing
- 3 Ways to Batch Edit Your Photos in Lightroom and Lightroom Classic
- How to Set Up a Fast Workflow During Import
- How to Apply Presets and Manual Edits Across Multiple Photos
- How to Organize, Refine, and Export Large Batches
- Conclusion: Build a Repeatable Lightroom Batch Processing System
- FAQs
Ultimate Guide to Lightroom Batch Processing
If you edit lots of photos, batch processing can cut your Lightroom time from 30+ hours to about 4–10 hours on a big shoot. I’d sum it up like this: apply base settings at import, sync global edits across matching images, split mixed scenes into smaller groups, and export with saved presets.
Here’s the short version:
- I use import presets to add metadata, file naming, and base develop settings
- I use one edited anchor photo to sync white balance, tone, color, sharpening, and lens corrections
- I avoid syncing crops, local masks, and spot removal across a full set
- I group photos by lighting and scene type with Collections
- I use export presets for social, proofing, and print delivery
- I treat Lightroom edits as non-destructive, so the original files stay untouched until export
This workflow works best when photos have similar light, exposure, and framing. If the set has mixed light or fast exposure shifts, I break it into smaller groups instead of forcing one edit onto everything.
Quick comparison:
| Tool | Best use | What I’d sync or save |
|---|---|---|
| Import Presets | Start of workflow | Metadata, naming, base corrections |
| Quick Develop | Early pass in Library | Small tonal changes |
| Sync | Matching groups of photos | Global edits from one anchor image |
| Auto Sync | Large sets with near-identical frames | Live edits across selected photos |
| Export Presets | Delivery | File type, size, sharpening, folder, naming |
If I want Lightroom batch processing to save time without making a mess, this is the system I’d follow from import to export.
3 Ways to Batch Edit Your Photos in Lightroom and Lightroom Classic
sbb-itb-b27063b
How to Set Up a Fast Workflow During Import
Import is where batch processing pays off the most. Lightroom Classic can sort files, add metadata, and apply base corrections before you start editing.
Apply a develop preset to every photo on import
In Import > Apply During Import, choose a Develop preset to give every image a neutral starting point.
This is a good place for technical fixes that you want on every file, like:
- lens corrections
- profile selection
- baseline white balance
- light noise reduction
The key is to keep these presets neutral. Think of them as a clean starting setup, not a finished look.
You can also use camera-specific Develop presets or Raw Defaults so new RAW files get lens corrections and a base tone on their own. That cuts out a few repetitive clicks right from the start.
Skip stylized color grades, heavy crops, and local masking during import. Those choices usually need a frame-by-frame pass. Once your import baseline is in place, you can batch the look later in Library or Develop.
Use import presets for file handling, metadata, and naming
Import presets do more than affect image appearance. A Develop preset changes how a photo looks. An import preset controls how files enter the catalog, including destination folder rules, renaming, metadata, keywords, and which Develop preset gets applied.
For repeat jobs, it helps to build one preset for each shoot type. That way, folder paths, renaming, metadata, keywords, and base corrections all line up with the job every time.
To make one, set up the Import dialog the way you want it: choose the destination folder, file renaming template, develop settings, metadata preset, and whether Lightroom should make a second copy. Then click Save Current Settings as New Preset at the bottom of the dialog.
Use a clear name, such as Wedding – Canon R5 – Studio Strobe, so you know exactly what it does later.
A job-specific preset usually works better than one catch-all setup because lighting and file handling can change from shoot to shoot. At the bare minimum, your metadata preset should include your copyright notice, creator name, contact details, and any keywords tied to the job or client.
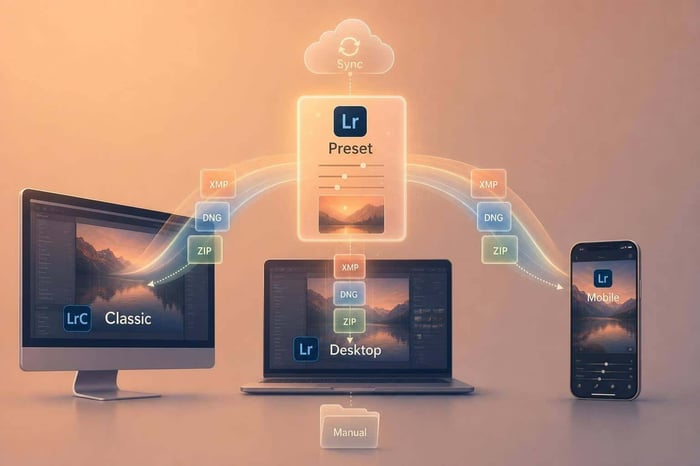
Import sets the starting point. After that, use sync tools in Library or Develop to carry the look across matching frames.
How to Apply Presets and Manual Edits Across Multiple Photos
After import, the next step is to build one consistent look across the batch. There are two main ways to do that: apply a preset first, then tweak each image as needed, or edit one anchor image and sync those settings to similar shots.
If you want speed, go with preset-first. If you want tighter control, use anchor-image sync. In practice, Lightroom editing usually falls into those two lanes: preset-first for speed or anchor-image sync for precision.
Batch Apply Presets in Library and Develop
In Library Grid view, select your photos and apply a saved preset from Quick Develop. In Develop, keep the best frame active, turn on Auto Sync, and apply the preset from the Presets panel.
Once the preset is on, adjust exposure and white balance on each image where needed.
If the whole batch already looks close, a preset may do the job on its own. But when the frames start drifting apart, it’s time to switch to Sync.
Sync Manual Adjustments with Sync, Auto Sync, and Copy/Paste
Use this method when the photos share the same lighting but still need small frame-by-frame fixes. Start by fully editing one anchor image in Develop. Then select the similar photos in the Filmstrip and click Sync.
In the Synchronize Settings dialog, choose only the settings you want to copy. In most cases, it makes sense to copy:
- white balance
- tone curve
- color grading
- sharpening
- noise reduction
- lens corrections
Leave out crop, masks, and spot removal.
For smaller groups, copy and paste can be faster. Press Ctrl+Shift+C on Windows or Command+Shift+C on macOS to copy settings from the anchor image. Then press Ctrl+Shift+V or Command+Shift+V to paste them onto the selected photos.
One warning with Auto Sync: it stays on until you turn it off. That can trip people up. If you forget, every change you make will hit the full selection, which can wipe out careful image-by-image edits. Think of Auto Sync as a temporary switch. Turn it on, make the batch change, then turn it off right away.
Use presets when you want speed and a steady look across the set. Use Sync when the images need more selective matching.
The Ultimate Presets.IO Bundle

$89.00
$1,662.00
The Ultimate Presets.io Bundle combines The Master Preset Bundle Volume I and The Master Preset Bundle Volume II into one complete collection, giving you every editing style you need in a single download. Save $37 vs. Volume I and II… continue reading
How to Organize, Refine, and Export Large Batches
Lightroom Batch Processing Tools: When & How to Use Each
After the edit is synced, split the shoot into groups based on what you actually need to deliver before you export. That step matters more than people think. Once your edits are in place, break the batch out by deliverable so mixed lighting doesn't force one blanket treatment across every frame.
Group Similar Images with Collections and Selective Sync
The cleanest way to do this is with Collections that match your deliverables. Think "Outdoor Portraits", "Indoor Ceremony", "Reception Dance Floor," or "Studio Product – White Background." Each collection works like a small project with its own edit starting point. That way, you don't end up pushing one exposure fix onto images made in totally different light.
Smart Collections go a step further by grouping shots for you. You can build rules around things like ISO above 3,200, Lens = 85 mm, or keywords such as "ceremony" or "branding." As you flag and rate during culling, matching images drop into place on their own. From there, selective sync inside each collection helps you keep edits matched to the light. You might copy white balance or noise reduction across reception shots, then leave those settings off your daylight rooftop portraits.
Create Export Presets for Web, Social, and Print
Once your groups are clean, save your export settings as presets so delivery stays repeatable. Instead of rebuilding export settings for every job, you set them up once and use them again across batch after batch.
A good starting setup covers three output types:
- Instagram and social: JPEG at quality 80–85, sRGB, long edge at 2,000–3,000 pixels, 72 ppi, output sharpening Standard – Screen
- Client proof galleries: JPEG at quality 80–90, sRGB, long edge at 2,400–3,600 pixels for faster loading and usable zoom
- Print-ready files: JPEG at quality 80–100 or TIFF if your lab asks for it, 300 ppi, output sharpening Standard – Glossy or High – Matte
Naming templates help here too. A format like SmithWedding_2026-08-03_####.jpg inside each preset keeps exports easy to track, especially when you're delivering several jobs in the same week. After your presets are saved, select the final delivery collection, open Export, and run separate presets for Social, Client Proofs, and Prints. Each preset can send files to its own folder.
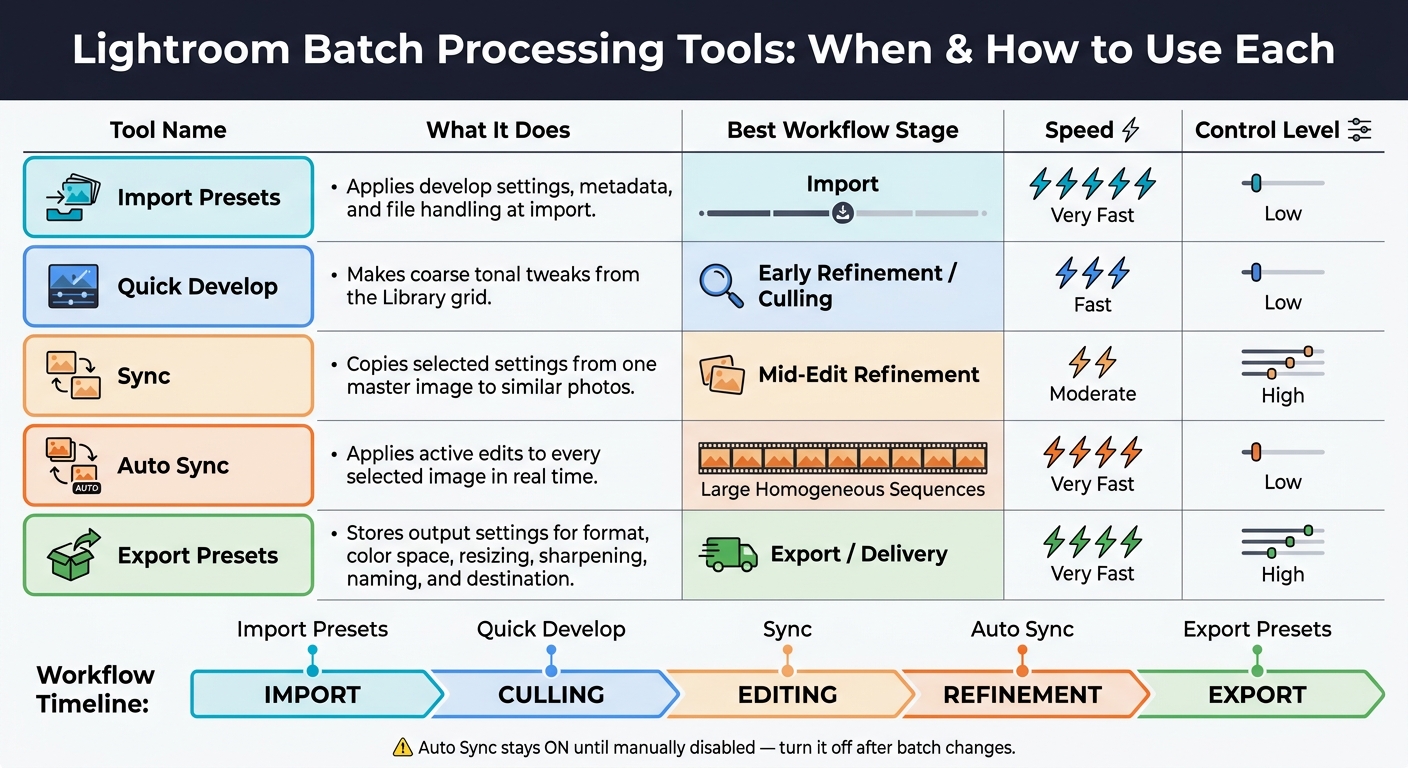
Sync, Auto Sync, Quick Develop, Import Presets, and Export Presets: How They Compare
Each tool fits a different part of the workflow: grouping, refinement, or delivery.
| Tool | What It Does | Best Workflow Stage | Speed | Control Level |
|---|---|---|---|---|
| Import Presets | Applies develop settings, metadata, and file handling at import | Import | Very fast | Low |
| Quick Develop | Makes coarse tonal tweaks from the Library grid | Early refinement / culling | Fast | Low |
| Sync | Copies selected settings from one master image to similar photos | Mid-edit refinement | Moderate | High |
| Auto Sync | Applies active edits to every selected image in real time | Large homogeneous sequences | Very fast | Low |
| Export Presets | Stores output settings for format, color space, resizing, sharpening, naming, and destination | Export / delivery | Very fast | High |
Conclusion: Build a Repeatable Lightroom Batch Processing System
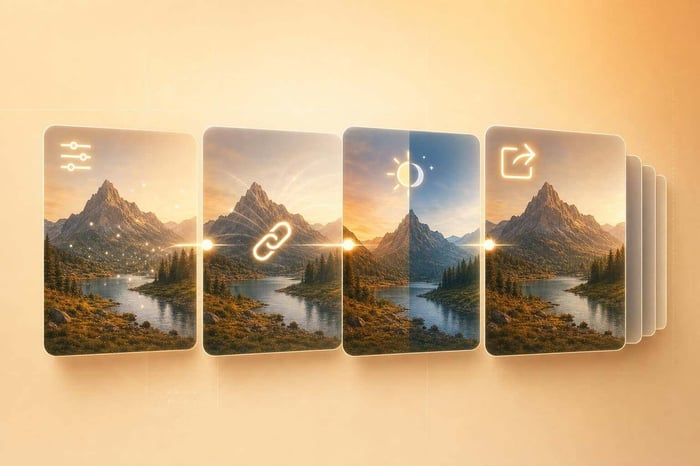
A strong batch workflow sticks to the same order each time: use presets for the repeatable setup, sync edits across similar frames, and step in by hand for the outliers.
The big idea is simple: automate the parts that repeat. Batch the global edits, then handle crops, masks, and spot removal manually. Settings like lens correction, noise reduction, and camera profile are usually safe to apply across a batch, which frees up more time for hero shots and final-delivery files.
If you want a faster starting point, preset packs can help set the look before you fine-tune it. That’s where they save the most time. Presets.io preset packs can give you a fast starting point for recurring looks.
After a few jobs, tighten the process and use it again. Check your import, develop, and export presets every few months, remove anything you no longer use, and keep the names clear. Something like Wedding_Base_Warm or Social_Cinematic_Contrast makes it easy to see what goes where. A repeatable system keeps big batches fast and consistent.
FAQs
When should I use Sync instead of Auto Sync?
Use Sync when you want to copy selected, polished settings from one photo to a group in a single step. It’s a good fit when you’ve fine-tuned a Presets.io look on one reference image and want the rest to match.
Use Auto Sync for live editing across multiple photos. It works best with images from the same shoot that share similar lighting, because every change is applied right away to the full selection.
Which edits should I avoid syncing across a batch?
Be careful when syncing edits that depend on each photo’s composition. In the sync dialog box, it’s usually best to uncheck Crop and Spot Removal. Those edits rarely work well across a full batch.
The same goes for local adjustments, like masks or graduated filters. Their effect can change from one image to the next, especially when the subject sits in a different spot in each frame.
How do I handle mixed lighting in one shoot?
Group images by similar lighting before you edit them. That way, you're not forcing one look onto photos that were shot in very different conditions.
Start with a Presets.io preset to set a consistent base style. Then tweak the white balance so the colors feel more in sync across the set.
If the lighting is still tricky, use masking tools to adjust specific areas instead of changing the whole image. For shoots with more than one lighting setup, it also helps to make separate reference images for each lighting scenario.