
Ultimate Guide to Skin Tone Presets
Want to perfect skin tones in your photos? Skin tone presets in Lightroom can save you time and ensure consistency. This guide covers everything you need to know, from choosing the right presets to fine-tuning them for natural results.
Key Takeaways:
- What Are Skin Tone Presets? Shortcuts in Lightroom that help you edit skin tones quickly and consistently.
- Why They Matter: Proper skin tone editing enhances credibility, satisfies clients, and improves your photography.
- How to Use Them: Combine presets with manual adjustments (HSL Panel, Tone Curves) for polished results.
- Where to Find Them: Look for presets with HSL, white balance, and tone curve compatibility from trusted sources like Presets.io.
Quick Tips:
- Adjust HSL orange/red channels for fine-tuning tones.
- Use the Tone Curve for precise warmth and contrast adjustments.
- Start with correct white balance and exposure for a natural base.
This guide will show you how to achieve professional, natural-looking skin tones step by step.
How to get the Perfect SKIN TONES in Lightroom Classic 2024

How to Choose the Best Skin Tone Presets
Picking the right skin tone presets is all about focusing on key factors that help you achieve polished, consistent results in your photography.
What to Look for in Skin Tone Presets
Great skin tone presets should include tools for adjusting hue, saturation, and luminance. Why? Because no preset will perfectly suit every skin tone straight out of the box, and these features allow you to fine-tune your edits [1].
| Feature | Importance |
|---|---|
| HSL Panel Compatibility | Lets you tweak specific skin tone ranges with precision |
| White Balance Adjustments | Helps correct for different lighting scenarios |
| Tone Curve Controls | Gives you more say over contrast and brightness |
| Version Compatibility | Ensures the presets work seamlessly with your Lightroom version |
Where to Find Reliable Skin Tone Presets
Stick with reputable sources to ensure professional-quality results. For example, Presets.io offers Lightroom presets designed for natural and varied skin tones. They also provide step-by-step installation guides, making setup straightforward.
When evaluating preset providers, keep these points in mind:
- Clear setup instructions to avoid confusion
- Photographer reviews that match your type of work
- Before/after previews showcasing a range of skin tones
Investing in well-crafted presets not only saves time but also gives you a solid base for further edits in Lightroom. Once you've picked your presets, the next step is learning how to fine-tune them for the best results.

How to Adjust Skin Tone Presets in Lightroom

Using the HSL Panel to Fine-Tune Skin Tones
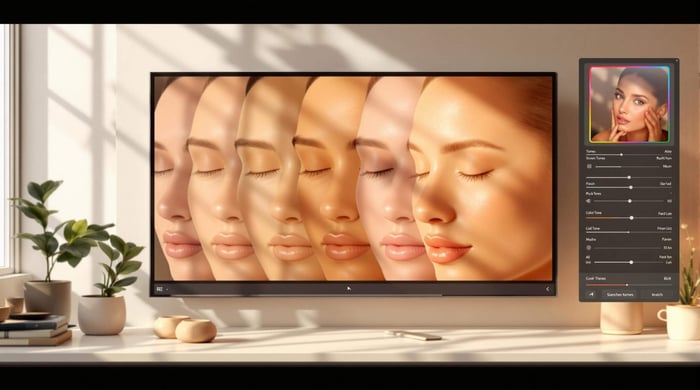
The HSL panel is a powerful tool for refining skin tones. Use the Targeted Adjustment Tool to click directly on skin areas and adjust their color properties by dragging up or down. Pay close attention to the orange and red channels, as these primarily influence skin tones.
| Color Channel | Suggested Adjustment Range | Effect |
|---|---|---|
| Orange Hue | -5 to +5 | Adjusts the warmth of skin tones |
| Orange Saturation | 30-40 | Maintains vibrancy while keeping skin tones natural |
Enhancing Skin Tones with Tone Curves
After working in the HSL panel, the Tone Curve can help you achieve even more precise adjustments. Switch to the point curve mode to access the red, green, and blue channels:
- Red Channel: Adds warmth or reduces excessive redness.
- Green Channel: Helps balance any magenta tint.
- Blue Channel: Modifies the overall temperature of the skin tones.
Stick to subtle S-curve adjustments to keep the skin looking natural and avoid oversaturating the colors.
Correcting White Balance and Exposure First
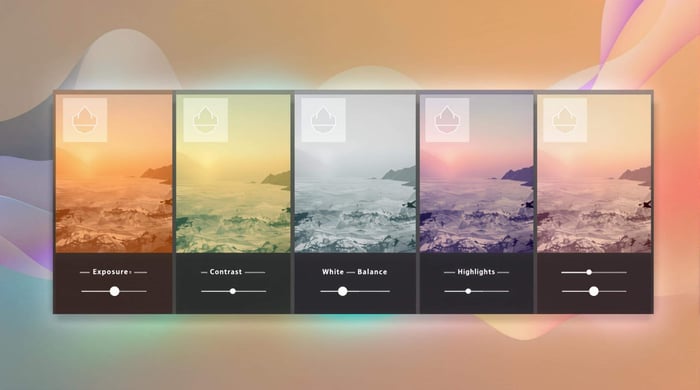
Before diving into skin tone adjustments, start with white balance and exposure. Use the Temperature, Tint, and Exposure sliders to create a balanced, natural look. For accuracy, check the RGB values in the Develop Module to ensure skin tones are even and realistic.
Skin tone editing requires a light touch. Begin with small changes - 5 to 10 points at a time - and gradually work toward your desired result. These steps will help you achieve consistent, polished edits across your entire photo set.
Tips for Editing Skin Tones Effectively
Start with Small Adjustments
When adjusting skin tones, it's best to make small, careful changes to keep the look natural. Focus on tweaks in the HSL Panel and Tone Curve to refine the orange and red channels, which primarily influence skin tones. Here are some key adjustments to consider:
| Adjustment Type | Purpose |
|---|---|
| HSL Orange Hue | Adjust overall skin warmth |
| HSL Saturation | Ensure natural vibrancy |
| Tone Curve | Enhance contrast without overdoing it |
Combine Presets with Manual Edits
Presets, like those from Presets.io, provide a great starting point for skin tone edits. After applying a preset, refine the look by focusing on specific areas:
- Adjust the red channel in the Tone Curve to control warmth.
- Fine-tune the blue channel to balance the overall temperature.
- Use the Targeted Adjustment Tool for precise edits in specific areas.
Keep Edits Consistent Across Photos
Consistency is crucial, especially when editing a series of portraits or event photos. Begin by applying base adjustments like white balance and exposure across similar images using Lightroom's Sync feature. Then, refine individual photos to account for differences in lighting.
For a polished, uniform look, follow these steps:
- Set the same white balance and exposure for related photos.
- Apply the same preset across the series.
- Make specific adjustments to individual shots as needed.
- Use targeted corrections to perfect each photo.
This approach ensures a cohesive and professional result every time.
Conclusion
Key Takeaways
This guide explored how to choose and fine-tune Lightroom skin tone presets effectively. By combining tools like white balance, the HSL panel, and tone curves, you can achieve polished, natural-looking results that are easy to replicate.
| Tool | Purpose | Result |
|---|---|---|
| White Balance | Creates a neutral base | More accurate skin tones |
| HSL Panel | Adjusts specific tones | Adds precision |
| Tone Curves | Boosts contrast | Adds depth and realism |
These tools are your foundation - use them together to refine your workflow and maintain consistency in your edits.
Steps to Improve Your Edits
To get better at editing skin tones, work with a variety of images shot in different lighting scenarios. While presets are a great starting point, learning manual adjustments will take your skills further. Aim for skin tones that look natural while developing your own editing style.
Perfecting skin tone edits takes patience and attention to detail. Combine the speed of presets with the accuracy of manual tweaks to create edits that look professional every time. Practice is key, so keep experimenting and refining your approach.