
Table of Contents
Nested Preset Folders in Lightroom: Setup Guide
Want to organize your Lightroom presets for faster editing? Here's how:
Lightroom presets let you apply photo edits instantly, but a cluttered preset library can slow you down. Organizing presets into folders - especially nested ones - saves time and keeps your workflow smooth. While Lightroom doesn’t directly support nested folders, you can mimic this structure through smart naming or by managing files on your computer. Here's a quick overview:
- Create folders: Right-click in Lightroom’s Presets panel to create a new group.
- Use naming conventions: Add prefixes like “01 Portraits” or “02 Landscapes” to sort folders by priority.
- File system management: Arrange presets into sub-folders outside Lightroom, then restart the app to apply changes.
- Rename or delete folders: Right-click to rename or remove folders, but be cautious when deleting presets.
For extra organization, platforms like Presets.io offer collections that fit neatly into your folders. With these tips, you’ll spend less time scrolling and more time refining your edits.
How to Organize your Presets into Folders
sbb-itb-b27063b
How to Set Up Preset Folders in Lightroom

How to Create and Organize Preset Folders in Lightroom
Lightroom organizes presets using a simple, single-level folder system. These folders, called "Groups", are listed alphabetically within the Presets panel. This setup ensures that your library remains tidy and easy to navigate.
Creating Custom Preset Folders
You can create a custom preset folder in two ways. The quickest method is by right-clicking anywhere in the Presets panel or on an existing folder, then selecting "New Group" from the menu. This instantly creates a new folder for your presets.
The second method involves saving a new preset. Start by clicking the "+" icon at the top of the Presets panel and selecting "Create Preset." In the dialog box that appears, use the "Group" dropdown menu to choose "New Group." This not only creates a new folder but also saves your preset in it. Photographer and educator Rob Sylvan advises:
"By default, they will be placed in the User Presets folder, and that's ok, but just dumping all new presets in that folder is not a good practice over time. Instead, while you are in the New Develop Preset dialog take the opportunity to create a custom preset folder".
Once you've set up folders, you can drag and drop presets between them. To keep your most-used folders at the top, try adding a number prefix, like "01 Portraits" or "02 Landscapes," to their names.
Renaming and Deleting Preset Folders
Adjusting folder names or removing folders is simple. To rename a folder, right-click it, select "Rename," type the new name, and click "OK." This is especially helpful if you want to refine your numbering system or reorganize categories as your workflow changes.
Deleting folders requires extra care. Right-click the folder, select "Delete," and remember that this action removes all presets inside the folder. To avoid losing important presets, move them to another folder first. If you just want to hide a folder without deleting it, click the "+" icon, choose "Manage Presets," and uncheck the folders you wish to hide.

The Master Preset Bundle: Volume II

$69.00
$990.00
The Master Preset Bundle Volume II New Looks. More Styles. Even More Creative Control. Get 66 brand-new Presets.io collections in one powerful Volume 2 bundle — crafted to expand your editing range, refresh your workflow, and deliver polished, professional results in… continue reading
Alternative Methods for Nested Folder Organization
Lightroom doesn't support nested folders directly, but you can mimic this structure through smart naming and file management. These approaches help create the illusion of nested folders while working within Lightroom's existing framework for organizing presets.
Using Naming Conventions for Better Organization
One of the easiest ways to simulate nested folders is by using strategic naming conventions. Since Lightroom organizes folders alphabetically, you can manipulate the order by adding prefixes. Artur Berlin, Founder of BeArt-Presets, shares a useful tip:
"You might want to think about naming the most frequently used folders so that they will appear at the top. You can do that by either adding a number in front of the name or the letter 'A' followed by the name".
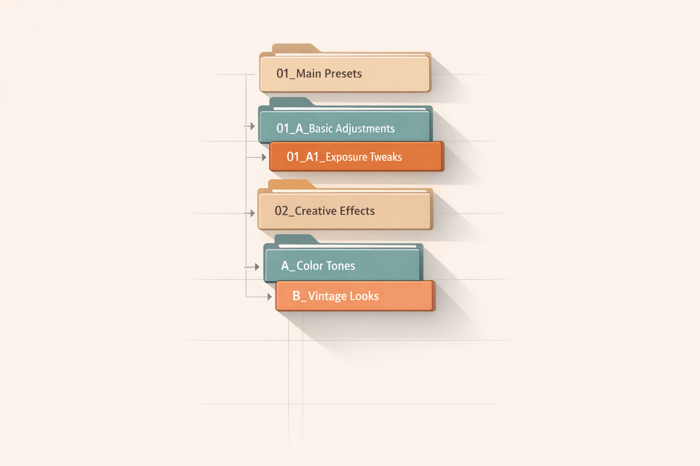
For example, you can use numeric prefixes like "01 Portraits", "02 Landscapes", and "03 Events" to arrange your folders based on workflow priorities. Alternatively, for category-specific organization, try names such as "WEDDING - Color" and "WEDDING - B&W" to group related presets logically.
If you need to make large-scale changes, such as reordering or renaming multiple presets, consider managing them directly through your file system or importing presets to LR on Android for mobile organization.
Managing Presets Through File Explorer
Another method involves organizing your presets outside LR, directly in your file system. To locate your preset files, navigate to Preferences > Presets and click on "Show Lightroom Develop Presets." This opens the folder containing all your .xmp preset files.
From there, you can create sub-folders, rename files, or move presets in batches to achieve your desired structure. Mike Hoffman from Mike Hoffman Art Design explains:
"If you use the preferences link to 'Go to Presets Folder,' you can manually organize them in Mac Finder or Windows Explorer. Restart Lightroom, and voila!"
It's important to note that any changes made in the file system won't take effect in LR until you restart the application. This approach also makes it easy to back up your presets to an external drive or cloud storage, ensuring your library is safe before making significant adjustments.
Improve Your Workflow with Presets.io
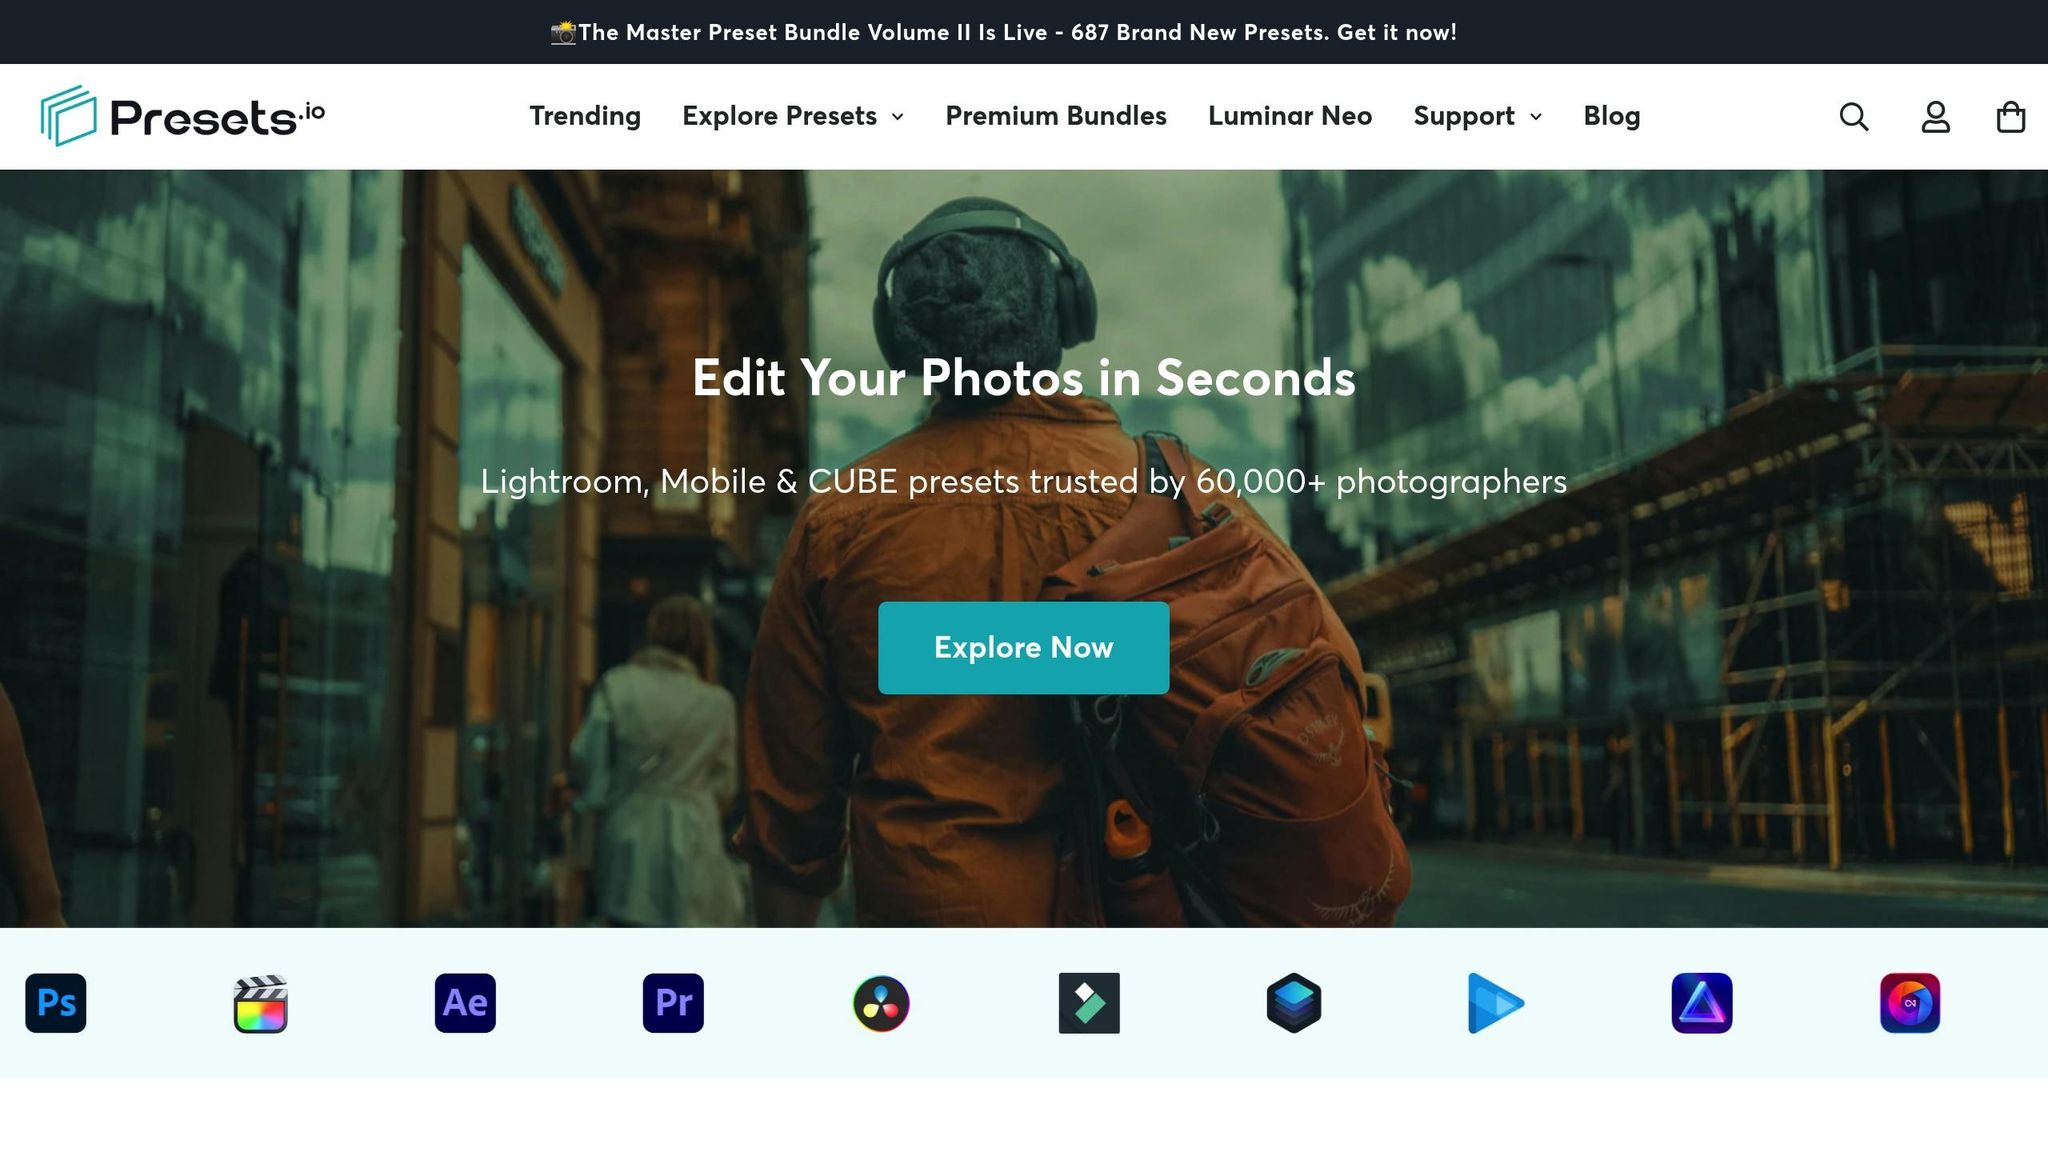
Once you've set up your organized preset folders, the next step is filling them with high-quality presets that can streamline your editing process. That’s where Presets.io comes in. This platform offers carefully curated collections designed to fit seamlessly into your folder structure, helping you quickly find the perfect preset for any project.
Browse Presets.io Collections
Presets.io features a variety of specialized collections tailored for different styles and needs. For example:
- Aesthetic presets are ideal for lifestyle and portrait photography.
- Cinematic collections provide film-inspired color grading.
- Vintage and film looks replicate the charm of classic analog styles.
Photographers working across platforms will also find options like Capture One styles and Luminar NEO presets. Organizing these collections into dedicated folders - such as "01 Presets.io - Cinematic" or "A Film Looks" - can make them easier to locate, especially when they appear at the top of an alphabetical list. For even quicker access, consider using the Favorites folder to pin your go-to looks from various collections.
Use Presets.io Installation Guides
To make setup effortless, Presets.io provides detailed installation guides. These step-by-step instructions cover everything from importing XMP files into LR to organizing them within your existing folder system. Whether you prefer working directly in LR or managing files through your computer’s explorer, the guides have you covered.
New presets are added to the site weekly, giving you a constant stream of fresh options to enhance your library. After installation, restart LR to ensure any folder changes take effect. You can also streamline your workspace by hiding default collections you no longer use through the "Manage Presets" dialog. Combining these curated presets with an organized system can save you time and make your editing workflow smoother and more efficient.
Conclusion
Organizing your presets into nested folders can transform LR into a more streamlined and efficient workspace. By setting up custom groups, using clear naming conventions like "01" or "A" prefixes, and making good use of the Favorites folder, you can quickly access your go-to tools without wading through endless collections. As Artur Berlin, Founder of BeArt-Presets, puts it: "It simplifies and speeds up a photographer's workflow to where he/she can spend less time editing and more time shooting".
To further refine your workflow, disable unused collections and prioritize your favorites. For those managing large libraries, organizing directly through File Explorer or Finder provides a way to handle bulk changes. Just remember, LR will need a restart to reflect these updates.
A well-organized preset library does more than save time - it cuts down on visual clutter and helps maintain a consistent editing style. While manual editing might take 5–10 minutes per photo, presets can reduce that to just 1–2 minutes. For a batch of 100 images, this means cutting an 8–16 hour task down to around 1.5–3 hours.
Once your folders are neatly arranged, take things a step further by filling them with high-quality presets from Presets.io. With collections ranging from aesthetic to cinematic and vintage styles - and new options added weekly - you’ll always have fresh tools to integrate into your workflow. Plus, their easy-to-follow installation guides ensure compatibility with Lightroom Classic, CC, or mobile versions. An organized preset library doesn’t just make editing faster - it also helps you stay consistent and creative.
FAQs
Will reorganizing preset files on my computer break them in Lightroom?
Reorganizing preset files on your computer won’t cause problems in Lightroom - as long as you handle them properly. Make sure the files remain in the correct preset folder, or if you move or rename them, re-import them into Lightroom. This careful approach ensures your presets stay accessible without any hiccups.
How do I back up my presets before renaming or deleting folders?
To ensure your Lightroom presets are safe, you can manually export and back them up outside the app. Here's how:
- Open the Develop module in Lightroom and find your preset folder.
- Right-click on the folder and choose either "Export" or "Export Folder" from the menu.
- Save the exported preset files to a secure spot, like your computer, an external hard drive, or a cloud storage service.
This way, you'll always have a backup ready if needed!
What’s the fastest way to search and pick presets during a busy edit?
The fastest way to locate and use presets in Lightroom is to organize them into nested folders. To do this, right-click on an existing folder in the Develop module, choose "Create New Folder," and arrange your presets into logical groups. This method makes it easier to browse through categories and apply presets quickly, helping you work more efficiently during editing sessions.