
Table of Contents
How Relight AI Adjusts Light in Photos
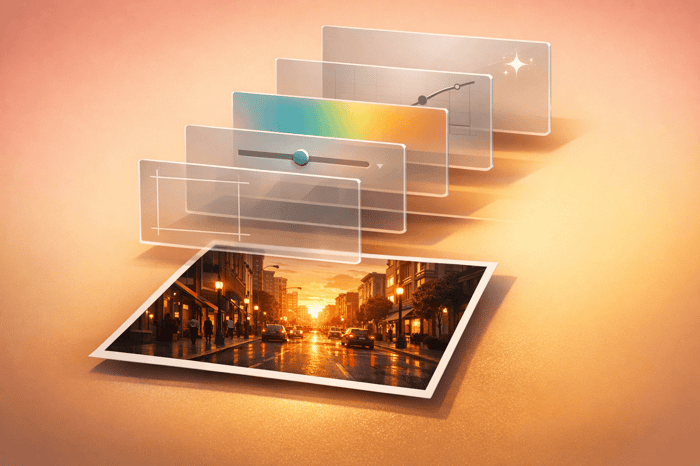
Relight AI(RLAI), a feature in Luminar NEO, uses a 3D depth map to adjust lighting in photos. It separates the foreground and background, allowing you to brighten or darken specific areas without masks or layers. This tool is ideal for fixing backlit portraits, overexposed skies, and uneven lighting. Key controls include:
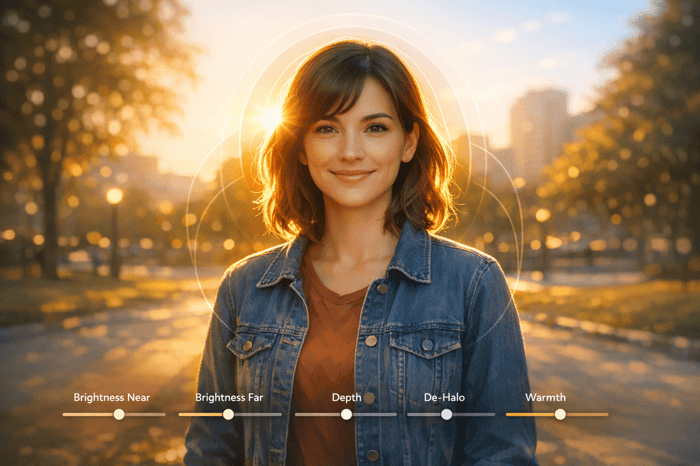
- Brightness Near/Far: Adjust light in the foreground or background.
- Depth Slider: Fine-tune the transition between zones.
- De-Halo Slider: Smooth edges and remove artifacts.
- Warmth Near/Far: Adjust color temperature for depth and balance.
To access RLAI, import your image into Luminar NEO, navigate to the Edit module, and find the tool under the Creative section. Use sliders to refine lighting, and apply masks for precise adjustments.
How to Access Relight AI in Luminar NEO
Opening an Image in Luminar NEO
To start adjusting lighting with Relight AI, the first step is to import your photo into the Catalog module. You can do this by clicking the "Add Photos" button or using the L key shortcut on your keyboard to quickly open the Catalog. This shortcut is a handy way to streamline your workflow.
For the best results, consider importing RAW files. These allow for greater flexibility in recovering shadows and highlights. While RLAI works on all image types, it performs best with photos that feature clear subjects like people, buildings, cars, doorways, water, or skies.
Once your image is imported, head over to the Edit module to access RLAI.
Finding the Relight AI Tool
After importing your image, switch to the Edit module by either clicking the "Edit" tab at the top of the screen or pressing the E key. This will open the editing workspace, giving you access to all available AI tools.
In the editing toolbar on the right-hand side, locate the Creative section. Relight AI can be found here, grouped with other creative tools. Click on it to activate the tool and display its controls.
If you need to adjust settings you've already applied, don’t click the tool again. Instead, use the "Edits" tab, which is right next to the "Tools" tab. This allows you to fine-tune your adjustments without accidentally duplicating the effect.
sbb-itb-b27063b
Relight AI in Luminar NEO - 2025 Full Tutorial
Relight AI Controls and Sliders Explained
Now that you've found Relight AI, let’s break down its controls to help you fine-tune your image's lighting.
RelightAI uses a 3D depth map to divide your image into foreground and background zones. This advanced analysis spreads light naturally across your photo, creating adjustments that look lifelike. Unlike traditional exposure sliders, which affect the entire image evenly, RelightAI allows you to adjust lighting on your subject separately from the background.
Brightness Near and Brightness Far
The Brightness Near slider adjusts the exposure for the foreground - essentially everything close to the camera, like your main subject. Sliding it to the right brightens faces, clothing, and nearby objects, acting like a virtual fill light. On the other hand, the Brightness Far slider focuses on the background, altering exposure for elements like skies, buildings, or distant mountains.
For example, if you’re working with a backlit photo, increasing Brightness Near will fill in shadows on your subject, while lowering Brightness Far can bring back details in the background.
Scott Davenport, Photographer, explains: "Relight AI works like a smart, virtual fill light that helps control the exposure of the foreground and background independently."
Next, let’s dive into how the Depth slider refines this separation.
Depth Slider
The Depth slider tweaks the AI-generated depth map. Moving it to the left pulls the transition point closer to the camera, while moving it to the right pushes it further back. This control helps you fine-tune how light spreads across the three-dimensional space in your photo.
To better understand how the AI processes your image, try this: set Brightness Near to the far left and Brightness Far to the far right, then adjust the Depth slider. You’ll notice the transition zone shifting, showing what the AI considers foreground versus background. Be mindful when editing landscapes - extreme Depth settings can lead to foreground lighting spilling into the sky, creating an unnatural effect.

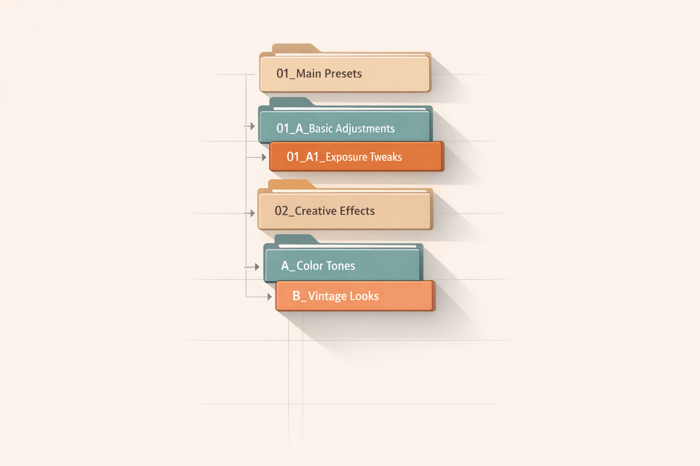
The Master Preset Bundle: Volume II

$69.00
$990.00
The Master Preset Bundle Volume II New Looks. More Styles. Even More Creative Control. Get 66 brand-new Presets.io collections in one powerful Volume 2 bundle — crafted to expand your editing range, refresh your workflow, and deliver polished, professional results in… continue reading
Advanced Settings for Fine-Tuning
Once you've adjusted brightness and depth, the Advanced Settings come into play. These tools help tackle issues like halo artifacts and refine color temperature for a more polished result.
De-Halo Slider
When you tweak Brightness Near and Brightness Far, you might notice halos forming around intricate edges. These halos, or artifacts, show up in areas with sharp contrast transitions.
The De-Halo slider is your go-to tool for smoothing out these transitions and restoring clean edges.
Vanelli, Director of Education at Skylum Software, explains: "Dehalo: Blends the light gradually around the subject to restore detail and remove unwanted artifacts such as adjusting hair that blends in the background of a portrait."
To use it effectively, zoom in to 100% to clearly identify any halo artifacts. Start with a slider value between 15 and 30, adjusting until the edges look natural and softened.
Scott Davenport adds: "The Dehalo slider is useful when the Brightness or Warmth sliders are more strongly polarized (i.e. pushed in opposite directions)."
Once you've taken care of the halos, it's time to fine-tune the color temperature.
Warmth Near and Warmth Far
The Warmth Near and Warmth Far sliders let you adjust the color temperature in two separate zones: the foreground and the background. Moving the slider to the right introduces warm, golden tones, while sliding it to the left brings in cooler, blue hues.
These sliders are especially handy for fixing mixed lighting conditions. For instance, you can warm up the foreground while cooling the background, creating a balanced and visually appealing contrast. This technique not only corrects lighting inconsistencies but also adds depth to your image.
For a creative touch, try the classic "warm foreground, cool background" method. This approach subtly draws attention to your subject while making the background recede, enhancing the perception of depth.
Step-by-Step Guide to Adjusting Lighting with Relight AI
How to Use Relight AI in Luminar NEO: Step-by-Step Workflow
Now that you’re familiar with the individual controls, let’s walk through how to combine them for a complete lighting adjustment workflow.
Setting Up the Image and Depth Preview
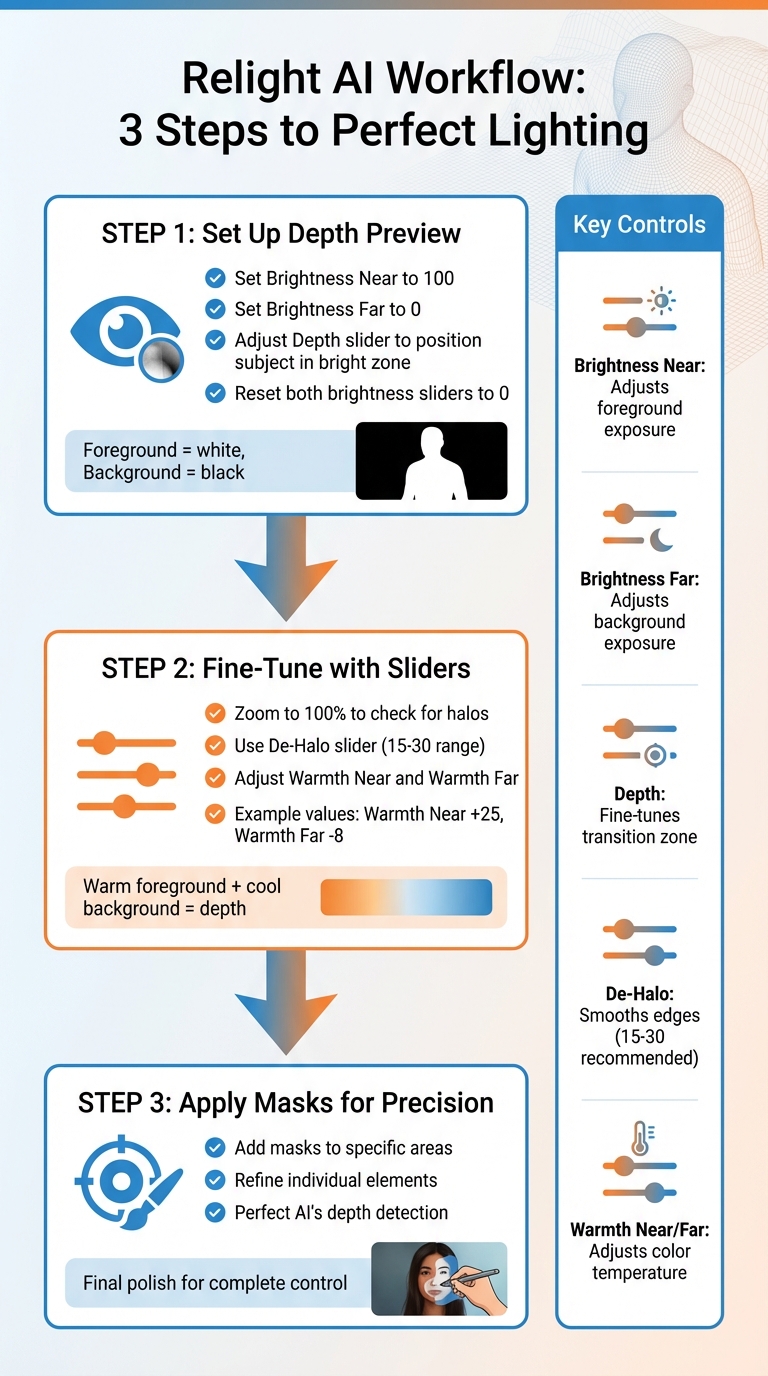
Start by identifying the AI-defined near and far zones in your image. To do this, set Brightness Near to 100 and Brightness Far to 0. This creates a high-contrast preview that highlights the AI’s depth mapping - your foreground will turn bright white, while the background appears black.
With this preview active, use the Depth slider to position your subject within the bright "Near" zone. Think of the slider as a movable boundary: sliding it left brings the boundary closer, while sliding it right pushes it farther. Once your subject is fully in the "Near" zone, reset both brightness sliders to zero to begin your actual adjustments. For portraits, increase Brightness Near to emphasize your subject's face, and lower Brightness Far to recover details in areas like an overexposed sky.
Fine-Tuning with Sliders and Advanced Settings
After setting the depth preview, refine the lighting with the advanced tools. Zoom in to 100% and check for any halos along high-contrast edges. If you spot halos, use the De-Halo slider in Advanced Settings (try a range between 15 and 30) until the edges look clean.
Next, adjust Warmth Near and Warmth Far to balance the color temperature. A good approach is warming the foreground while slightly cooling the background. For example, in a demonstration by Vanelli, he used Warmth Near +25 and Warmth Far -8 to create a balanced and visually appealing result. This subtle adjustment helps draw focus to your subject while adding depth to the scene.
Using Masks for Selective Editing
To refine your adjustments further, apply masks to target specific areas. If the AI’s automatic settings don’t perfectly match your vision, masks allow you to tweak individual elements with precision. For example, you can brighten a person’s face or enhance a building’s facade without affecting the surrounding areas. This is especially useful when the AI’s depth detection needs manual refinement, such as isolating a landscape element or avoiding unintended lighting changes in other parts of the image. Using masks as the final step ensures you have complete control over the lighting and overall look of your image.
Conclusion
Relight AI transforms how lighting adjustments are made by utilizing a 3D depth map to distinguish the foreground from the background. This approach allows for independent control of lighting without the need for tedious manual masking. As Vanelli, Director of Education at Skylum Software, explains: "What makes this tool unique from all others is that it analyzes the scene in three dimensions. By creating a 3D map of a photo, Luminar Neo can spread light naturally in 3D space across a 2D image." This capability opens up opportunities for precise and natural-looking edits using simple slider controls.
To get the most out of RLAI in Luminar NEO, focus on mastering the Depth, Brightness Near, and Brightness Far sliders to fine-tune exposure. Use the Dehalo slider to address high-contrast edges and adjust Warmth for the desired atmosphere. Photographer Scott Davenport emphasizes the importance of maintaining creative control: "Like with all post-processing tools, don't abdicate all control to the tool. The photographer always needs to consider either what makes sense for the natural world, or what vision and mood is desired for the photo." Dive into editing portraits, landscapes, and architecture to quickly see the tool's impact. For an even more polished result, combine Relight AI with other Luminar NEO tools like Face AI or Skin AI to create a professional-grade workflow.
FAQs
When should I use Relight AI instead of Exposure?
Relight AI is perfect for fixing lighting issues in photos, especially in tricky situations like backlit scenes or portraits with uneven lighting. What sets it apart is its ability to create a 3D map of the scene. This lets you adjust the foreground and background separately, giving you more control over the final look.
Unlike a standard Exposure adjustment, which brightens or darkens the entire image evenly, Relight AI focuses on specific areas. This scene-aware approach ensures your edits look more natural and balanced.
Why does Relight AI create halos on edges?
Relight AI can sometimes produce halos along edges in an image. This happens because the tool uses 3D scene analysis to distribute light across a 2D image. As the AI blends light and interprets depth, it may create these halos where objects and backgrounds meet.
What photos work best with Relight AI?
Relight AI shines when working with portraits, particularly in tricky lighting situations like backlit scenes. It’s especially useful for fixing problems where the subject is too dark or the background is overly bright, ensuring a more balanced and visually pleasing result in your photos.