.png)
Lightroom vs. Capture One: Color Profiles
Want to know which photo editor handles color better? Here’s the quick answer:
- Lightroom(LR) offers consistent, camera-agnostic colors with its Adobe Color profile. It’s great for speed and batch editing.
- Capture One uses camera-specific ICC profiles for more tailored, vibrant colors, making it ideal for precision and professional-grade results.
Quick Comparison
| Feature | Lightroom (Adobe Color) | Capture One (ICC Profiles) |
|---|---|---|
| Default Profile System | Standardized Adobe Color | Camera-specific ICC profiles |
| Color Saturation | Neutral and moderate | Bolder, more vibrant colors |
| Skin Tone Rendering | Neutral with yellow/green tint | Warmer with magenta undertones |
| Editing Tools | Simple HSL adjustments | Advanced Color Editor, layers |
| Workflow Focus | Speed and batch processing | Precision and advanced control |
Bottom Line: Choose LR for efficiency and consistency. Opt for Capture One if you need precise color control and camera-specific accuracy.
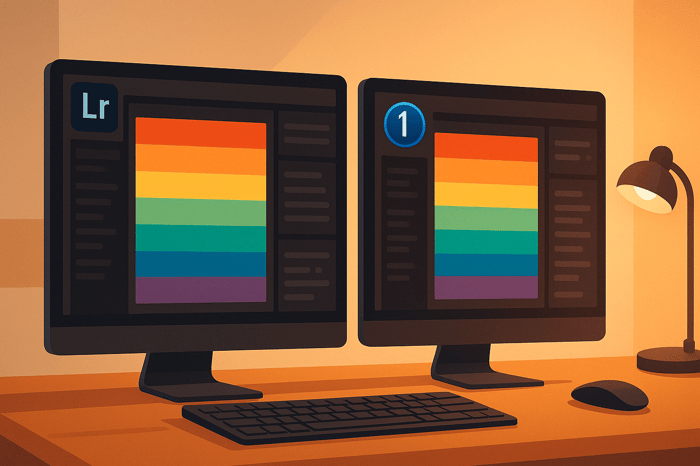
Default Color Settings Compared
Lightroom's Adobe Color
Adobe Lightroom's default profile, Adobe Color, serves as the foundation for RAW image processing. Introduced in 2018 to replace Adobe Standard, this profile provides a consistent and balanced starting point. It emphasizes moderate contrast and saturation, ensuring predictable results across different cameras.
Key characteristics of Adobe Color include:
- A flatter initial rendering
- Balanced and neutral saturation
- A slight yellow/green tint in specific lighting scenarios
- Even tone distribution throughout the image
Capture One's ICC Profiles
Capture One, on the other hand, relies on camera-specific ICC profiles as its default. These profiles are tailored for each camera model, aiming to replicate the color accuracy intended by the manufacturer. As a result, Capture One often delivers:
- More vibrant and saturated colors
- Warmer gray tones
- A subtle magenta tint
- Enhanced contrast in mid-tones
- Slightly compressed highlight details
These differences in default processing create unique starting points for photographers, setting the tone for how each platform renders RAW files.
Default Profile Features
The table below highlights the distinct rendering characteristics of LR's Adobe Color and Capture One's ICC profiles:
| Characteristic | Lightroom Adobe Color | Capture One ICC Profiles |
|---|---|---|
| Initial Brightness | Darker rendering, requiring ~1 stop boost | Brighter mid-tones and shadows |
| Color Saturation | Neutral and moderate | Bolder, more vibrant colors |
| Contrast Handling | Balanced and restrained | Stronger mid-tone contrast, compressed highlights |
| Skin Tone Rendering | Neutral with a yellow/green tint | Warmer with magenta undertones |
| Shadow Detail | Linear tone response | Enhanced shadow contrast |
Testing with a Color Checker reveals that LR files often appear darker compared to those processed in Capture One. By understanding these foundational differences, photographers can better choose the editing platform that aligns with their creative vision.
New Lightroom Color Panel declares WAR on Capture One
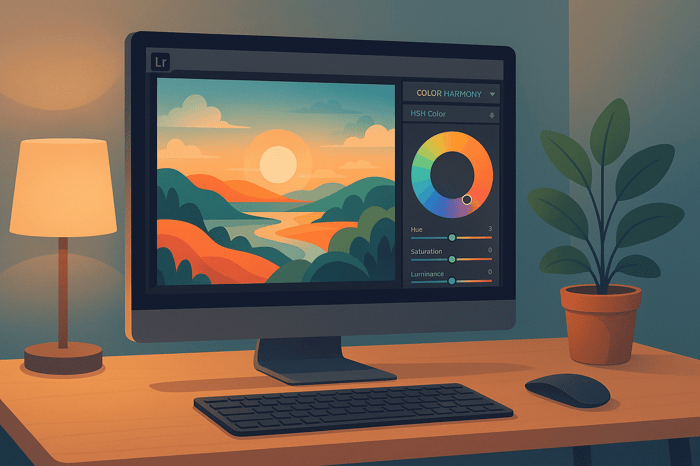
Color Profile Settings and Tools
Lightroom and Capture One bring unique tools to the table when it comes to managing and optimizing color in your workflow.
Lightroom Camera Profiles
Lightroom relies on the Adobe Color profile as its default, but it also includes camera-matching profiles designed to replicate the specific color characteristics of various camera manufacturers. These profiles can be swapped without affecting other edits you've made.
Here are some of the available camera-matching profiles:
- Camera Standard
- Camera Portrait
- Camera Neutral
For example, in LR's Profile Browser under the 'Camera Matching' section, the Camera Standard profile mirrors the default color output of a Canon EOS R5. This flexibility makes it easy to achieve manufacturer-specific looks with minimal effort.
Capture One ICC System
Capture One uses a more specialized approach with its ICC profile system, which is designed to deliver highly accurate color reproduction. This makes it particularly useful for commercial photography and portrait work. Key features of Capture One's ICC system include:
- Camera-specific color profiles tailored to individual models
- Custom ICC profile support for personalized workflows
- Layer-based color adjustments for advanced editing control
Color Tools Comparison
While both platforms excel in color management, their tools and editing styles differ significantly. Here's a breakdown of their key color editing capabilities:
| Feature | Lightroom | Capture One |
|---|---|---|
| Color Range Control | HSL/Color panel for broader adjustments | Advanced Color Editor for precise selections |
| Skin Tone Editing | Basic HSL adjustments | Dedicated Skin Tone editor |
| Color Grading | Three-way color wheels for shadows, midtones, and highlights | Color Balance tool with advanced tonal control |
| Local Adjustments | Masking system with adjustment brushes | Layer-based color adjustments |
| Profile Creation | DCP file support | Custom ICC profile generation |
Capture One stands out for its granular control over colors. The Advanced Color Editor lets you pinpoint and adjust specific color ranges, while the dedicated Skin Tone editor is ideal for fine-tuning portrait photography.
On the other hand, LR leans into simplicity and speed. It offers a streamlined workflow with global HSL adjustments, Color Grading panels, Camera Calibration tools, and a Profile Browser that includes creative presets.
Both platforms support professional workflows, including monitor calibration and soft proofing. However, Capture One's ICC-based system often provides an edge when maintaining color accuracy for professional printing needs.
Profile Matching Guide
Matching Capture One Looks in Lightroom
If you're looking to replicate Capture One's unique color profiles in LR, specialized preset collections can save you a ton of time. These presets are designed to emulate Capture One's distinctive color handling, cutting down on the need for manual adjustments.
For instance, check out the options on Presets.io. They offer preset packs tailored for both LR and Capture One, covering styles like cinematic tones and vintage aesthetics. This makes it much easier to keep a consistent look across your projects, no matter which software you're using.
Cross-Platform Color Management
When working across platforms, ensuring consistent color grading is crucial. A unified workflow helps maintain the same aesthetic whether you're in LR or Capture One. This can be achieved by incorporating preset bundles designed for both tools.
Platforms like Presets.io offer matching preset packs that simplify this process. These bundles are specifically crafted to deliver consistent results in both applications, making cross-platform workflows smoother and more efficient.

Platform Selection Guide
When choosing between LR and Capture One, it’s essential to consider how each platform aligns with your editing workflow and specific needs. While both are powerful tools, they shine in different areas, particularly in how they handle color management and workflow efficiency.
Lightroom's Speed Features
LR is built for speed and efficiency, making it a favorite among photographers who handle large volumes of images. With its batch processing capabilities, it’s perfect for wedding or event photographers who need to deliver a consistent look across hundreds of photos.
The Quick Develop panel allows users to apply color adjustments across multiple images in one go. When paired with presets, photographers can quickly achieve their signature style without spending hours on individual edits. Additionally, the Sync Settings feature ensures that adjustments made to one image can be applied across an entire series, keeping the collection cohesive with minimal effort.
While LR focuses on speed and simplicity, Capture One leans heavily into precision and advanced control.
Capture One's Color Tools
Capture One is the go-to choice for photographers who need meticulous color accuracy. Its advanced color wheels and layer-based editing provide unmatched control, making it ideal for commercial photographers working on product shots or projects requiring strict brand color consistency.
The Color Balance tool stands out, allowing separate adjustments for shadows, midtones, and highlights. This level of precision ensures photographers can meet even the most exacting client demands. For professionals who require unparalleled color matching, Capture One delivers the tools to get it right.
Here’s a quick comparison of the key workflow differences between the two platforms:
| Feature Focus | Lightroom | Capture One |
|---|---|---|
| Color Control | Global adjustments with preset support | Precise color wheels with layered editing |
| Batch Processing | Advanced synchronization across multiple images | Layer-based adjustments with styles |
| Workflow Speed | Quick Develop panel for rapid edits | Advanced color tools with customizable workspace |
| Color Profile Integration | Adobe Color profile system | ICC profile management system |
Ultimately, the decision comes down to your workflow priorities. LR is ideal for photographers who need speed and efficiency, while Capture One is better suited for those requiring precise, customizable color editing tools.
Summary and Recommendations
LR simplifies your workflow, while Capture One shines with its advanced color adjustment capabilities. Each tool has its strengths, giving photographers unique options for achieving their artistic goals.
If you use both platforms, keeping your color management consistent is crucial. One way to streamline this is by using professional presets. For example, the Presets.io Master Preset Bundle (priced at $49) is designed for both LR and Capture One, helping you achieve consistent color tones across your work.
To take things further, refining your workflow is key to maintaining accurate colors. Whether you rely on LR's quick and effective preset system or Capture One's detailed color tools, mastering these features ensures you can deliver consistent results while staying true to your creative style.
FAQs
How do Lightroom’s Adobe Color profiles compare to Capture One’s ICC profiles for color accuracy across different camera models?
LR’s Adobe Color Profiles vs. Capture One’s ICC Profiles
When it comes to achieving accurate colors in photo editing, both LR and Capture One bring their own unique approaches to the table. Adobe Color profiles in LR are crafted to offer a consistent starting point across a variety of camera brands. This makes them a practical choice for photographers juggling multiple camera systems.
In contrast, Capture One’s ICC profiles are fine-tuned for specific camera models. This tailored approach often results in more precise color reproduction, particularly for cameras that Capture One supports.
Looking to refine your editing workflow? Presets can make a big difference. Platforms like Presets.io provide a wide array of LR presets and Capture One styles. Whether you're after a cinematic vibe, a vintage feel, or something inspired by classic film, these presets can help you achieve your desired look with ease.
Why do photographers who need precise color control often choose Capture One for editing?
Capture One stands out for its advanced color grading capabilities and unmatched color precision, making it a favorite among photographers who prioritize fine-tuned color control. Its tools allow users to adjust colors with incredible detail, whether it's tweaking individual color channels or perfecting skin tones - features that are particularly useful for portrait and commercial photography.
What sets Capture One apart even further are its custom color profiles, designed specifically for different camera brands. These profiles ensure your images display accurate colors straight from the camera, reducing the need for extensive adjustments later. This attention to detail makes it easier to achieve a polished, professional finish with less time spent in post-production.
Can Lightroom users replicate Capture One's color profiles with presets or adjustments?
Yes, LR users can achieve results comparable to Capture One by leveraging custom presets or carefully adjusting color settings. Although LR and Capture One handle color rendering differently, LR provides powerful tools like the HSL panel, color grading options, and calibration settings to fine-tune colors with precision.
For a more straightforward solution, you can use professionally designed Lightroom presets, such as those offered on Presets.io. These presets simplify the editing process and help you achieve stunning color profiles that match your preferred aesthetic. Whether you're aiming for cinematic tones or film-inspired looks, these presets are designed to enhance your workflow and deliver impressive results.