

Lightroom Mobile Sync: Step-by-Step
Lightroom's sync feature allows you to edit photos seamlessly across devices - desktop, mobile, and tablet - without worrying about manual transfers. Here's why it's helpful and how to get started:
Key Benefits:
- Edit anywhere with automatic updates.
- Save time by avoiding duplicate edits.
- Use consistent presets and settings across devices.
- Share collections easily with clients or collaborators.
Setup Steps:
- Ensure you have an Adobe Creative Cloud plan with at least 20GB of storage.
- Install Lightroom Classic (desktop) and Lightroom Mobile (devices).
- Log into the same Adobe account everywhere.
- Enable sync in Lightroom Classic and select collections to sync.
- Import and sync presets for consistent editing.
Common Issues:
- Fix stuck syncing by checking your internet connection or updating Lightroom mobile.
- Manage cloud storage by syncing only active projects.
Lightroom sync makes photo editing flexible and efficient. Follow these steps to simplify your workflow and stay organized across all your devices.
Why Two Lightrooms? How to Sync Them
1. Getting Ready to Sync Lightroom
Properly setting up your devices is key to smooth editing across platforms. Before starting the syncing process, make sure everything is correctly configured.
1.1 Check Your Adobe Creative Cloud Plan
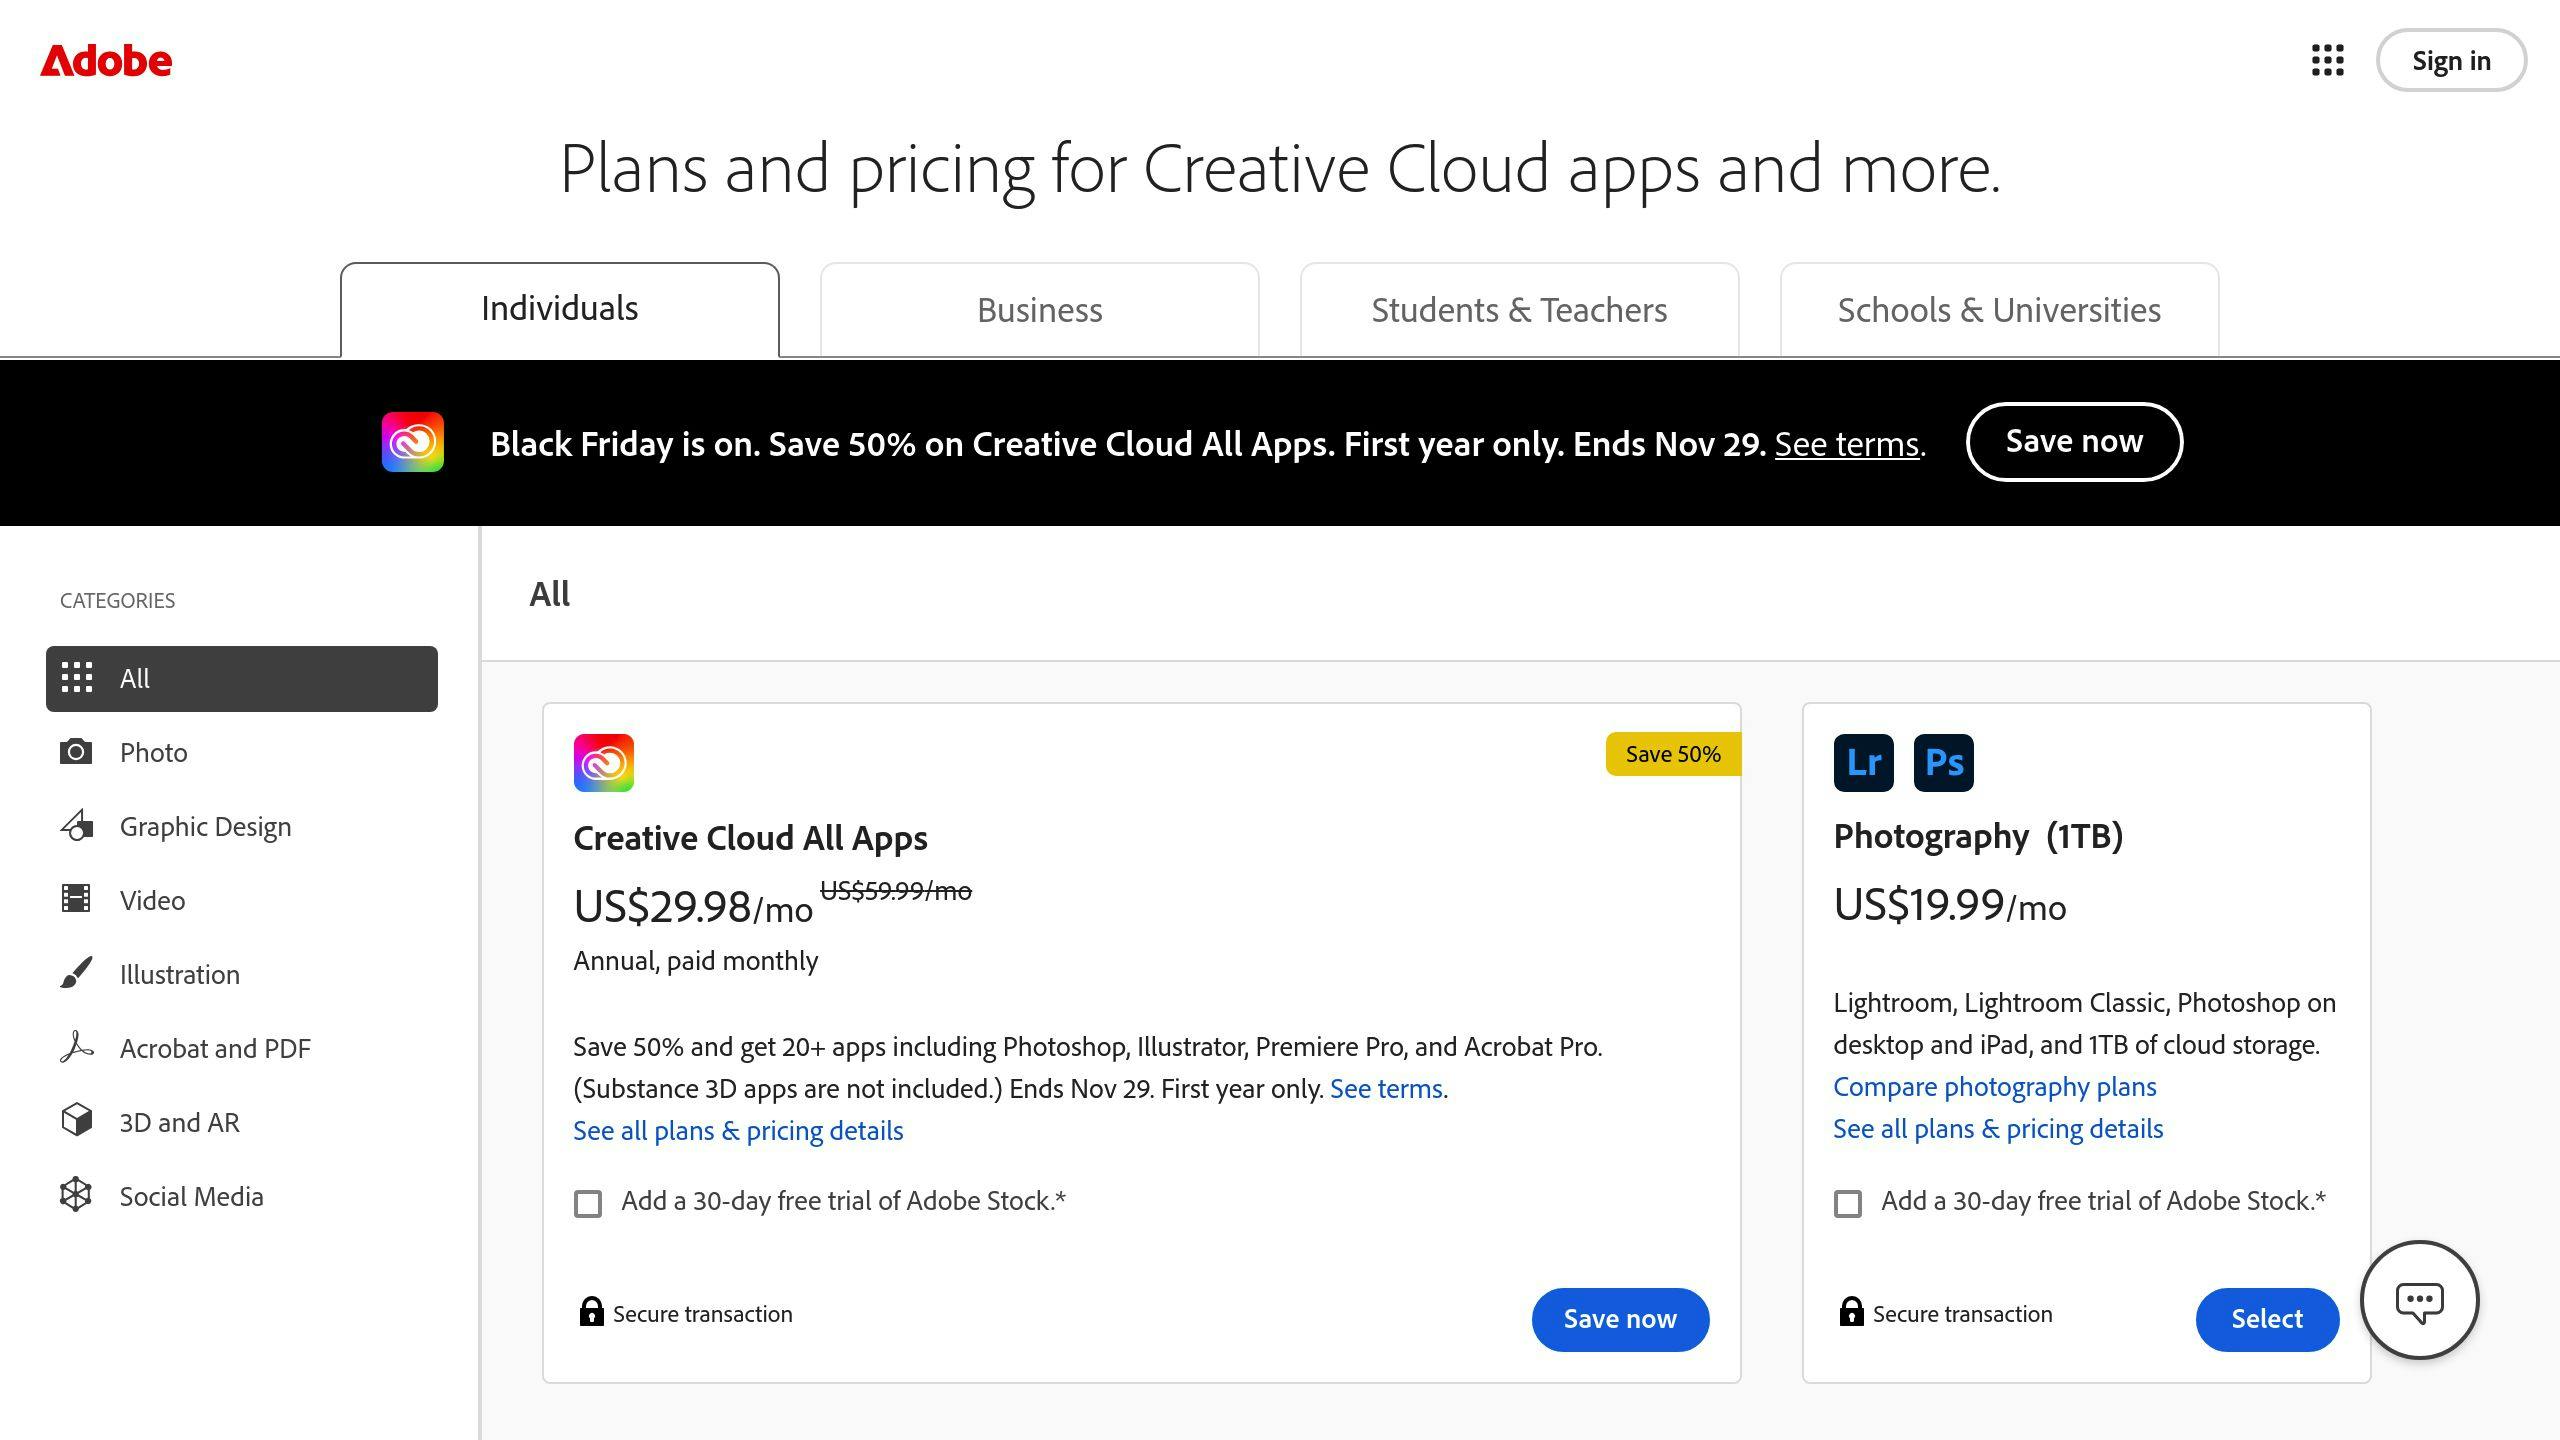
Confirm that your Adobe Creative Cloud subscription includes both Lightroom Classic and Lightroom Mobile. These two are essential for syncing. Your plan should also offer at least 20GB of cloud storage to ensure everything works as expected [1].
1.2 Install Lightroom on Your Devices
Make sure Lightroom Classic is installed on your desktop and Lightroom Mobile is on your other devices. Double-check that both apps are updated to their latest versions. Updates not only prevent syncing problems but also give you access to new tools and features [1][2].
1.3 Log in with the Same Adobe Account
Use the same Adobe account to log in on all your devices. To confirm syncing is active, look for the cloud icon with double arrows in Lightroom Classic. Remember, Lightroom Classic can sync only one catalog at a time. Using multiple Adobe IDs can lead to syncing issues and catalog mix-ups [1][4].
Tip: If you need to merge multiple Adobe IDs, reach out to Adobe Support - they can help with account migration.
Once your devices and account are ready, you can move on to enabling syncing in Lightroom Desktop.
2. Turning on Sync in Lightroom Desktop
2.1 Enable Sync in Lightroom Classic

To start syncing in Lightroom Classic, locate the cloud icon in the top-right corner of the interface. Clicking it opens the Activity Center, where you can begin the mobile sync process [1].
In the Collections panel, check the box next to the collections you want to sync. Once selected, a double-arrow sync icon will appear, showing that synchronization is active.
It's a good idea to test syncing with a smaller collection first. This helps you identify and fix any issues before syncing larger projects.
2.2 Check Sync in Lightroom CC

Unlike Lightroom Classic, Lightroom CC handles syncing automatically. Just make sure you're signed into your Adobe account. You can confirm active syncing by looking for the cloud icon with double-pointed arrows in the top-right corner of the interface [1][3].
Tip: Even though Lightroom CC syncs automatically, a stable internet connection is crucial to avoid interruptions.
2.3 Adjust Sync Preferences
Sync preferences vary between Lightroom Classic and Lightroom CC. Use the table below to manage storage and fine-tune sync performance:
| Feature | Lightroom Classic | Lightroom CC |
|---|---|---|
| Sync Control | Manual selection per collection | Automatic full sync |
| Storage Management | Local storage with selective sync | Cloud-based storage |
| Catalog Limitation | One catalog at a time | Multiple albums |
Access the Preferences menu in either version to adjust storage and sync settings [1][3]. Keep an eye on your cloud storage usage, and remove unnecessary collections from syncing if you're running out of space [1].
Once you've set up your sync preferences, you'll be ready to sync presets for smoother editing across all your devices.
3. Syncing Presets to Lightroom Mobile

3.1 Export Presets from Lightroom Desktop
To move presets from your desktop to your mobile device, start by opening Lightroom Classic and heading to the "Develop" module. Right-click on the preset you want to transfer and choose "Export." Save it as a .lrtemplate file in a well-organized folder for easy access.
After exporting, you'll be ready to bring these presets into Lightroom Mobile.
3.2 Add Presets to Lightroom Mobile
In Lightroom Mobile, go to the 'Presets' tab, tap the '+' icon, and select 'Import Presets.' Locate the files you exported earlier, and they’ll be added to the Presets panel.
Pro Tip: Double-check that the presets show up in the Presets panel after importing. If they don’t appear right away, try restarting the app to refresh it.
3.3 Expand Your Preset Collection with Presets.io

If you're looking to add more options to your editing toolkit, Presets.io offers a wide range of Lightroom presets. Their library includes cinematic, vintage, and mobile-friendly styles that work smoothly with Lightroom's sync features.
Quick advice: Before fully committing to third-party presets, test them on a few photos to see how they align with your usual editing preferences and lighting setups.
Once your presets are synced, you can easily manage your edits and enjoy seamless cross-device functionality in Lightroom.

4. Managing Synced Photos and Collections
4.1 Access Synced Collections on Mobile
When you open Lightroom mobile and sign in with your Adobe account, your synced collections will automatically show up in the main interface. These collections appear under their designated names, allowing you to pick up where you left off. This feature makes it easy to maintain consistent edits across all your devices.
4.2 Remove a Collection from Syncing
If you want to stop syncing a collection, go to the Collections panel in Lightroom Classic. Find the sync icon (a double-pointed arrow) next to the collection's name and click it to turn off syncing. This will remove the collection from your mobile device while keeping it intact on your desktop.
Important: Before disabling sync, make sure to save any mobile-specific edits you want to keep. Once syncing is turned off, edits made on mobile won't transfer to your desktop catalog.
4.3 Manage Cloud Storage
Since Adobe's cloud storage has a limit, it's important to manage it wisely. Use smart previews for smaller file sizes, full-resolution files for detailed edits, and sync selectively to avoid unnecessary storage use.
Tips for Staying Organized:
- Name collections descriptively, including details like dates or project types.
- Use collection sets to group related projects together.
- Go through your synced collections regularly and remove ones you no longer need.
Focus on syncing your most active projects to make the best use of your storage. Keeping your collections and storage organized ensures a smoother workflow and helps you avoid common sync problems, which we’ll cover next.
5. Fixing Common Sync Problems
Sorting out sync issues is key to keeping your editing process smooth and hassle-free.
5.1 Fix Sync Errors or Stuck Syncing
If Lightroom gets stuck syncing or throws errors, try these steps:
Check Your Connection: A stable internet connection is crucial. Weak or inconsistent connections can disrupt syncing.
Verify Adobe ID: Make sure you're logged into Lightroom with the same Adobe ID across all your devices. You can check this in Lightroom's preferences.
Review Activity Center: Open the Activity Center to spot any error messages. These can provide clues to resolve 'sync failed' issues.
5.2 Handle Duplicate or Missing Files
Dealing with duplicates or missing files? Here's how to keep your library organized:
For Duplicates:
- Open Lightroom on both your desktop and mobile devices.
- Use the All Photos view to spot duplicates.
- If needed, remove duplicate synced collections directly from your desktop.
For Missing Files:
- Check the original file's location on your desktop to ensure it's accessible.
- Confirm that the files are in the correct catalog.
- In Lightroom Classic, deselect and then reselect the affected collections to trigger a re-sync.
5.3 Update Lightroom to the Latest Version
Keeping Lightroom up to date can fix sync bugs and compatibility glitches.
How to Update:
- Open the Adobe Creative Cloud desktop app.
- Go to the Apps tab and check for updates.
- Install any pending Lightroom updates.
- Restart Lightroom once the update is complete.
To stay ahead, enable automatic updates in the Adobe Creative Cloud app. This helps avoid version mismatches.
| Common Issue | Quick Fix | Prevention |
|---|---|---|
| Stuck Syncing or Missing Presets | Restart Lightroom, re-sync collections | Ensure a stable internet connection, back up preset files |
| Duplicate Files | Refresh libraries, remove duplicates | Stick to consistent file naming |
Conclusion: Make the Most of Lightroom Sync
Lightroom's sync features let you edit across devices smoothly, keeping your projects consistent and accessible. Whether you're in a studio or working remotely, managing sync settings properly ensures your workflow stays efficient.
Tips for Streamlining Your Workflow
Here are some ways to make the most of Lightroom's sync features:
- Keep Lightroom updated to enjoy new tools and improvements.
- Organize photos with smart collections for better efficiency.
- Sync only the projects you need to save cloud storage space.
| Sync Feature | How It Helps | Best Practice |
|---|---|---|
| Cross-device Editing | Work on projects anywhere | Use the same preset collections |
| Auto-sync Changes | Updates happen in real-time | Ensure a reliable internet connection |
| Cloud Storage | Access files from anywhere | Regularly remove unneeded syncs |
Expanding Your Editing Options
Boost your editing potential by adding professional presets to your toolkit. Websites like Presets.io provide styles like cinematic, vintage, and mobile-friendly options that work seamlessly with Lightroom's sync system.
A stable internet connection and good account management are key to successful syncing. Combine these with the strategies discussed earlier, and you’ll build a reliable, flexible editing workflow that fits your needs perfectly.
FAQs
Here are answers to some common questions to help you troubleshoot and set up Lightroom syncing more effectively:
Why aren’t my Lightroom presets syncing or showing on my phone?
Here are some common issues and their fixes:
| Problem | Fix |
|---|---|
| Account Mismatch | Ensure you're signed into the same Adobe account on all your devices. |
| Sync Status | Confirm that syncing is enabled in the sync panel (top-right corner). |
| Storage Space | Check if you have enough available cloud storage. |
| Version Compatibility | Update Lightroom to the latest version on all devices. |
How can I transfer and import Lightroom presets to my mobile device?
Using Your Desktop:
- Open Lightroom Desktop.
- Go to File > Import Profiles & Presets.
- Select the preset files you want to add.
- Wait for the presets to sync to the cloud.
Directly on Mobile:
- Open Lightroom on your mobile device.
- Tap Presets while editing a photo.
- Open the three-dot menu.
- Select Import Presets.
- Choose the preset files from your device.
How do I manually sync Lightroom with my phone?
Follow these steps to trigger syncing manually:
- Make sure your internet connection is active.
- Open Lightroom Classic on your computer.
- Click the cloud icon in the top-right corner.
- Select Start Sync.
- Choose the collections you'd like to sync.
Tip: If syncing is stuck, log out of your Adobe account and log back in to reset the connection.