
Table of Contents
How to Edit Low-Key Photos in Lightroom
Low-key photography is all about creating dramatic, shadow-heavy images with minimal highlights. In this guide, I’ll show you how to use Lightroom to refine these photos, from importing RAW files to making tonal and color adjustments. Here’s a quick summary of key steps:
- Import RAW Files: Start with RAW photos for better control over shadows and details.
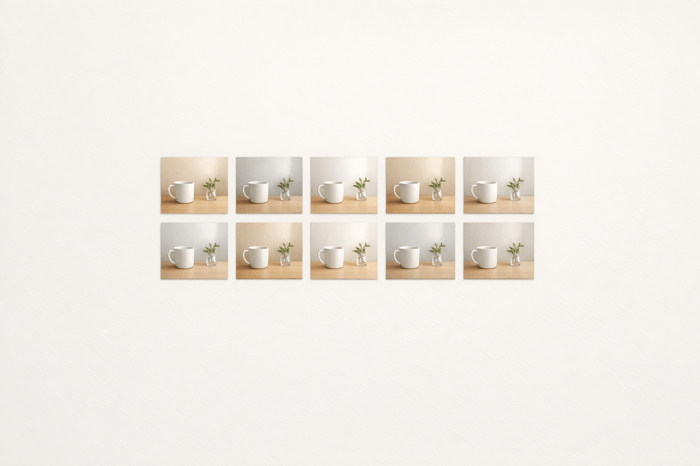
- Histogram Check: Ensure your image's tonal range leans left for a shadow-heavy look.
- Global Adjustments: Lower exposure, boost contrast, and reduce highlights for a dark, moody base.
- Color Refinement: Desaturate cool tones while enhancing warm tones like orange for skin.
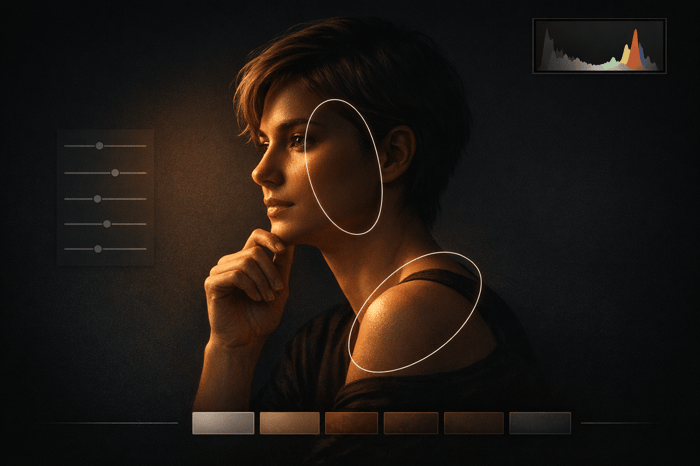
- Local Edits: Use brushes and masks to isolate and enhance specific areas, like your subject’s face.
- Final Touches: Add vignettes, adjust clarity, or apply presets for consistency.
This step-by-step process ensures your low-key photos maintain their depth and drama while drawing attention to your subject. Let’s dive into the details.

6-Step Process for Editing Low-Key Photos in Lightroom
Extreme Low Key Images with Lightroom
sbb-itb-b27063b
Preparing Your Photo for Editing
To get started with low-key photo editing, bring your photo into Lightroom and take a moment to assess it. This step sets the stage for a smooth editing process, ensuring you have the control needed to achieve the dramatic look low-key photography is known for.
Importing and Organizing Your Photos
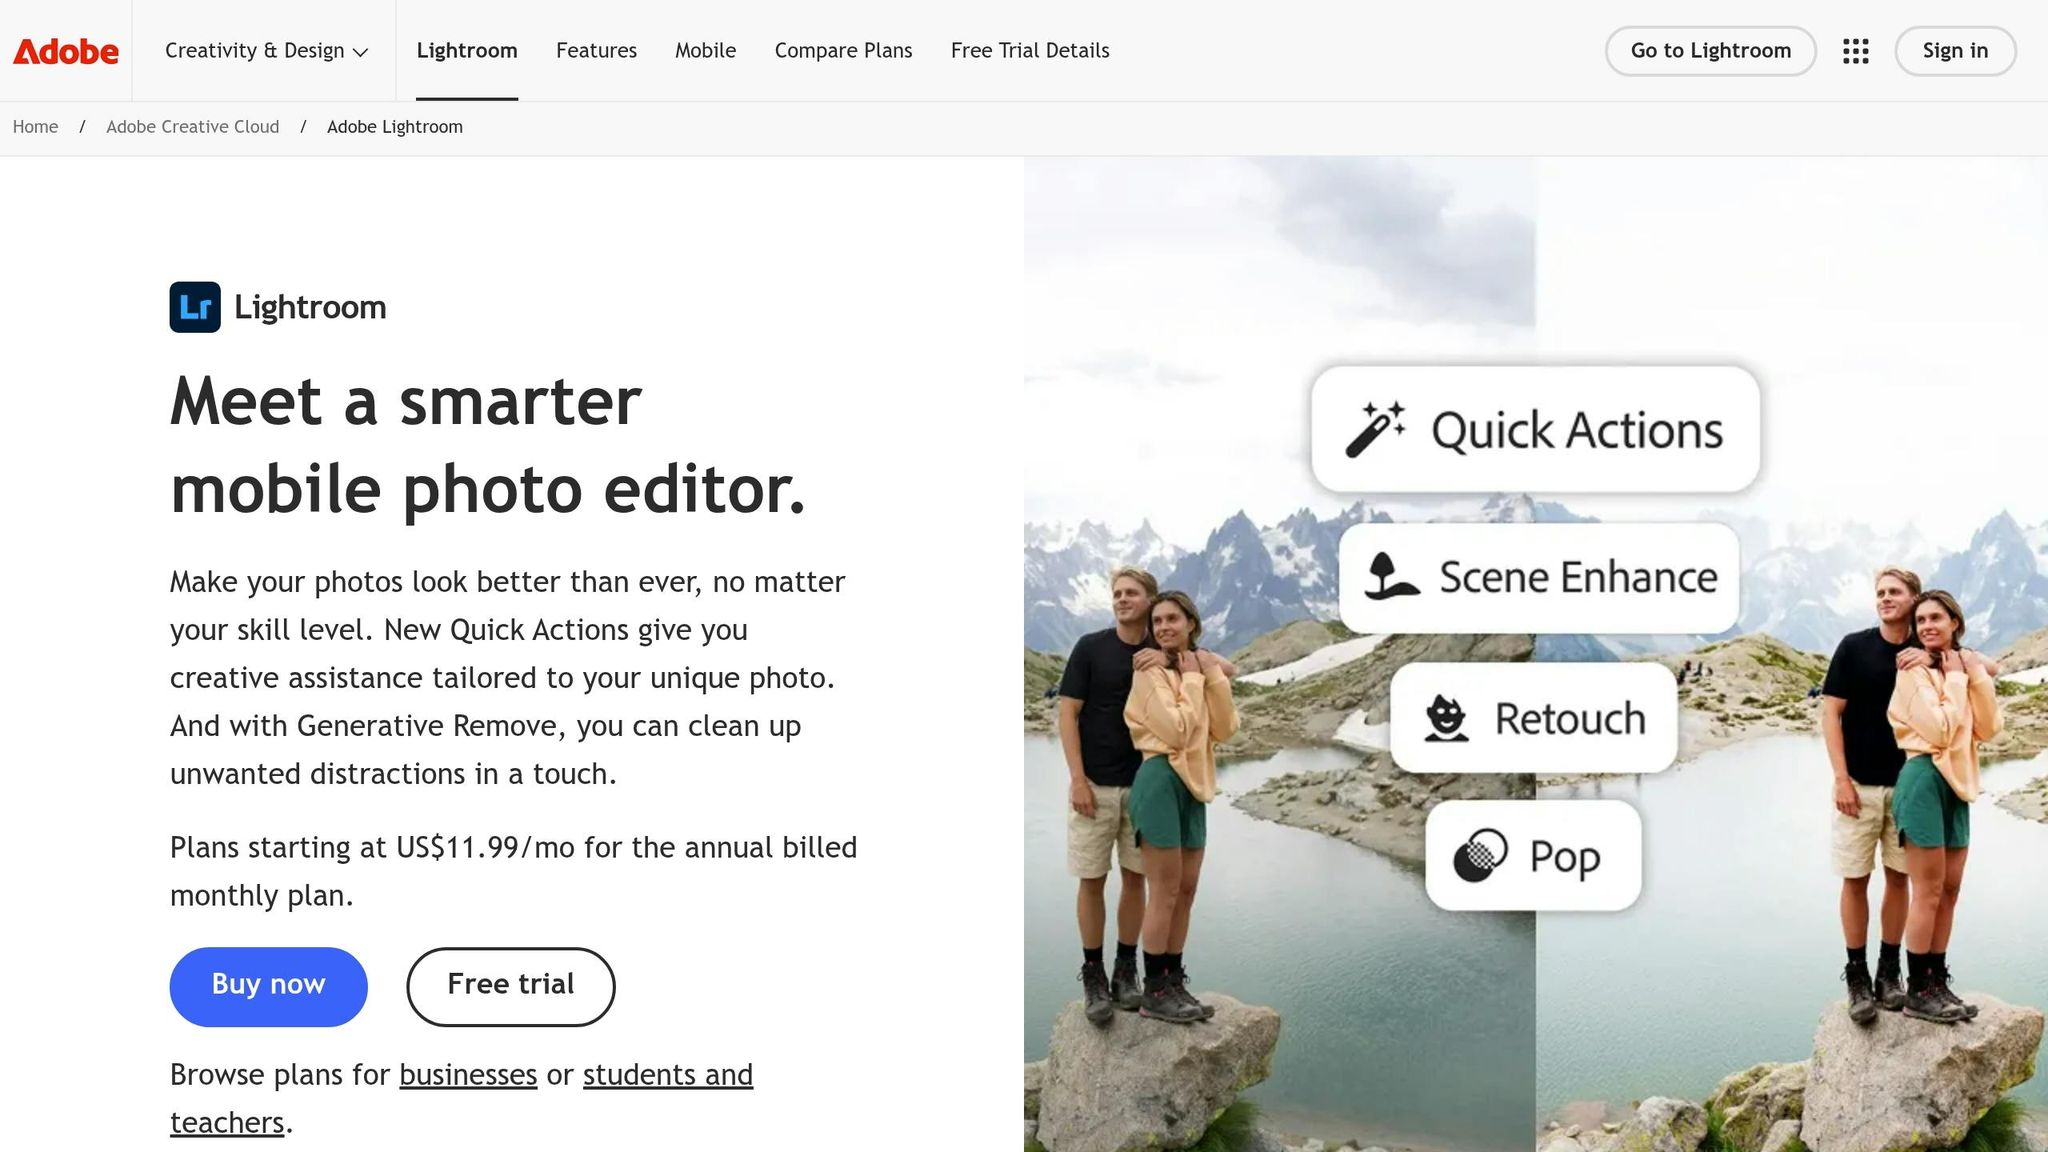
The method you use to import photos depends on the version of Lightroom you're using. In Lightroom Desktop, click on the "My Photos" icon and select either "Cloud" (for synced and stored files) or "Local" (to access files directly on your device without syncing). If you're dealing with a large number of photos, the Local option is more efficient since it skips cloud syncing. On the other hand, Lightroom Classic lets you import images directly from a camera, card reader, or specific folders on your computer.
"Taking your snapshots in RAW is one of the optimal ways to gain total control over your images in editing." – Tata Rossi, Tech Trends Journalist, FixThePhoto
Using RAW files is highly recommended because they offer 12 or 14-bit depth, which is perfect for maintaining shadow details - essential in low-key photography. Once your photos are imported, organize them using collections, keywords, and ratings. With your images sorted and your RAW files ready, you can move on to analyzing the tonal balance with the histogram.
Reading the Histogram and Cropping
The histogram is your go-to tool for understanding the tonal range of your low-key photo. In Lightroom Desktop, you can find it in the Edit panel by opening the three-dot menu and selecting "Show Histogram". For low-key images, the histogram will typically cluster on the left side, indicating an emphasis on dark tones. Clipping indicators help you spot areas where detail is lost.
To check for clipped shadows, press J in Detail view to toggle clipping overlays - blue areas indicate shadow clipping. While shadows are a natural feature of low-key photography, it's crucial to keep details intact in important areas, such as your subject's face. This balance ensures the image retains its dramatic effect without losing key elements.
Before diving into tonal adjustments, use the Crop tool to fine-tune your composition. Cropping helps eliminate distractions and allows you to use negative space effectively, drawing more attention to your subject and enhancing the photo's dramatic impact.
Global Adjustments for Low-Key Photos
Once you've nailed your composition and examined the histogram, it's time to focus on shaping the mood of your low-key photo. These global adjustments help create that dark, dramatic vibe while ensuring your subject remains the star of the shot.
Adjusting Exposure and Contrast
Low-key photography thrives on shadows. To get started, lower your exposure by 1.5–2.5 stops. This step helps you build a shadow-heavy foundation right away rather than trying to darken an image that's too bright. Then, boost the contrast to around +40 to avoid a flat, lifeless look. Lowering the exposure first ensures you have precise control over those rich, deep shadows.
"Try to get used to histograms that are pushed to the left, with steep spikes in the shadow zones. This is known as a 'low key' image, an image dominated by shadows, very few midtones, and just a few highlights to create the interesting parts of the image." – Christopher Lin, CEO, SLR Lounge
To keep the focus on your subject and avoid distractions, set both Highlights and Whites to -100. This flattens the brightest areas and prevents them from stealing attention. After darkening the image, use local adjustments to bring out key features, like your subject's face or eyes. This method - darkening first and then recovering details locally - keeps your edits sharp and avoids a muddy, unclear result.
Now that you've built a solid tonal base, the next step is fine-tuning the colors to heighten the drama.
Adjusting Colors and Saturation
With exposure and contrast in place, it's time to refine the color palette. In low-key photography, color adjustments are all about selective emphasis. A common strategy is to desaturate most colors - greens, aquas, blues, purples, and magentas - by setting their saturation to -100 in the Color Mixer. This creates a semi-monochrome feel, drawing the viewer's eye to the remaining warm tones.
To make skin tones stand out against a dark background, boost the orange saturation by +10 and adjust the orange luminance to somewhere between +30 and +50. These changes ensure your subject "pops" while keeping the overall mood intact. When tweaking colors, prioritize the Vibrance slider over global Saturation. Vibrance enhances less-saturated colors while keeping skin tones looking natural.
For an extra cinematic touch, use the Tone Curve to add warmth to your highlights. In the Blue channel, drag the top-right point downward to introduce yellow. Do the same in the Green channel, but just slightly, to add a hint of magenta. This subtle orange tint in the highlights enhances the dramatic, moody feel of your low-key photo.
Advanced Editing: Local Adjustments and Tone Curve
Once you've set the overall mood with global adjustments, it's time to fine-tune the details and guide the viewer's focus. Tools like the Tone Curve and local adjustments allow for precise control, helping you add depth and drama to your low-key photo.
Using the Tone Curve
The Tone Curve takes editing to the next level, giving you the ability to shape your image's mood with precision. While the Basic panel sets the foundation by adjusting raw data, the Tone Curve lets you refine the tones already present in your photo. Think of it as sculpting the image rather than starting from scratch.
For added drama, try creating an S-curve: lower the darks and raise the highlights. This technique enhances contrast while keeping the mid-tones balanced. For low-key photography, take it a step further by pulling the bottom-left corner of the curve downward. This deepens the shadows and crushes the blacks, creating a moody, dark background that complements the low-key aesthetic.
"The Basic Tone is for exposure correction - getting your image to the point with the most information as possible. The Tone Curve is for tonal correction - manipulating the tones and information that already exist in the image." – Pat Kay
For even more precision, use the Adjustment Point Picker (the small circle icon in the top-left of the Tone Curve panel). With this tool, you can click directly on specific areas of your photo - like a shadow or highlight - and drag up or down to adjust that tonal value on the curve. Once the overall tone is polished, you can shift your attention to targeted local adjustments.
Using Brushes and Masks for Local Adjustments
After refining the tone curve, use brushes and masks to target specific areas of your photo. Start with Lightroom's Select Subject AI mask, which automatically isolates your main subject. This makes it easy to apply subtle adjustments, like lifting shadows or slightly increasing exposure, to bring attention to your subject without affecting the dark background.
For manual control, the Adjustment Brush is your go-to tool. Use these settings for smooth blending and precision:
- Feather: Set between 75–100 for soft edges.
- Flow: Keep low (10–30) to gradually build your adjustments.
- Auto Mask: Enable this to prevent your edits from spilling over into unwanted areas, especially near edges.
Layering these adjustments can mimic classic dodge and burn techniques, enhancing the natural light and shadow interplay in your photo.
To darken specific areas further, apply Graduated Filters with negative Exposure adjustments along the edges of your frame. This technique mimics the effect of directional studio lighting, helping to center attention on your subject. If a filter darkens an area you want to keep bright, simply switch to the Erase tool within that mask and paint over the area you want to protect. This level of control ensures your edits remain intentional and focused.
Final Touches and Using Presets.io
After wrapping up your local adjustments, it's time to add those final touches that enhance focus and texture, giving your image that polished, professional feel.
Adding Vignettes and Effects
A vignette subtly darkens the edges of your photo, drawing attention to the center where your subject takes the spotlight. This technique works particularly well in low-key photography, as it emphasizes the contrast between highlights and shadows. In Lightroom's Effects panel, try starting with these settings: Amount: –20, Midpoint: 40, Feather: 50. This creates a soft, natural vignette without overwhelming the composition.
To add a bit of texture and a vintage feel, consider incorporating grain. Set Amount: 15, Size: 40, Roughness: 50 to evoke a film-like quality while keeping the focus sharp. Remember, moderation is key - overdoing vignetting or grain can make the image look unnatural, so adjust sliders carefully for a balanced result.
You can also tweak Texture and Clarity settings to bring out fine details in your subject while maintaining the mysterious vibe of low-key photography. These adjustments, though subtle, can make a big difference in the final look of your image.
Using Presets.io for Low-Key Edits
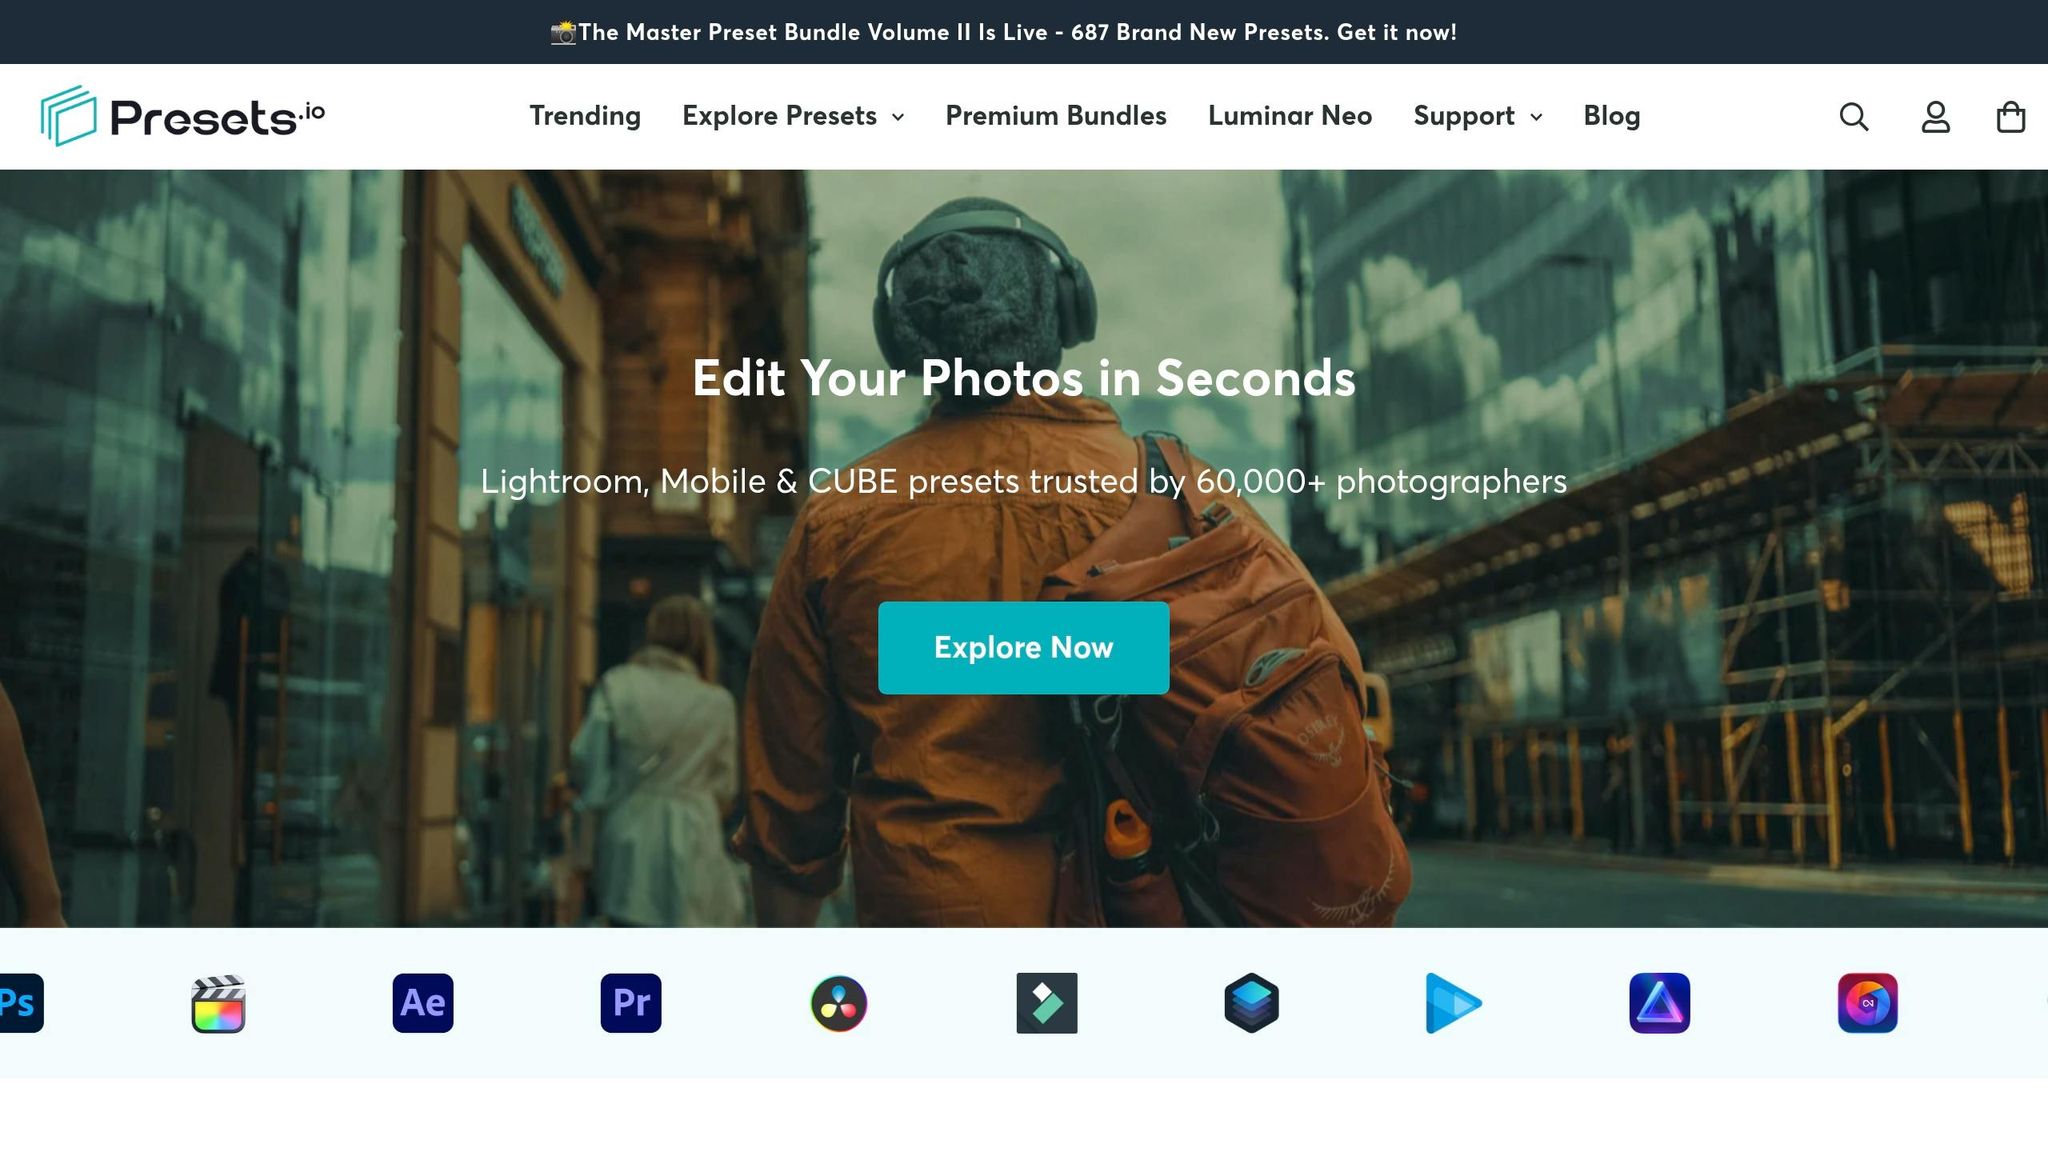
If you're aiming for a consistent dark aesthetic or want to speed up your workflow, Presets.io offers Lightroom presets designed specifically for moody and dramatic photography. These presets cater to low-key styles, including dark and cinematic tones, making it easier to achieve your creative vision.
To get started, download a preset from Presets.io and follow their installation guide. Once imported, you'll find your presets under the "Yours" tab in Lightroom's Presets panel. Applying a preset is as simple as clicking on it. These presets adjust key settings like exposure, contrast, and color grading, giving you a professional starting point that saves time compared to manual adjustments.
Lightroom also lets you fine-tune presets with the Amount slider. Slide it closer to 0 for a softer effect or toward 200 for a bolder look. After applying a preset, you can make additional tweaks in the Edit panel to perfect the image. If you create a combination you love, simply right-click the preset and select "Update With Current Settings" to save your customizations.
For batch editing, select multiple photos in Grid view and apply your chosen preset to all of them at once. This ensures a consistent style across a series or even an entire social media feed, helping to build a recognizable aesthetic. Presets not only save time but also maintain the quality and consistency that low-key photography demands - letting your work stand out effortlessly.
Conclusion
Editing low-key photos in Lightroom is all about playing with shadows and selective highlights to create drama. Once you've worked through your global and local edits, it's time to refine your low-key aesthetic.
"An exposure is correct if it fits your creative vision".
Revisit the techniques we’ve discussed - adjusting exposure, enhancing contrast, and fine-tuning colors - to craft your distinct dark style. A luminance mask can help reduce shadow noise while preserving important details.
To streamline your workflow, consider using high-quality low-key presets from Presets.io. These presets can instantly set the mood and save you time on adjustments. You can easily tweak them with the Amount slider (ranging from 0 to 200) to suit your specific lighting conditions.
Low-key photography thrives on creativity, so don’t hesitate to experiment. While it’s important to avoid clipping critical details, remember that there’s no universal "correct" exposure - only the one that aligns with your vision. With consistent practice and the right tools, you’ll develop a style that makes your work stand out.
FAQs
How do I keep my subject sharp without crushing the blacks?
To maintain your subject's sharpness in Lightroom without losing detail in the darker areas, steer clear of overdoing shadow or black adjustments. Instead, rely on tools like masks or local adjustments to fine-tune shadows in specific areas while keeping your subject intact.
For example, luminance masks or the brush tool can help you target shadow regions precisely, minimizing noise without altering the entire image. Another effective method is tweaking the tone curve selectively, which can boost sharpness while preserving a well-balanced contrast throughout the photo.
What should I do if my low-key edits create noisy shadows?
To tackle noisy shadows in low-key edits, steer clear of heavy overall noise reduction - it can end up smearing important details. A better approach? Use luminance masking in Lightroom. Here's how:
Select the shadow areas using the brush tool.
Enable the Luminance option in the Range Mask settings.
This method focuses on reducing noise specifically in the shadows, leaving midtones and highlights untouched. The result? Cleaner shadows without sacrificing overall image quality.
When should I use a preset vs manual edits for low-key photos?
When you're aiming for quick, consistent edits to match a specific vibe or aesthetic - especially for a series of similar low-key photos - presets are your go-to. They save time and help maintain a cohesive look across your images.
On the other hand, if you're looking to fine-tune details like contrast, shadows, or highlights, manual edits are the better option. These give you complete control, letting you shape the image to perfectly capture the mood or effect you're after.