
Table of Contents
Lightroom Color Toning: Bright and Airy Explained
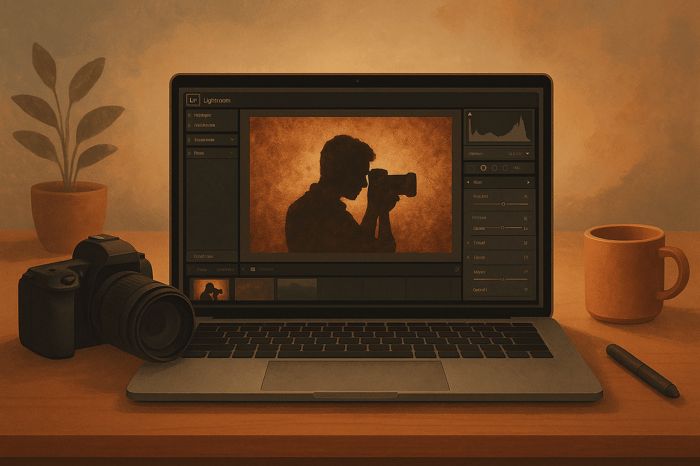
Bright and airy photography is about creating soft, dreamy images with pastel tones, radiant highlights, and minimal shadows. While good lighting is essential, the real magic happens during Lightroom editing. This style is perfect for weddings and portraits, emphasizing warmth, romance, and elegance.
To achieve this look in Lightroom, focus on these key adjustments:
- Exposure: Increase to brighten the image without losing details.
- Contrast: Keep it soft for subtle transitions between light and dark.
- White Balance: Adjust for clean, warm tones.
- HSL Panel: Fine-tune colors, desaturate greens slightly, and brighten yellows.
- Tone Curve: Add a gentle S-curve for a soft, glowing effect.
- Local Adjustments: Use tools like Radial and Graduated Filters to enhance specific areas.
For faster results, presets can save time while maintaining consistency. Tools like Presets.io's Light & Airy Collection offer pre-configured settings for both desktop and mobile, making it easier to refine your edits across multiple images.
How to Edit LIGHT & AIRY PHOTOS in LIGHTROOM 🌿
Basic Principles of Bright and Airy Photography
Creating stunning bright and airy photographs starts with thoughtful shooting techniques - choosing the right camera settings and locations - and is refined through careful editing in Lightroom. These initial steps lay the groundwork for achieving the signature look of this style.
Key Features of the Bright and Airy Style
The bright and airy aesthetic stands out due to its distinctive visual traits. At its core is high exposure, which brightens the image while keeping highlight details intact. This results in a radiant quality, giving subjects a natural, glowing appearance.
Soft contrast plays a crucial role as well. Instead of dramatic shadows and stark highlights, this style leans on gentle transitions between light and dark areas. Shadows are subtle, often barely noticeable, and have soft, diffused edges rather than sharp lines.
The color palette is dominated by pastels, with lighter, muted tones taking center stage. Clean whites serve as a foundation, offering a sense of openness and enhancing the overall airy vibe. Slight shifts toward warmer or cooler tones evoke emotions of joy, love, and serenity.
"The light and airy look is a photography style associated with health, happiness, summer and love. In other words, all the good feels." - Jane Allan
When combined, these elements create a dreamy, ethereal atmosphere that highlights natural beauty. This style is particularly suited for capturing tender moments and emotional connections, enveloping subjects in soft, flattering light.
Natural Light and Composition Basics
Soft, diffused natural light is the cornerstone of bright and airy photography. It ensures even lighting across the subject, avoiding harsh shadows or overexposed highlights.
Many photographers in this style use backlighting - positioning the sun behind their subjects - to create a glowing effect. Around 80% of bright and airy photographers rely on this technique, slightly overexposing skin tones by about half a stop to maintain detail while avoiding silhouettes.
Open shade is another excellent lighting choice, especially during midday when direct sunlight can be too harsh. It offers bright, even light that complements the style. Meanwhile, the golden hour and soft morning light bring out the warm, creamy tones that define this look. Overcast days are also ideal, as the natural cloud cover diffuses light, reducing harsh shadows.
The background is just as important as the light. White or pastel-colored backdrops provide a clean, uncluttered setting that enhances the airy feel and allows the subject to shine. Positioning subjects to face open spaces ensures their faces are well-lit, reinforcing the bright and luminous aesthetic.
Lens and aperture choices also shape the final image. Wide apertures - typically between f/1.4 and f/2.5 - create a beautifully blurred background, adding to the soft, romantic feel of the photo. Prime lenses are often preferred for their ability to produce the shallow depth of field and sharpness that complement this style.
With well-thought-out composition and lighting, only minor Lightroom adjustments are needed to enhance the natural brightness and achieve the desired look.
Lightroom Workflow for Bright and Airy Toning
After capturing your images with proper lighting and composition, Lightroom becomes your go-to tool for creating that signature bright and airy style. The editing process starts with basic adjustments and gradually moves into more detailed color tweaks. By combining these Lightroom techniques with your initial shooting approach, you can transform your photos into light-filled, dreamy visuals. Key adjustments include exposure, contrast, white balance, and fine-tuning with the HSL panel and tone curves.
Exposure and Contrast Settings
Begin in the Basic panel by increasing the exposure to brighten your image while keeping important details intact. To achieve the soft, muted feel of this style, slightly lower the contrast - aiming for a range between 0 and +10.
Adjust the highlights slider to protect details in the brightest areas while maintaining the image’s luminous quality. Raise the shadows to lighten darker areas and add depth; a range between +10 and +35 works well to reduce harsh contrasts. For the whites and blacks sliders, fine-tune based on your image's needs - lifting the blacks can prevent overly dark spots, while subtle tweaks to the whites help maintain balance.
To create a soft, dreamy effect, reduce the clarity slider slightly. Start around –4 and adjust carefully to avoid an over-processed look.
White Balance Settings
White balance plays a pivotal role in achieving the bright and airy aesthetic. Adjust the temperature slider to ensure whites appear clean and crisp. Use the tint slider to neutralize any unwanted color casts, which can have a big impact on the final look.
HSL/Color Panel Settings
The HSL (Hue, Saturation, Luminance) panel allows for precise control over individual colors, making it essential for this style.
"The HSL panel is a great way to get started with color grading your images".
Selective desaturation of oranges, yellows, greens, and magentas creates a more natural, subtle edit.
When adjusting hues, aim for a balanced approach.
"Light and airy photography has a bad rap for totally desaturating all greens, but I like to aim for just pulling some of the neon yellow out of greens".
To achieve this, shift the yellow hue slightly toward green, increase the luminance of yellows for added brightness, and reduce yellow saturation for a softer look. Use the luminance sliders to brighten specific colors without altering their saturation.
Tone Curve and Color Grading
The Tone Curve is a powerful tool for refining contrast. Apply a gentle S-curve or lift the blacks slightly to soften the overall contrast while maintaining brightness.
For the finishing touch, use the Color Grading panel (formerly Split Toning) to add subtle tones to highlights, midtones, and shadows. Warm tones like pale yellows, creams, or light oranges in the highlights enhance luminosity, while cool tones like soft blues in the shadows provide a balanced contrast. The goal is to complement the image's natural feel without overpowering its bright and airy character.

The Master Preset Bundle

$57.00
$672.00
The Master Preset Bundle Every Style. Every Platform. One Download Get 56 high-quality Presets.io collections in one complete bundle — designed to help you edit faster, stay consistent, and get professional-looking results in seconds. Get All High-Quality Preset Collections For… continue reading
Advanced Techniques for Better Results
Once you’ve got the basics down, diving into advanced Lightroom techniques can take your bright and airy edits to the next level. These approaches focus on precise adjustments and subtle refinements, helping you create polished images while preserving that signature luminous style.
Local Adjustments for Subject Focus
Local adjustments are all about zeroing in on specific areas of your image to enhance the bright and airy vibe without altering the entire photo. Lightroom offers tools like the Radial Filter, Graduated Filter, and Masking Brush to help you make these precise changes.
- Radial Filter: Perfect for drawing attention to your subject. Select your focal area with a circular or oval shape, then increase exposure, lift shadows, and add a touch of clarity. This works especially well for portraits, giving skin a soft glow without over-sharpening.
- Graduated Filter: Ideal for landscapes, especially when balancing the brightness of the sky with the rest of the scene. Apply the filter from the top of the frame downward, and tweak exposure, contrast, or highlights to keep the sky looking natural yet vibrant.
- Masking Brush: Use this tool for even more control. For example, you can warm up skin tones by adjusting the temperature slider or lift shadows to maintain soft pastel hues. If background elements are distracting, try creating a luminosity mask to tone them down by reducing saturation and clarity. This keeps the focus on your subject without making the edits feel heavy-handed.
After completing these targeted edits, step back and review the image as a whole to ensure everything feels balanced.
Fine-Tuning and Review Process
Once your edits are in place, it’s time to fine-tune and evaluate. Use Lightroom’s histogram and before/after comparisons to ensure your image retains its bright and airy charm. The histogram can help you avoid clipping shadows or highlights - aim for a brightness distribution that leans toward the lighter side without pushing highlights off the scale. For added precision, hold the Alt/Option key while adjusting highlights to spot areas where detail might be lost.
"The Tone Curve gives you total control over light, contrast, and depth in your photos. It lets you fix tricky lighting, fine-tune details, and shape your signature style with precision." - Cienna So
The Tone Curve is a powerful tool for adding depth and refining colors. For example:
- Use the Red channel to subtly warm up highlights while keeping skin tones natural.
- Lower the Blue channel in the shadows for a calming, soft effect.
- Tweak the Green channel to correct any unwanted color casts.
Creating virtual copies of your image at different stages can be a lifesaver. It allows you to experiment with edits and easily revert if something doesn’t work. You can also use Lightroom’s Reference View to compare your current edit with a favorite bright and airy image, ensuring consistency across your collection.
Pay extra attention to skin tones during this process. Zoom in to 100% to make sure the skin looks natural and vibrant under the bright and airy treatment. If it appears too flat or desaturated, adjust the HSL panel to bring back warmth and life.
Finally, check your image at varying zoom levels and under different lighting conditions. Bright and airy edits can shift in appearance depending on the display or ambient light, so make sure your final image holds up across different settings.
For a finishing touch, consider creating a custom tone curve. Raise the black point slightly, lower the highlight point, and add a gentle S-curve in the midtones. This balances contrast while keeping the overall brightness intact, ensuring your photo stays true to the bright and airy aesthetic.
Using Presets for Bright and Airy Edits
Editing multiple images to achieve that bright and airy aesthetic can be a time-consuming process. That’s where presets come in, offering a way to save time while maintaining creative control and consistency.
Why Use Presets
Presets are a game-changer for photographers looking to streamline their editing workflow. A 2020 study revealed that full-time wedding photographers spend over half their time editing photos. This highlights the need for efficient tools like presets to simplify the process.
With presets, you can quickly achieve your desired look without spending hours on manual adjustments. They handle key aspects like exposure, highlights, shadows, and color temperature automatically. For beginners, presets also serve as a learning tool - by analyzing how adjustments are applied, you gain insights into professional editing techniques.
This efficiency naturally leads many photographers to explore curated preset collections for consistent and polished results.
Presets.io: Your Go-To for Bright and Airy Styles
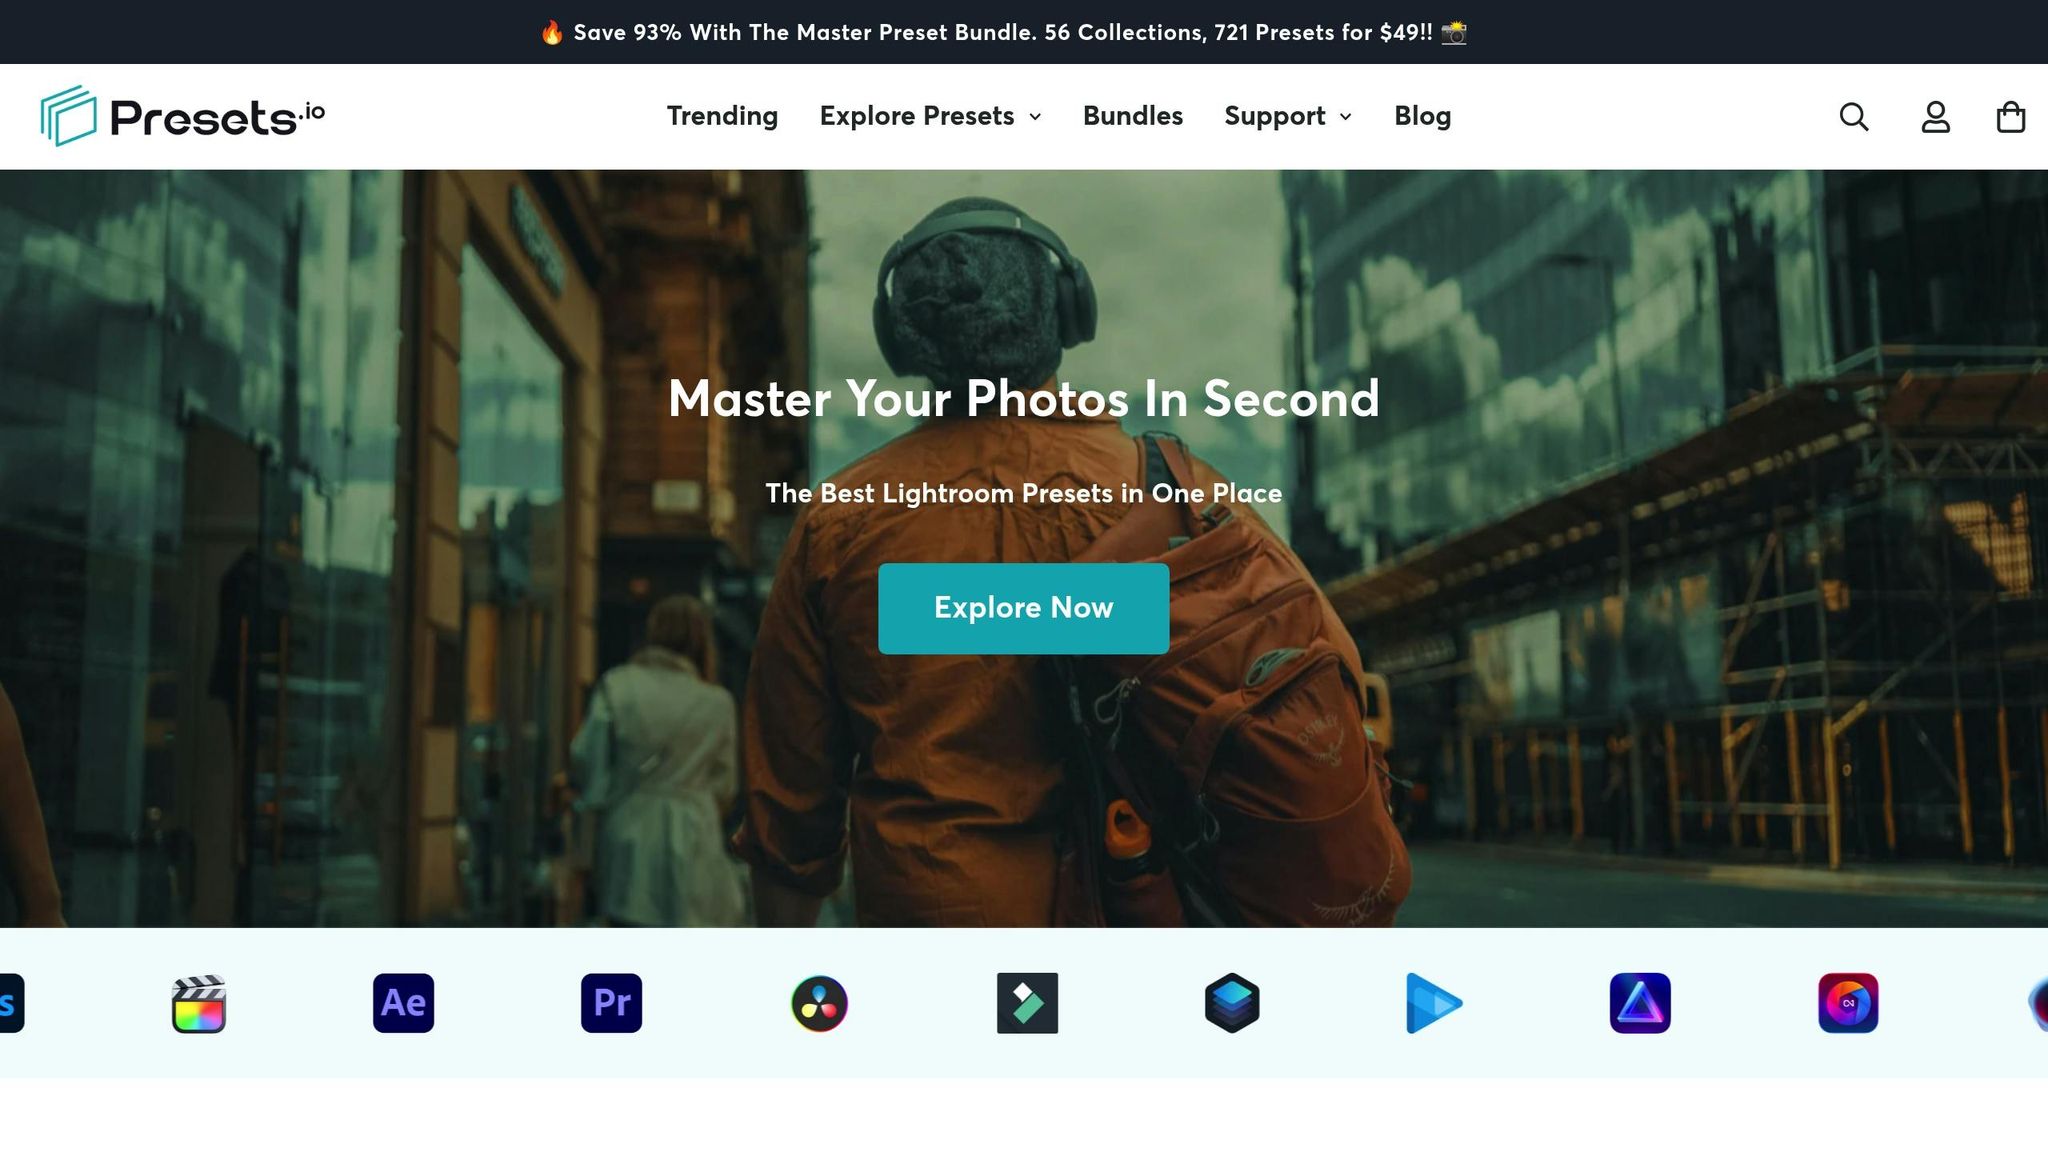
If you’re looking for presets tailored to the bright and airy aesthetic, Presets.io offers a standout solution. Their Light & Airy Preset Collection is specifically designed to elevate your photo editing experience.
Here’s what you get:
- 20 presets for both mobile and desktop
- 20 LUTs for video editing
- All for just $12.00
The collection is compatible across platforms, so whether you’re editing on your laptop or making quick tweaks on your phone, your style remains consistent. With a perfect 5.00 out of 5 rating based on 15 reviews, users rave about the clean, light, and airy results. Many also highlight how well these presets handle delicate skin tones, making them ideal for portraits.
Presets.io keeps things easy for all skill levels. They provide installation guides and tutorials to help even beginners integrate presets into their workflow. Plus, their weekly updates ensure you always have access to fresh styles and trends.
Manual Editing vs. Presets: What Works Best?
Deciding between manual editing and presets depends on your project and goals. Here’s a quick comparison:
| Aspect | Manual Editing | Presets |
|---|---|---|
| Control | Full creative control over every detail | Quick application with optional fine-tuning |
| Speed | Time-intensive, especially for large batches | Instant application for faster workflows |
| Consistency | Requires effort to maintain uniformity | Delivers automatic consistency across images |
| Learning Curve | Requires advanced technical knowledge | Beginner-friendly and educational through analysis |
For many photographers, the best approach combines both methods. Start with a preset that aligns with your vision, then fine-tune manually for a personalized touch. This hybrid method offers the efficiency of presets while allowing for creative precision.
It’s worth noting that presets work best as a starting point. Every image is unique, with its own lighting, subjects, and composition. The key is to find presets that complement your style and use them as a foundation for further refinement.
Conclusion
Mastering bright and airy Lightroom edits opens up a world of creative possibilities for photographers who love this timeless style. Its ability to produce images that feel both modern and emotionally impactful makes it a favorite for weddings, family portraits, and lifestyle shoots.
The techniques behind this look are straightforward yet effective, building on the workflow tips covered throughout this guide. By managing exposure carefully, fine-tuning the HSL panel, and refining the tone curve, you can achieve that signature luminous quality that defines this aesthetic.
Planning ahead is just as important as the technical adjustments. Encouraging clients to wear soft, neutral tones, selecting locations with plenty of natural light, and shooting with wider apertures (like f/1.8 to f/2.5) all contribute to the dreamy, light-filled atmosphere. These choices reinforce the composition and lighting principles discussed earlier, setting the stage for a seamless editing process.
To streamline your workflow, presets can be a game-changer. Tools like the Light & Airy Preset Collection from Presets.io provide a professional foundation that you can tweak to suit each image. As Nathan Darma from Darma Photography puts it:
"Lightroom presets are essentially pre-configured sets of editing adjustments designed to streamline and enhance the post-processing workflow for digital photographs."
The bright and airy style isn't just a fleeting trend - it’s a way to create stunning, memorable images. By combining the technical techniques and workflow strategies outlined in this guide with tools like high-quality presets, you can develop a consistent process that delivers beautiful results while saving time. This blend of precision and efficiency ensures your photography stands out and leaves a lasting impression.
FAQs
What camera settings and techniques should I use to create a bright and airy look before editing in Lightroom?
To create a bright and airy aesthetic in your photos, it all starts with the right camera settings and techniques. Use a wide aperture - something like f/1.8 to f/2.2 - to let in more light and give your images that soft, dreamy depth. Shooting in RAW format is key because it preserves all the fine details, giving you more flexibility during editing. Keep your ISO as low as possible to minimize noise, and aim for a properly exposed shot. Using manual mode gives you full control over your settings, while tweaking the Kelvin temperature can help you achieve those warm, inviting tones.
For lighting, stick to soft, natural light. Open shade or gentle backlighting can work wonders for this style, giving your photos a soft glow without harsh shadows. Once you've nailed these basics, you can take your images to the next level during post-processing in Lightroom.
How do I use the Tone Curve and HSL Panel in Lightroom to achieve a bright and airy look while keeping details intact?
To achieve a light and airy look in Lightroom, start with the Tone Curve. Apply a subtle S-curve to boost contrast while keeping the overall vibe soft and gentle. To add a dreamy touch, slightly lift the black point - this softens the shadows without losing key details.
Next, head to the HSL Panel. Increase the luminance of yellows and oranges to brighten skin tones and warm up the image. Be cautious with hue and saturation adjustments - keep the colors natural and avoid oversaturating, as that can make the photo feel artificial. These tweaks work together to create that bright, airy aesthetic while still retaining the intricate details in your shot.
What are the benefits of using Lightroom presets for a bright and airy look, and how can I adjust them to reflect my unique style?
Using Lightroom presets offers a quick and consistent way to nail that bright and airy aesthetic. These presets are essentially pre-set adjustments designed to tweak exposure, highlights, shadows, and colors, giving your photos that soft, luminous, and dreamy vibe with minimal effort.
What’s even better? You can tweak them to fit your style. Adjust settings like brightness, contrast, or color temperature to keep the light and airy feel but add your own unique touch. Think of presets as a time-saving tool that helps you build a cohesive, polished look for your photos while allowing room for personalization.