
Table of Contents
How to Use Lightroom Presets for Noise Reduction
Lightroom presets simplify noise reduction, especially for wildlife photography. High ISO settings often introduce grain (luminance noise) and color speckles (color noise), which can degrade image quality. Instead of manually adjusting every photo, presets apply pre-configured settings with a single click, saving time and ensuring consistent results.
Key Steps:
- Use RAW Files: RAW retains sensor data, offering more flexibility for noise reduction.
- Basic Edits First: Adjust exposure, white balance, and crop the image before applying noise reduction.
- Apply Presets: Choose presets based on intensity (e.g., Light, Medium, Heavy) and tweak settings as needed.
- Fine-Tune Details: Adjust sliders for luminance, detail, and color to preserve textures like fur and feathers.
- AI Denoise: For high ISO images, Lightroom's AI Denoise can handle significant noise while maintaining clarity.
Tips:
- Zoom in to 100% to assess noise and texture.
- Use ISO-adaptive presets for tailored adjustments.
- Combine AI Denoise with manual tweaks for optimal results.
Presets streamline the process, letting you focus on refining details. Platforms like Presets.io offer collections tailored for wildlife photography, balancing noise reduction with texture preservation.
How to Create an ADAPTIVE ISO Preset in Lightroom

Preparing Your Wildlife Photos for Noise Reduction
Getting your wildlife photos ready for noise reduction can elevate them from ordinary to extraordinary, highlighting every intricate detail of fur, feathers, or scales.
Importing and Checking RAW Files
When working on noise reduction, always import your wildlife photos as RAW files, not JPEGs. RAW files retain all the sensor data, giving you the flexibility to make precise edits. This is especially important for wildlife shots taken in low light or with high ISO settings.
Lightroom automatically applies a default color noise reduction value of 25 to RAW files upon import. This provides a helpful starting point by addressing color noise without requiring immediate manual input.
After importing, view your images at 100% zoom to evaluate noise levels accurately. Pay close attention to areas like the animal's eyes and face, as these are the focal points where any flaws will be most noticeable.
At this magnification, you'll notice two main types of noise common in wildlife photography. Luminance noise appears as a grainy, monochromatic texture, similar to film grain, while color noise presents as scattered, multicolored pixels. Be sure to inspect shadowed areas carefully, as these are often where noise is most pronounced, especially if your subject is partially obscured.
Making Basic Adjustments First
Before diving into noise reduction presets, prioritize a few foundational edits: exposure, white balance, and cropping. Addressing these first ensures a smoother workflow and better final results.
- Exposure comes first because it directly impacts noise visibility. Underexposed photos often reveal more noise, and brightening them later can make the issue worse. Proper exposure minimizes these problems upfront.
- White balance is next to ensure accurate colors. If white balance is off, it can exaggerate color noise, making it harder to fix during noise reduction.
- Crop last to remove unnecessary parts of the image. This focuses the noise reduction process on your subject, saving time and preserving file efficiency by avoiding edits to areas that will be discarded.
These steps are essential because noise reduction tools work best on images that are already well-exposed and color-balanced. By setting this strong foundation, you can preserve fine details like fur textures and feather patterns while achieving a clean, polished look.
Once you've completed these basic adjustments, you're ready to apply Lightroom presets for precise noise reduction and bring out the best in your wildlife photography.
Applying Lightroom Presets for Noise Reduction
Once your wildlife photos are prepped, the next step is to apply presets designed to reduce noise while keeping the fine details of your subjects intact.
Finding and Applying Noise Reduction Presets
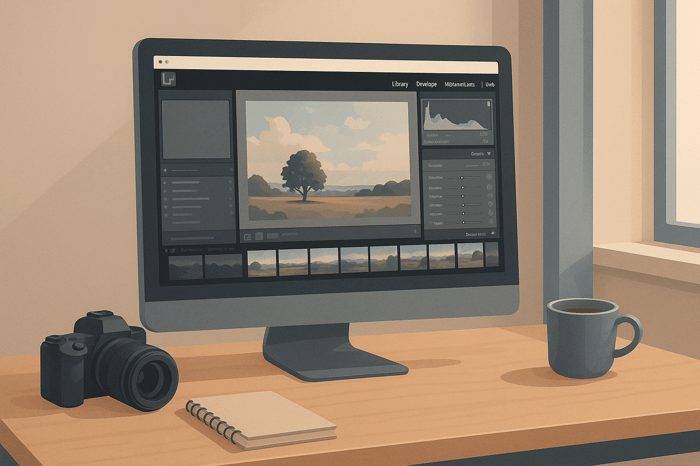
Head over to the Presets panel in the Develop module on the left side. Noise reduction presets are typically categorized by intensity, such as "Light", "Medium", or "Heavy", making it easier to choose the right level based on the noise in your image.
If your wildlife shots were taken at high ISO settings, start with a medium-intensity preset and tweak as needed. Simply click on a preset, and Lightroom will apply the adjustments instantly.
Lightroom offers two main tools for noise reduction: manual adjustments in the Detail panel and the AI-powered Denoise feature. The AI Denoise option creates an enhanced DNG file, often delivering superior results for images with significant noise from high ISO settings. In many cases, this feature surpasses manual adjustments for cleaning up wildlife photos.
For a more tailored approach, ISO-adaptive presets are a great choice - they automatically adjust the noise reduction levels based on the ISO of your image.
Many professional wildlife photographers rely on curated preset collections from resources like Presets.io, which specialize in noise reduction settings optimized for nature and wildlife photography. These collections often include step-by-step installation guides and are updated regularly to stay compatible with Lightroom’s latest tools.
Once the preset is applied, fine-tune the settings for the best clarity and detail.
Understanding Key Preset Settings
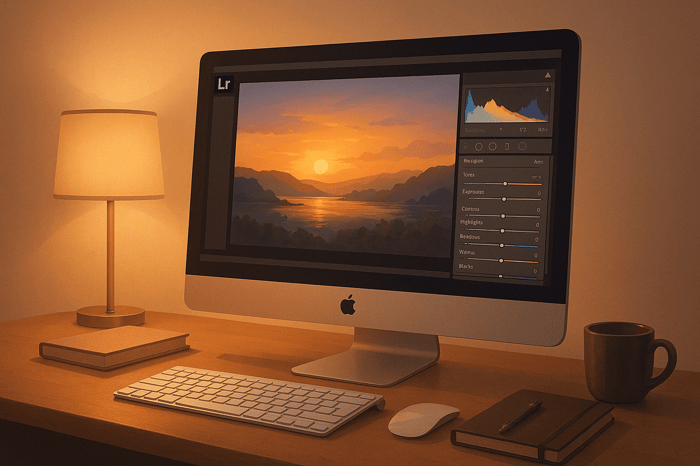
After applying a preset, take a closer look at the key settings it adjusts. Understanding these parameters will help you refine the noise reduction effect to suit your specific photo.
- Luminance adjustments are used to reduce grain while keeping essential textures intact. These typically range from +10% to +25%.
- The Detail slider helps balance texture preservation and smoothing. Higher values retain sharp details, while lower values create a smoother finish. This balance is especially important for showcasing the intricate textures in wildlife subjects.
- Contrast plays a role in tonal adjustments during noise reduction. Be cautious with this setting - too much contrast can make residual noise more noticeable. Wildlife presets often use moderate contrast levels to maintain a natural appearance.
- The Color slider targets chromatic noise, especially in shadow areas. Presets fine-tune this setting to avoid overcorrecting or altering the natural colors of your image.
- Smoothness helps blend color transitions more seamlessly, reducing the risk of color bleeding.
For the best results, noise reduction presets should be applied to well-exposed RAW files. If a photo is underexposed and requires significant brightening in post-processing, additional manual adjustments may be necessary to complement the preset’s effects.

The Master Preset Bundle

$57.00
$672.00
The Master Preset Bundle Every Style. Every Platform. One Download Get 56 high-quality Presets.io collections in one complete bundle — designed to help you edit faster, stay consistent, and get professional-looking results in seconds. Get All High-Quality Preset Collections For… continue reading
sbb-itb-b27063b
Fine-Tuning Your Results
Once you've applied a noise reduction preset, it's time to fine-tune the settings to strike the right balance between reducing noise and keeping the natural textures and sharpness of your wildlife subjects intact. These adjustments are crucial to maintaining the authentic look of your images. Head over to the Detail panel for manual refinements to perfect your results.
Making Manual Adjustments
The Detail panel offers tools to help you refine noise reduction. Make subtle changes while frequently checking your results at high magnification to ensure precision.
Start with the Sharpening slider to bring back crisp edges and fine details. This step is especially important for features like eyes, beaks, and fur, which define the character of wildlife images. Increase sharpening gradually, keeping an eye out for unwanted artifacts that might appear.
Next, adjust the Luminance Detail slider to find the right balance between smoothness and texture preservation. This tool determines how much fine detail remains after noise reduction. Higher values retain more detail but may leave some noise, while lower values smooth the image more aggressively, potentially losing texture. Begin with the default setting of 50 and tweak it based on what you see in your image.
Use Texture, Clarity, and Contrast sliders sparingly to restore micro-contrast without reintroducing noise. These adjustments are particularly useful for bringing back the natural look of fur, feathers, or scales. Apply them carefully to avoid over-processing and maintain the organic feel of your subject.
Pay special attention to critical areas like fur, feathers, and scales, as these textures can easily lose their definition if overdone. Always zoom in to at least 100% to inspect these details closely and ensure your adjustments enhance rather than detract from the image.
For images that are underexposed, proceed cautiously with noise reduction. These shots are more susceptible to looking unnatural if processed too heavily.
Checking Before and After Views
Once you've made your adjustments, it's essential to review your edits by comparing the original and edited versions. Use the backslash () key or Lightroom's side-by-side comparison feature to toggle between the two.
Check your work at multiple magnifications, from 100% to 800%, to spot any loss of texture, over-smoothing, or artifacts like a "waxy" appearance in key areas such as eyes, fur, or feathers. At the same time, zoom out to evaluate the overall effect, as excessive noise reduction might not be noticeable at smaller sizes but can negatively impact quality when printed or displayed on larger screens.
Pay close attention to shadowed areas and regions with intricate patterns, as these often reveal the first signs of over-processing. If you notice overly smooth textures or lost detail, dial back the noise reduction or increase the Detail slider to recover some of the texture.
The goal is to reduce noise while keeping the natural character of your subject intact. Sometimes, retaining a bit of texture is better than creating an overly smooth, artificial look. Strive to find that perfect balance where your image looks clean yet authentic.
Best Practices for Wildlife Photography Noise Reduction
To achieve the perfect balance in wildlife photography, noise reduction must be handled with care. The goal? Eliminate unwanted grain while preserving the intricate textures that make your subject stand out. Let’s dive into some best practices to refine your noise reduction workflow.
Common Problems and How to Fix Them
Even with presets and manual adjustments, certain issues can crop up during noise reduction. Here’s how to tackle them effectively:
Loss of Fine Detail
One of the most common challenges is losing the delicate textures that make wildlife photography so captivating. Noise reduction tools often blur the line between actual noise and essential details like feathers or fur. If your subject starts to look overly smooth or artificial, it’s a sign that the noise reduction is too aggressive. To fix this, adjust the Luminance slider downward and increase the Detail slider. A good starting point for the Detail slider is around 60–70, but always check your adjustments at 100% magnification to ensure textures remain intact.
Over-Smoothing
When noise reduction is applied uniformly across an image, it can lead to an unnatural, waxy appearance. This is especially problematic for wildlife subjects, where texture and realism are key. To address this, use the Contrast slider in the noise reduction panel to reintroduce natural variation in textures. For more control, apply noise reduction selectively with local adjustment tools, targeting specific areas without affecting the entire image.
Color Issues
Color bleeding, mottling, or unnatural shifts can occur, particularly in areas with detailed patterns or vibrant backgrounds. For example, animal markings might lose definition, or foliage could develop odd color casts. To resolve this, tweak the Color Noise Reduction and Smoothness sliders. Additionally, the Detail slider in the color noise section can help protect edges and prevent excessive blending between colors. Focus on areas like eyes or textured surfaces, as over-processing is most noticeable there.
AI Denoise vs Manual Noise Reduction Comparison
Deciding between AI Denoise and manual noise reduction depends on your workflow and the specific needs of your image. Here’s a quick comparison to guide you:
| Method | Best For | Advantages | Limitations |
|---|---|---|---|
| AI Denoise | High-ISO images, batch processing | Fast, efficient, and great for uniform noise in ISO 6400+ shots | Produces larger DNG files (up to 3x original size); less control over details |
| Manual Noise Reduction | Complex textures, selective adjustments | Precise control over luminance, color, and detail; no increase in file size | Time-intensive and requires experience; more prone to user error |
AI Denoise shines when working with high-ISO images where noise is evenly distributed. Powered by machine learning, it can quickly clean up noise while maintaining a polished look. It’s especially useful for batch processing, saving time when dealing with multiple images. However, the downside is the creation of larger DNG files, which can slow down your workflow and eat up storage space.
On the other hand, manual noise reduction is ideal for preserving the fine details in images with complex textures. By adjusting individual sliders for luminance, color, detail, and contrast, you gain the precision needed to retain the natural character of your subject. While this approach takes more time and expertise, it allows for targeted corrections that are hard to achieve with automated methods.
Many wildlife photographers opt for a hybrid approach: using AI Denoise for an initial cleanup on high-ISO images, then fine-tuning textures and details manually. For images shot at ISO 6400 and above, AI Denoise is often the fastest way to achieve clean results. For lower ISO shots or those with intricate textures, manual adjustments provide the precision required to maintain authenticity. The key is to evaluate each image individually and choose the approach that best suits its unique characteristics.
To streamline your workflow, start with high-quality presets designed for wildlife photography. Platforms like Presets.io offer presets tailored to noise reduction, giving you a solid foundation before diving into manual fine-tuning.
Conclusion
Lightroom presets take the hassle out of noise reduction, turning what used to be a time-consuming chore into a quick and efficient process. With just one click, you can apply carefully designed settings that deliver consistent, high-quality results.
Imagine you're editing a batch of high-ISO wildlife photos. Instead of manually tweaking each image, you can apply a preset like "Medium Noise Reduction" to all of them at once. This not only saves time but also gives you a polished starting point for any additional edits.
For top-notch results, consider using presets created by seasoned editors at Presets.io. These presets are specifically designed to balance noise reduction with detail retention, which is essential for wildlife photography. Whether it's the intricate patterns of feathers, the texture of fur, or the scales of a reptile, these presets help preserve the natural beauty of your subject.
Once you've applied a preset, fine-tuning is key. Start by zooming in to 100% to check the details, then adjust sliders like Detail and Contrast as needed. Always compare the before-and-after views to make sure you're not over-smoothing textures that give your image character. This method combines the efficiency of presets with the precision of manual adjustments, creating a solid foundation for your editing workflow.
Whether you're working on one image or an entire series, presets take the guesswork out of noise reduction. They save you time while ensuring your wildlife shots retain the natural details that make them stand out.
FAQs
How can I adjust the intensity of a noise reduction preset in Lightroom?
To fine-tune the intensity of a noise reduction preset in Lightroom, begin by applying the preset to your image. Next, head over to the Detail panel and adjust the Noise Reduction slider. This gives you control over how much noise is reduced while ensuring the image retains its details.
If you're using presets from Presets.io, they’re crafted to work effortlessly. However, you can always make adjustments to suit your specific needs. Play around with the sliders to achieve the ideal balance, especially for your wildlife photography.
What are the advantages of using AI Denoise instead of manual noise reduction in Lightroom for wildlife photography?
Using AI Denoise in Lightroom can transform the way wildlife photographers handle noise in their images. Unlike manual noise reduction, which can be tedious and less precise, AI Denoise is designed to target noise while keeping intricate details intact. This is especially important for wildlife shots where textures like fur and feathers need to remain sharp and lifelike. The result? Cleaner, more polished photos with far less hassle.
The time-saving advantage is another standout feature. Instead of spending hours tweaking settings manually, AI Denoise streamlines the process to just a few clicks, delivering professional-quality results in no time. For photographers managing large collections of images, this efficiency can make post-processing significantly faster and more manageable.
Is it better to apply noise reduction presets to JPEG files or RAW files?
When it comes to achieving the best results with noise reduction presets, working with RAW files is highly recommended. RAW files preserve more image data than JPEGs, giving you greater flexibility and precision during editing. This extra data allows noise reduction adjustments to work more effectively, often leading to cleaner and higher-quality images.
That said, if you're working with JPEG files, noise reduction presets can still make a noticeable difference. Just remember that JPEGs contain less image data, so the results might not be as refined as those from RAW files. After applying a preset, always take the time to fine-tune the settings to get the best possible results for your specific photo.