
Table of Contents
- Complete Guide to Editing Photos in Lightroom
- Why Lightroom?
- Step 1: Getting Started with Lightroom
- Step 2: Applying Presets and Filters
- Step 3: Enhancing with Editing Tools
- Step 4: Removing Distractions with the Eraser
- Step 5: Integrating Lightroom with Photoshop
- Step 6: Exporting Your Edited Photos
- Key Takeaways
- Conclusion
- FAQs
Complete Guide to Editing Photos in Lightroom
Lightroom has become a go-to tool for photographers seeking a seamless, efficient, and creative photo editing experience. Unlike its counterpart, Lightroom Classic, this modern version caters to professionals and hobbyists alike, offering tools that are intuitive yet powerful. If you’re ready to transform your images into professional-quality masterpieces, this guide will walk you through the essential steps of editing your photos in LR, as explained in the detailed video tutorial.
Whether you’re new to Lightroom or looking to streamline your workflow, this article breaks down the process, focusing on organization, editing fundamentals, and creative enhancements. Let’s dive into the world of efficient photo editing!
Why Lightroom?
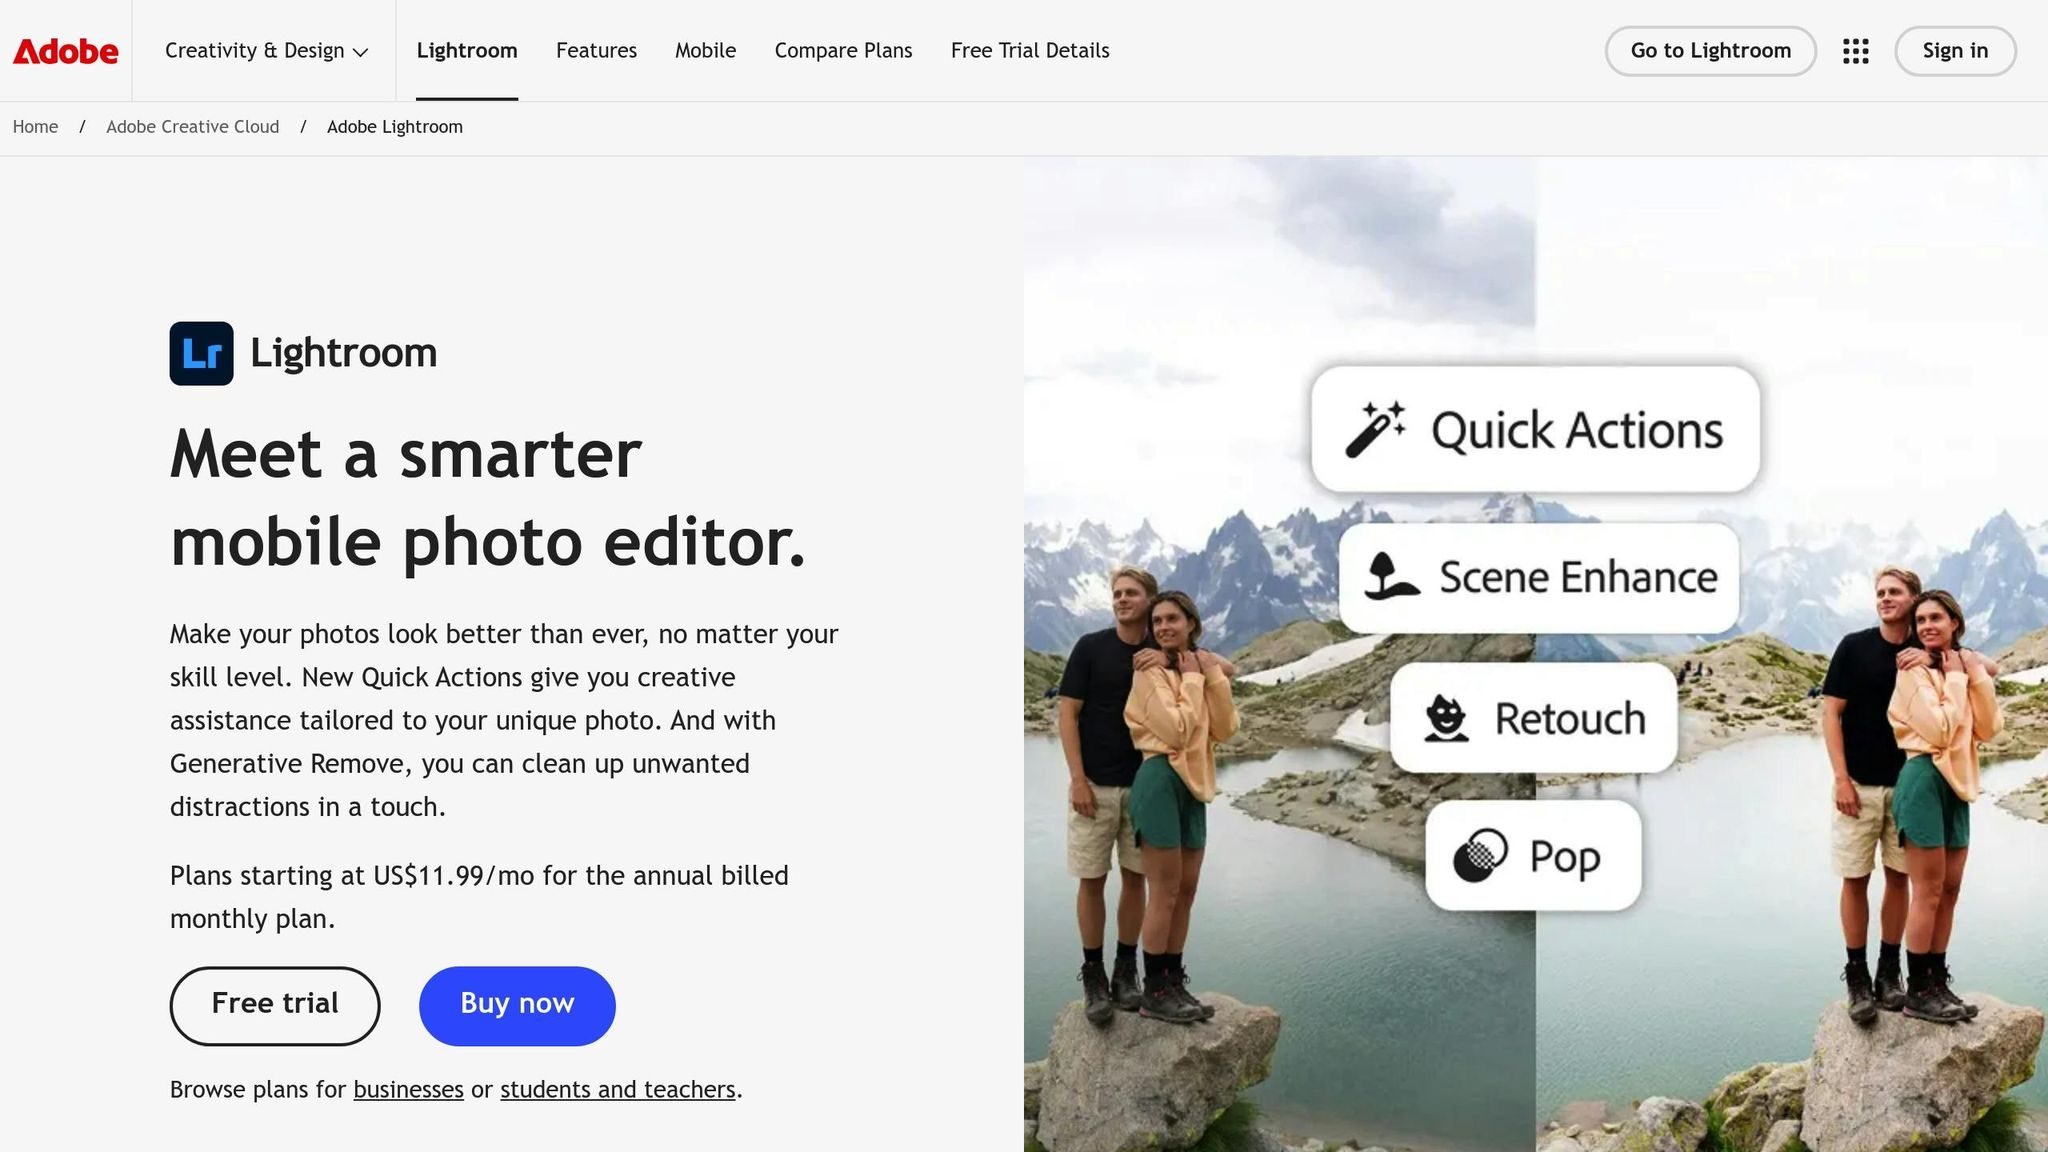
LR excels at combining simplicity with advanced editing features. It’s cloud-based, automatically saves changes, and integrates smoothly with Photoshop for even more powerful edits. If you’re tired of complex tools or extensive workflows, Lightroom’s streamlined interface and AI-powered features will help you save time while achieving stunning results.
Step 1: Getting Started with Lightroom
Before you can start editing, you’ll need to install and set up LR.
- Download and Install Lightroom:
- Open the Creative Cloud app on your computer.
- Navigate to the "Apps" section and download Lightroom (not LR Classic).
- Prepare Your Photos for Import:
- Create a dedicated folder on your computer to organize your images.
- For this tutorial, the speaker recommends naming the folder something like "Lightroom Edit Tutorial."
- Import Your Photos:
- Launch LR and sign in using your credentials (e.g., Google).
- Click the "Add Photos" button in the top-left corner.
- Select the folder containing your images, review them, and choose the ones you want to edit before importing.
Key Tip: Use Folders for Organization
Lightroom organizes your photos into a catalog system, which is essential for managing your workflow. After importing, quickly locate your photos by using the date-based navigation on the left-hand panel.
Step 2: Applying Presets and Filters
Presets are LR’s not-so-secret weapon, offering one-click edits that dramatically improve your photos.
- Access Presets:
- Open the editing panel on the right-hand side.
- Start with the "Preset" section at the top. Choose a filter that complements your photo’s mood or style.
- Fine-Tune the Preset:
- After applying a preset, click on the "Edit" tab just below.
- Adjust settings like contrast, brightness, and texture to suit your personal preferences.
- Experiment with AI:
- Lightroom employs AI to suggest filters and edits.
- These suggestions can be a great starting point or give you ideas for additional adjustments.

The Master Preset Bundle

$57.00
$672.00
The Master Preset Bundle Every Style. Every Platform. One Download Get 56 high-quality Presets.io collections in one complete bundle — designed to help you edit faster, stay consistent, and get professional-looking results in seconds. Get All High-Quality Preset Collections For… continue reading
Pro Tip: Downloading Custom Presets
Once you feel comfortable with the basics, explore the endless world of downloadable presets to expand your creative options further.
Step 3: Enhancing with Editing Tools
Editing tools in LR allow for precise adjustments and creative enhancements. Let’s break down the essentials:
Adjusting Basic Settings
- Brightness and Contrast: Brighten dark photos or make your subject pop by increasing contrast.
- Texture and Clarity: Enhance details by bumping up texture, or create a dreamy look by lowering clarity.
- Vignette and Blur: Add depth and focus to your subject by darkening edges with vignettes or applying lens blur.
Applying Crops and Straightening Images
Lightroom’s cropping tool is simple yet effective:
- Select the crop option and align your subject using the rule-of-thirds grid.
- For crooked images, use the "Straighten" or "Auto" tools to align the horizon or straighten vertical lines automatically.
Working with Masks
Masks are LR’s alternative to traditional selection tools, allowing you to make targeted edits.
- Subject Masking: Use AI to automatically detect and select your subject. Adjust brightness, contrast, or other settings to make the subject stand out.
- Background Editing: Invert the mask to edit everything but the subject. For example, desaturate the background to create a dramatic effect.
Step 4: Removing Distractions with the Eraser
Distractions like blemishes or unwanted objects can ruin an otherwise perfect photo. LR’s eraser tools are here to help.
- Eraser Tool: The AI-powered eraser is ideal for removing small imperfections, like light spots or stray objects.
- Healing Patch: Automatically repairs areas based on surrounding content.
- Clone Stamp: Gives you precise control over what areas are copied and pasted for cleanup.
Best Practice: Keep Your Eraser Precise
Adjust the eraser’s size to match the object you want to remove. One-click edits prevent the tool from making errors or blending poorly.
Step 5: Integrating Lightroom with Photoshop
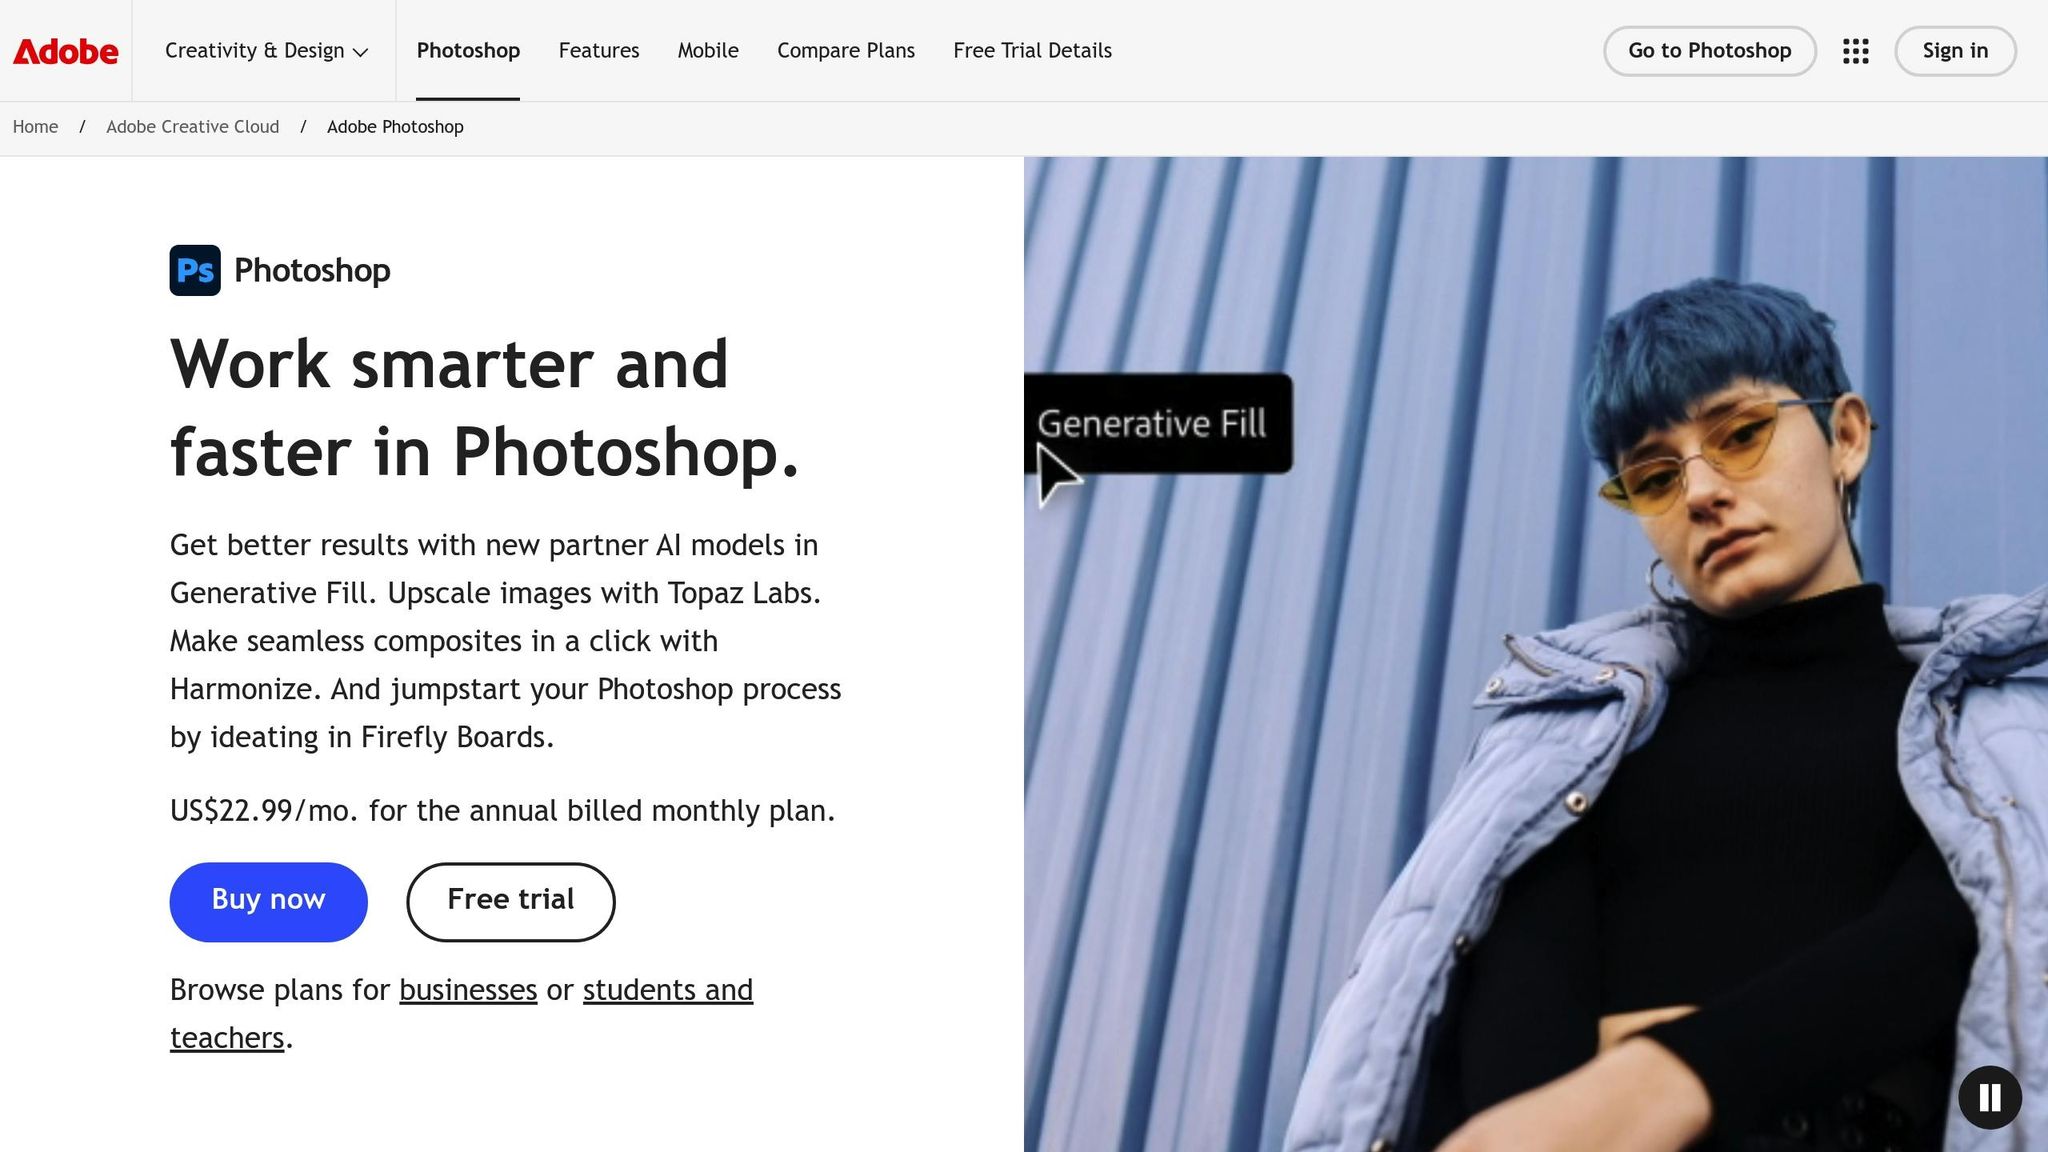
Sometimes, you’ll need more advanced tools for detailed edits. LR seamlessly integrates with Photoshop.
- Right-click on the photo you want to edit and select "Edit in Photoshop."
- Make your changes in Photoshop (e.g., transforming objects or adding creative effects).
- Save and close the image in Photoshop, and LR will sync the updated file automatically.
Creative Example: Transformations
In the video, the speaker demonstrates how to adjust a mushroom image’s shape in Photoshop, bulging it slightly to add a surreal element. This kind of creative experimentation sets LR apart when paired with Photoshop.
Step 6: Exporting Your Edited Photos
Once you’re happy with your edits, it’s time to export your work:
- Select Photos to Export: Hold "Control" (or Command) and click on the images you want to export.
- Export Settings: Use the "Quick Export" option to save your images as JPEGs.
- Organize Exports: Save your edits in a dedicated folder to keep your original images separate from the final versions.
Bonus Tip: Create an "Edited" Folder
Keeping your edited images separate from the originals ensures clarity and avoids overwriting files.
Key Takeaways
Here’s a quick summary of the most important steps and insights:
- Organize Before Importing: Keep your images in clearly labeled folders for easy navigation.
- Use Presets to Save Time: Start with a preset and fine-tune your edits for a polished result.
- Understand Basic Tools: Adjust contrast, brightness, and texture to enhance your image.
- Embrace Masking: Use AI-powered masks for targeted edits on subjects and backgrounds.
- Remove Distractions: Use the eraser tool to clean up imperfections in your photos.
- Work Seamlessly with Photoshop: For advanced edits, LR integrates effortlessly with Photoshop.
- Export Efficiently: Keep your workflow smooth by organizing your exports into folders.
Conclusion
Lightroom is a powerful tool that makes photo editing accessible to all, from beginners to professionals. By following these steps, you can transform ordinary images into stunning visual stories with minimal effort. Remember, practice makes perfect, and LR’s intuitive tools give you the flexibility to explore your creativity.
Whether you’re editing your first photo or fine-tuning your workflow, LR’s combination of simplicity and advanced features ensures that your images will always shine. Dive in and start experimenting today!
Source: "Lightroom Tutorial" - Art Class with Riley, YouTube, Aug 27, 2025 - https://www.youtube.com/watch?v=M7vAUhjYxa4
FAQs
What’s the difference between Lightroom and Lightroom Classic?
Lightroom is a cloud-based version designed for flexibility and accessibility — you can edit from any device, and your work syncs automatically. Lightroom Classic, on the other hand, is desktop-based and offers more advanced file management tools for professionals who prefer working locally. If you value mobility and simplicity, Lightroom is your best choice.
Can I use Lightroom without Photoshop?
Absolutely! Lightroom is a complete photo editing tool on its own. It handles everything from exposure correction to color grading, masking, and object removal. However, if you need to manipulate objects or perform complex retouching (like compositing or adding elements), Photoshop can be a powerful companion.
How do I keep my Lightroom edits organized?
Start by creating clear folder structures before importing photos. Within Lightroom, use albums or date-based organization to manage your images. When exporting, save your finished edits in a separate “Edited” folder — this helps avoid overwriting originals and keeps your workflow tidy.