
Table of Contents
- How to Grade Urban Night Photos with Cinematic Presets
- My Secret Settings for Perfect Urban Night Landscape Shots
- Getting Your Photos Ready for Cinematic Grading
- How to Apply Cinematic Presets to Urban Night Photos
- Making Manual Adjustments for Better Results
- Fixing Problems and Following Best Practices
- Conclusion: Creating Cinematic Urban Night Photos with Presets
- FAQs
How to Grade Urban Night Photos with Cinematic Presets
Urban night photography creates dramatic and visually stunning scenes, but editing those images can be challenging due to mixed lighting, extreme contrasts, and reflective surfaces. Cinematic presets simplify the process by applying professional-grade color grading inspired by Hollywood films, saving you time while delivering polished results. Here's how to get started:
- Shoot in RAW for maximum flexibility in editing. RAW files retain more detail, making it easier to correct lighting and color issues.
- Prepare your image by adjusting exposure, white balance, and noise reduction before applying presets.
- Choose the right cinematic preset based on your image's lighting and mood. Look for presets tailored for urban nightscapes, such as "Night City" or "Urban Noir."
- Refine the preset with manual tweaks. Adjust lighting, color temperature, and individual tones to match your creative vision.
My Secret Settings for Perfect Urban Night Landscape Shots
Getting Your Photos Ready for Cinematic Grading
Before diving into cinematic presets, laying the groundwork is essential for achieving polished results. Think of this as setting the stage for your editing process. Without proper preparation, even the most advanced presets might not deliver the impact you're aiming for. By taking the time to prepare, you ensure that your cinematic presets can shine.
The preparation process boils down to two main steps: capturing your photos in the right format and making key corrections before diving into stylistic edits. These steps maximize the potential of your presets and create a clean, balanced starting point for cinematic grading.
Shoot in RAW for Maximum Editing Flexibility
If you're serious about urban night photography, shooting in RAW format is non-negotiable. Unlike JPEG files, which compress and discard a lot of information, RAW files preserve every detail captured by your camera sensor. This is especially important in tricky lighting conditions where having more flexibility can make all the difference.
RAW files offer a broader dynamic range and greater color depth (12-14 bit) compared to JPEGs. This means they retain more detail in both the shadows and highlights - critical for urban night scenes, which often feature contrasting elements like bright neon signs and dark alleyways. For context, RAW files typically capture 12-14 stops of dynamic range, while JPEGs are limited to around 8 stops. That extra range can help you recover details that would otherwise be lost in a JPEG.
Another key advantage of RAW is the ability to adjust white balance with precision. Urban night photography often involves mixed lighting - think tungsten streetlights, fluorescent signs, and LED billboards - all creating complex color casts. RAW files let you tweak white balance without sacrificing image quality, something JPEGs can't match since their white balance is locked in at the time of capture.
Yes, RAW files take up more storage space, but the editing flexibility they provide is well worth it, especially for challenging night scenes.
Essential Edits Before Applying Presets
Once you've shot in RAW and imported your files, it's time to make some basic corrections. These adjustments ensure that your presets work as intended and deliver the desired cinematic look.
Start with exposure and white balance adjustments. Urban night photos often need subtle tweaks to balance shadows and highlights. Aim for a histogram that shows detail across the tonal range - this helps avoid losing important details in either the darkest or brightest areas. For white balance, identify the dominant light source in your scene. Tungsten streetlights, for example, usually hover around 3,200K. Use Lightroom's white balance selector tool to click on a neutral gray or white area, then fine-tune with the temperature and tint sliders.
Address noise carefully. Night photography often involves high ISO settings (1,600, 3,200, or higher), which can introduce noise. Modern cameras handle this better than ever, but some noise reduction is usually needed. In Lightroom, apply luminance noise reduction conservatively - start around 25-40 in the Detail panel. Overdoing it can result in a plastic-like appearance, which clashes with the cinematic aesthetic.
Enable lens corrections. This step can make a noticeable difference by fixing vignetting and distortion automatically. Chromatic aberration removal is especially important for night shots, where bright lights against dark backgrounds can create color fringing.
Adjust tones for balance. Before applying presets, make slight tone adjustments to set the stage. Lift the blacks slightly to avoid pure black shadows, as cinematic styles often favor softer, more nuanced shadows. Similarly, pull down highlights to preserve details in bright light sources. These subtle tweaks create a balanced image that allows presets to work more effectively.
To save time and maintain consistency, consider creating a custom preset with these basic corrections. This can be especially helpful when processing multiple images from the same shoot. The goal is to establish a neutral, well-balanced image that serves as the ideal foundation for cinematic grading.
How to Apply Cinematic Presets to Urban Night Photos
Once your photos are prepped, it’s time to bring them to life with cinematic presets. These tools can instantly create a dramatic, movie-like atmosphere while also giving you a strong starting point for further tweaks. The key is knowing how to install, choose, and adjust these presets to suit your unique urban night shots.
Installing Presets in Lightroom
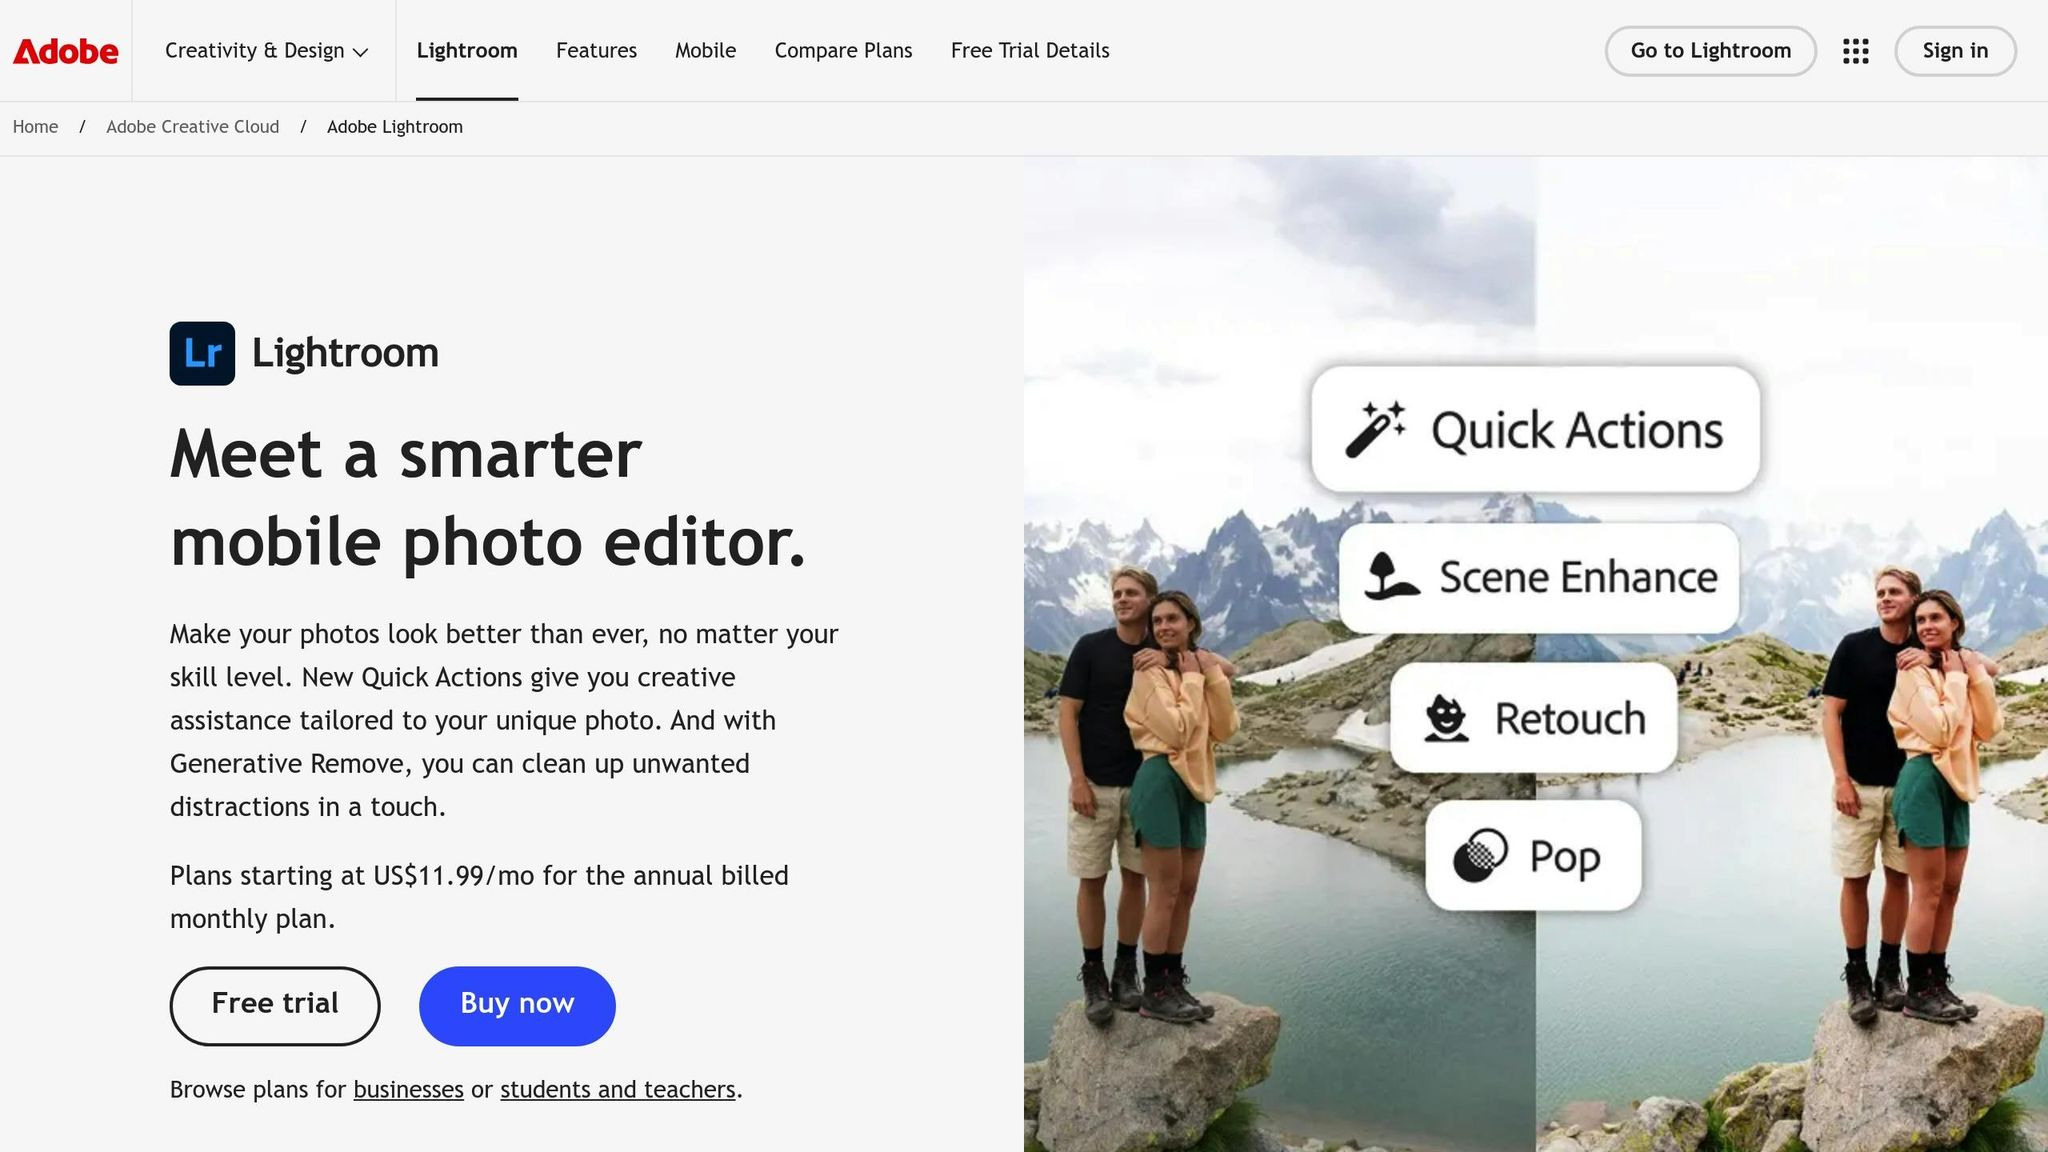
Adding presets to Lightroom is a simple process.
For Lightroom Desktop (Classic and CC):
- Open Lightroom and head to the Develop module (for Classic) or open an image for editing (for CC).
- From the menu bar, select File > Import Profiles & Presets to bring up the import dialog.
- Locate your preset files. Lightroom can directly handle .zip files, extracting and installing them automatically.
For Lightroom Mobile:
- On iOS, tap the three dots menu in the app and select "Import Presets" to upload them.
- On Android, extract the preset files to your device first, then import them through the app’s preset panel.
Once installed, you’ll find your presets in the Presets panel, neatly organized by collection name. This makes it easy to find the exact look you’re aiming for.
Picking the Right Presets for Urban Nightscapes
Not all cinematic presets are created equal - especially when it comes to urban night photography. The unique mix of neon lights, deep shadows, and reflective surfaces in these scenes demands presets that can handle such contrasts.
- Choose presets tailored for night scenes. Look for collections with names like "Night City", "Blue Night", or "Urban Noir." These are often designed to enhance contrast, lift shadows, and balance artificial lighting.
- Consider the colors in your photo. For images with warm streetlights and neon signs, presets featuring orange and teal tones can create stunning contrast. Cooler scenes with LED lights or moonlit streets benefit from presets that emphasize blues and cyans without distorting skin tones.
- Match the mood to your creative vision. Whether you’re going for a gritty, noir-inspired look with muted tones or a bold, cinematic blockbuster vibe with vibrant colors, test a variety of presets to find one that fits your artistic direction.
- Test presets under similar lighting conditions. A preset that works beautifully with warm tungsten lighting might not perform as well under cool LED billboards. Keeping track of which presets work best in different scenarios can save you time in the future.
Platforms like Presets.io offer a variety of cinematic collections specifically designed for urban night photography. Their categorized styles make it easy to find presets that align with your creative goals.
Adding and Adjusting Presets
Applying a preset is just the first step. To truly make your image stand out, you’ll need to fine-tune it based on the scene’s unique lighting and details.
- Start with lighting adjustments. Urban night shots often need exposure tweaks after applying a preset. For example, you might need to lift shadows to reveal details in dark areas or tone down highlights to prevent neon signs from overpowering the image. Make small, incremental changes to balance the lighting.
- Tweak color temperature and tint. Urban lighting can create unpredictable color casts. Use the temperature and tint sliders to correct these shifts. A slightly warmer temperature (around 3,200K to 4,000K) can enhance the inviting glow of artificial lights.
- Refine individual colors with HSL adjustments. Boost the luminance of orange tones to make streetlights pop, or adjust the saturation of blues to emphasize the night sky or LED lighting effects.
- Fine-tune the cinematic vibe. Cinematic presets often feature softened blacks for a film-like feel. If the shadows look too dark, use the Blacks slider to lift them slightly. On the other hand, if the image feels too flat, deepen the blacks just enough to restore contrast.
The goal is to use the preset as a foundation and then make thoughtful adjustments to create a polished, customized look. These extra steps will help transform your urban night photo into a stunning, cinematic masterpiece that feels like it belongs in a movie scene.

The Master Preset Bundle

$57.00
$672.00
The Master Preset Bundle Every Style. Every Platform. One Download Get 56 high-quality Presets.io collections in one complete bundle — designed to help you edit faster, stay consistent, and get professional-looking results in seconds. Get All High-Quality Preset Collections For… continue reading
Making Manual Adjustments for Better Results
Cinematic presets provide a great foundation, but it’s those manual adjustments that let your personal style shine through. Once the preset has done its job, fine-tuning the settings ensures your image truly stands out.
Fine-Tuning Settings for Perfect Results
Start by tweaking the exposure and contrast to amplify the dramatic feel of an urban night scene.
- Use the exposure slider to uncover hidden details or to achieve a balanced brightness that complements the cinematic vibe.
- Adjust the contrast to define the separation between shadows and highlights, giving your image more depth and visual appeal.
These subtle changes can transform a good edit into a striking one.
Fixing Problems and Following Best Practices
When it comes to urban night photography, editing precision is key. Lightroom's comparison tools can help you maintain consistency and refine your edits effectively.
Using Comparison Tools to Pick Presets
Lightroom includes several handy features to help you test and compare presets on your images:
- Virtual Copies for Side-by-Side Comparisons: Create virtual copies of your image and apply different presets to each one. This allows you to view them side by side for a more detailed comparison.
"If you want to see them side-by-side you need to make virtual copies."
- Snapshots for Quick Switching: Use Lightroom's Snapshots feature to save different preset edits. This makes it easy to toggle between them with a single click.
"For a one click switch use the snapshots."
- Undo to Avoid Overlapping Settings: After testing a preset, make sure to use Ctrl (Windows) or Cmd (Mac) + Z to undo the changes. This prevents preset settings from stacking on top of each other, which can lead to unexpected results.
"To build on this, it's very important to do Ctrl/Cmd + Z (undo) after trying a preset. Otherwise, the settings of the presets accumulate. Many people don't seem to realize this, and they freely click from preset to preset without undoing each, producing very unpredictable results."
- Preview Presets in the Navigator Panel: Hover over a preset to see a small preview of its effect in the Navigator panel. This lets you quickly narrow down your choices without applying each preset.
"To eliminate most presets from your choices you can hover the cursor over the see the temporary changes in the navigator. It is kind of small you it gives you an idea of what the preset will do. You can drag down through a list of preset quickly. Just don't click"
Conclusion: Creating Cinematic Urban Night Photos with Presets
Turning your urban night shots into cinematic wonders doesn’t have to be a time-consuming process. With the right presets and techniques, you can create professional-quality images without spending hours on detailed editing.
Cinematic presets are a game-changer for both efficiency and consistency across your photos. They act as a reliable starting point, giving you the flexibility to adapt and refine the look to fit your creative vision. Whether you’re going for dramatic, moody tones or a vibrant, energetic city vibe, the right preset can elevate your nighttime photos with minimal effort [9, 11].
To take your images to the next level, combine these presets with thoughtful manual adjustments. Many presets are designed by experienced professionals, and using high-quality options, like those from Presets.io, lets you tap into their expertise. This allows you to spend more time capturing stunning moments and less time worrying about the technicalities of editing.
The secret to cinematic urban night photography lies in blending solid shooting techniques with careful post-processing. Start with RAW files, apply basic corrections, choose a preset that complements your image, and fine-tune the details to align with your artistic goals. By combining precise composition, smart preset use, and subtle manual tweaks, you can consistently produce striking urban night photos.
With practice and the right tools, you’ll develop a signature style that makes your work stand out. The dramatic shadows, deep contrasts, and evocative moods of cinematic urban photography are now within reach, ready to help you capture the essence of the city at night.
FAQs
Why should I shoot in RAW format for urban night photography?
When it comes to urban night photography, shooting in RAW format is a game-changer. Unlike JPEG, which compresses and discards some image data, RAW preserves every bit of detail captured by your camera. This gives you far more freedom during editing, especially when fine-tuning highlights, shadows, and colors in those tricky low-light conditions.
Another big advantage of RAW files is their ability to reduce noise and retain superior image quality. This is key for creating the dramatic, moody tones that make night photography so captivating. Sure, RAW files take up more storage space, but the editing possibilities they unlock are well worth it for producing breathtaking shots.
How can I pick the best cinematic preset for urban night photography?
When it comes to urban night photography, picking the right cinematic preset can make all the difference in achieving the mood you're after. If you're aiming for vibrant cityscapes, choose presets that amp up contrast and bring out rich, bold colors. These will give your photos an energetic and lively vibe. On the other hand, if you're going for a moody or dramatic feel, look for presets that highlight shadows and lean into cooler tones - ideal for capturing quiet, atmospheric moments.
It's also a good idea to choose presets that let you tweak the settings. This way, you can fine-tune the effect to suit the specific vibe of your photo. For example, brighter presets work well for the hustle and bustle of busy streets, while darker ones are perfect for quiet, dimly lit alleys. Don’t be afraid to experiment with different options to find the one that brings out the best in each shot.
What manual tweaks should I make after applying a cinematic preset to urban night photos?
After using a cinematic Lightroom preset, take some time to fine-tune the details to match the scene's atmosphere. Start by adjusting the exposure, contrast, and white balance to align with the lighting and mood. Boost details by tweaking the clarity and texture sliders - perfect for highlighting reflections on wet streets or the soft glow of neon lights. To complete the cinematic vibe, refine the color temperature and saturation to make specific tones pop, and use noise reduction to smooth out grain in low-light areas. These subtle tweaks can elevate your urban night shots to the next level.