
Table of Contents
- Checklist for Using Free Macro Presets
- Macro Photography Preset | Lightroom Mobile Preset Free DNG | macro preset | moody green preset
- Preparing Your Photos for Preset Application
- Installing Free Macro Presets
- Applying and Customizing Macro Presets
- Troubleshooting Common Issues with Macro Presets
- Saving and Managing Your Custom Adjustments
- Finding Quality Presets at Presets.io
- Conclusion: Key Points for Using Free Macro Presets
- FAQs
Checklist for Using Free Macro Presets
Free macro presets simplify editing macro photography by enhancing details, colors, and textures. To get the best results, start with high-quality RAW photos, ensure proper lighting, and organize your images for a smoother workflow. Here's a quick guide:
- Preparation: Shoot in RAW, use good lighting, and focus manually for sharp details.
- Organization: Use folders, consistent naming, and metadata tags for easy access.
- Installation: Import presets into Lightroom (Classic, Mobile, or CC) following specific steps for
.xmp,.lrtemplate, or.dngfiles. - Customization: Adjust exposure, sharpening, color balance, and noise reduction after applying presets to match your image's unique qualities.
- Batch Processing: Apply edits to multiple photos for efficiency.
- Create Your Presets: Save custom adjustments for future use and organize them for quick access.
Platforms like Presets.io offer macro presets compatible with various editing tools, helping you streamline your editing process while maintaining flexibility. Always fine-tune presets to suit individual photos for polished results.
Macro Photography Preset | Lightroom Mobile Preset Free DNG | macro preset | moody green preset
Preparing Your Photos for Preset Application
Getting the most out of macro presets starts well before you fire up your editing software. The quality of your original photos and how you organize them play a big role in how effectively presets can enhance your images.
Tips for Taking Macro Photos
Shoot in RAW. RAW files preserve more detail, giving you greater flexibility for fine adjustments. This extra data is especially important for macro photography, where every tiny detail matters.
Prioritize good lighting. At high magnifications, even small changes in lighting can make a big difference. Proper lighting not only highlights intricate textures and forms but also helps manage contrast, turning an average shot into something extraordinary. For best results, use natural diffused light or a ring flash to reduce harsh shadows. Since macro photography often involves close distances, controlling your light source is even more critical than usual.
Nail your focus. Use manual focus or single-point autofocus to ensure the sharpness of your subject's key details. While presets can enhance textures and colors, they can’t fix a poorly focused image.
Monitor your exposure. Slight underexposure is better than overexposure, as it preserves shadow details while avoiding blown-out highlights.
Once your photos are captured, the next step is to organize them effectively to streamline your editing process.
Organizing Your Photo Library
A well-organized photo library saves time and frustration when it’s time to edit. While basic folder structures can work, they may fall short for larger collections or photos that belong to multiple categories.
Start with a master folder. Gather all your macro photos into one central folder on your computer. This prevents images from being scattered across multiple drives or directories, making them easier to manage.
Use a consistent naming system. For example, a format like "2025-08-16_Butterfly_Macro_001.CR2" keeps your files organized and easy to sort chronologically.
Structure folders by subject or date. Depending on your workflow, you can organize by themes like "Insects", "Flowers", or "Textures", or by shooting dates such as "2025-08-August." Choose whichever system feels most intuitive for how you search for images.
Leverage metadata and tags. Use tools like Lightroom to tag your photos with keywords such as "shallow DOF", "natural light", or "high contrast." These tags make it much easier to locate specific images when applying presets.
Create collections for editing stages. Consider setting up collections like "Ready for Presets", "In Progress", and "Completed" to track your workflow. This approach helps avoid re-editing the same images and keeps your process organized.
Taking these steps to prepare and organize your photos ensures a smoother editing experience. When it’s time to apply presets, you’ll be able to locate the right images quickly and work through your edits efficiently.
Installing Free Macro Presets
After organizing your macro photos, the next step is setting up your presets in Lightroom. The steps vary depending on whether you're using Lightroom Classic, Lightroom Mobile, or the desktop CC version.
Importing Presets into Lightroom Classic

Start by downloading and unzipping your free macro presets. If they come in a ZIP file, extract it to access the individual preset files, usually in .lrtemplate or .xmp format.
Once ready, open Lightroom Classic and switch to the Develop module by clicking "Develop" in the top-right toolbar. On the left side, you'll see the Presets panel.
To add your presets, click the plus (+) icon at the top of the Presets panel and select "Import Presets" from the dropdown menu. This action automatically places the imported presets into the "User Presets" group for easy access. Alternatively, right-click an existing preset group and choose "Import Presets" to add them directly to that group.
An import dialog box will appear. Here, locate the unzipped preset files and select either the individual files (.lrtemplate or .xmp) or the ZIP file containing them. Once selected, click "OK" or "Import" to finish. Repeat this process for any additional files if necessary. The imported presets will remain in the Develop module until you manually remove them.
Now that your presets are ready in Lightroom Classic, let’s move on to setting them up in Lightroom Mobile.
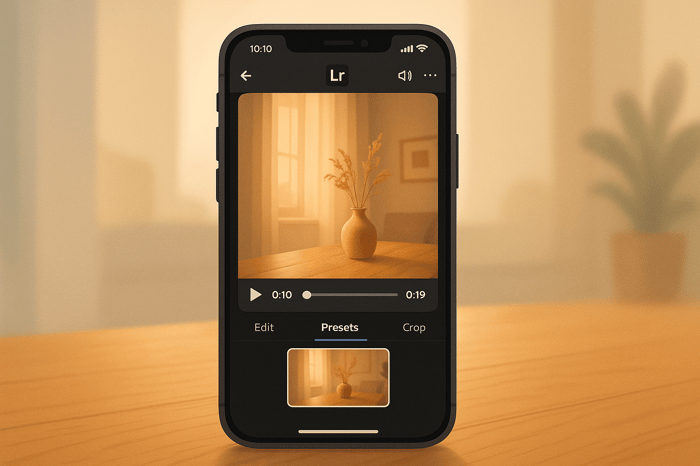
Setting Up Presets on Lightroom Mobile
For Lightroom Mobile, the installation process works a bit differently. If your presets are in .xmp or ZIP format, download the files directly to your mobile device. ZIP files are especially convenient since they can be imported as-is, saving time.
Open the Lightroom Mobile app and select any image to get started. Tap "Presets" in the bottom toolbar, then tap the three-dot menu in the top-right corner and choose "Import Presets." Navigate to the downloaded .xmp or ZIP file and select it. The app will automatically add the presets to your collection.
If you’re using Adobe Creative Cloud and have the same account signed in on both desktop and mobile, any presets you import into Lightroom Desktop (CC version) will sync automatically to Lightroom Mobile. This feature makes it seamless to manage your presets on a computer while accessing them on your phone or tablet without additional steps.
Understanding Preset File Formats
Here’s a quick breakdown of the most common preset file formats:
- .lrtemplate: This is the older format. Modern versions of Lightroom automatically convert these files upon import.
- .xmp: The current standard for Lightroom Classic and Lightroom CC. These files are highly compatible and flexible, making them the preferred format for most creators.
- .dng: Often used for Lightroom Mobile, especially for users without a Creative Cloud subscription. These files are sample images with preset adjustments applied. You can import a
.dngfile like a photo and save its settings as a new preset within the app.
Make sure your version of Lightroom supports the format of the presets you’re trying to install.
When you download free macro presets from Presets.io, they typically come in the most compatible format for your setup, along with detailed installation instructions to guide you through the process step by step.
Applying and Customizing Macro Presets
Your presets are installed - now it’s time to put them to good use. Think of them as a starting point, not the final answer.
Using Presets as a Starting Point
Macro presets are like a foundation for your edits, helping you set the tone and mood of an image. But every photo is unique - lighting, subjects, and backgrounds all vary - so presets will likely need some tweaking to get the best results.
Choose a preset that complements your image. For instance, if you're editing a vibrant flower, pick one that boosts color richness. For a detailed insect shot, go for a preset that enhances sharpness and contrast. Once applied, use the Amount slider (ranging from 0 to 200) to control the preset's overall intensity.
After that, fine-tune the image to suit its specific characteristics.
Adjusting Key Settings After Applying Presets
Applying a preset is just the first step. To make your macro photo truly stand out, you’ll need to adjust a few key settings.
- Exposure and Contrast: These are essential for bringing out the details in your macro images. If the image is too dark, increase the exposure. If it looks washed out, reduce the exposure and boost the contrast to add depth.
- Sharpening: Clarity is everything in macro photography. Adjust sharpening, masking, and texture to ensure your subject’s details are crisp.
- Color Balance and Vibrancy: Tweak the color balance to achieve either a natural look or a more striking effect. Vibrancy is often better than saturation here, as it enhances colors without overwhelming delicate details.
- Noise Reduction: High ISO settings can lead to grainy images. Use noise reduction sparingly to smooth out unwanted grain while keeping fine details intact.
- Vignetting: Adding a subtle vignette can guide the viewer’s eye toward the subject. Use the vignetting tool, a radial brush, or an adjustment brush for precise control.
- Subject-Background Separation: Make your subject pop by adjusting the sharpness, clarity, and contrast of the background. Tools like brushes can help you achieve this separation without affecting the subject.
Once you’ve fine-tuned these settings, save time by applying your edits to multiple photos with batch processing.
Batch Processing for Efficiency
If you’ve nailed the adjustments on one image, Lightroom’s sync feature can help you apply the same edits to other photos in your session. Here’s how: select the edited image in the Library module, hold down Ctrl (Windows) or Cmd (Mac), and select additional images. Then, click Sync Settings and choose which adjustments to apply across the batch.
This works especially well for macro photography sessions with consistent lighting. You can sync most settings - like exposure, contrast, and color adjustments - but sharpening and local edits might still need individual attention.
Be mindful of over-editing. Overusing presets or making excessive changes can leave your images looking unnatural. If something seems off, revisit the preset settings and scale back adjustments.
When you download presets from Presets.io, you’ll often find collections designed to work seamlessly together. This makes batch processing even more efficient for an entire macro photography session.

The Master Preset Bundle

$57.00
$672.00
The Master Preset Bundle Every Style. Every Platform. One Download Get 56 high-quality Presets.io collections in one complete bundle — designed to help you edit faster, stay consistent, and get professional-looking results in seconds. Get All High-Quality Preset Collections For… continue reading
Troubleshooting Common Issues with Macro Presets
Even well-crafted macro presets can sometimes lead to problems in Lightroom that require fine-tuning.
Fixing Overexposure and Color Casts
Overexposure happens when parts of an image are overly bright, causing details in the highlights to disappear. How much you can recover depends on your original file format - RAW files hold much more data compared to JPEGs, making them better for restoring blown-out areas.
To address overexposure, start by lowering the Highlights slider to recover lost detail. If that’s not enough, reduce Exposure slightly and increase Shadows to balance the overall brightness. In more extreme cases, adjust the Whites slider to target the brightest areas without impacting the entire image.
Color casts - those unwanted tints that can make photos look unnatural - are often caused by mixed lighting. Use Lightroom's White Balance Selector (the eyedropper tool) to click on an area that should be neutral gray or white. Lightroom will automatically tweak the Temperature and Tint to correct the issue. If no neutral area is available, you can manually adjust the Temperature slider to warm or cool the image and fine-tune the Tint slider to balance green and magenta tones. For persistent color problems, the Color Mixer panel lets you target specific hues directly.
Once your exposure and color are corrected, it’s time to focus on enhancing the details and sharpness.
Improving Details and Sharpness
If a macro preset has made your image look soft, you can bring back clarity using Lightroom's Sharpening tool in the Detail panel. Start by setting Amount to around 50, keep Radius below 1.5 to avoid overly thick edges, and set Detail under 50 to minimize noise in finer textures.
For precision, hold down the Alt/Option key while adjusting the Masking slider. This will show a preview where black areas remain unsharpened, while white areas will be sharpened.
For additional enhancements, consider Lightroom's Enhance tools. Use Raw Details for sharper edges or Super Resolution to double the resolution of your image - especially useful if you plan to crop heavily.
The Clarity slider can help emphasize textures and contrast, but use it sparingly to avoid harshness. For more subtle adjustments, the Texture slider is great for refining fine patterns. To maintain a natural look, apply sharpening selectively using the Adjustment Brush, keeping your subject sharp while preserving soft backgrounds.
Finally, use the Denoise feature to reduce grain while keeping details intact. This is especially helpful when working with high ISO images or underexposed areas.
Saving and Managing Your Custom Adjustments
Creating and managing custom presets can help ensure consistency across your photography projects. In the Develop module, click the plus icon to create a new preset. Give it a clear, descriptive name like "Macro Flower Enhanced" or "Close-up Detail Boost" so you can easily identify its purpose later.
When setting up your preset, uncheck any adjustments you don’t want to include. For example, if you’ve made exposure corrections specific to one photo, you might not want that applied universally. Instead, focus on adjustments that are versatile across multiple macro shots, like clarity, texture, or color grading tweaks. To keep things organized, you can create folders for your presets. Just right-click in the Presets panel, select New Folder, and label it with categories like "Macro Presets" or "Flower Photography."
If you’re using Lightroom Mobile, the process is slightly different but just as straightforward. Head to the Presets tab at the bottom of the editing interface, tap the three dots next to "Yours", and choose Create Preset. As long as you’re signed into your Adobe Creative Cloud account, these mobile presets will sync across all your devices.
When naming your presets, aim for clarity and purpose. Instead of generic names like "Preset 1," try something like "Macro Warm Shadows" or "High Key Flower Detail." You can even include dates for version tracking, such as "Macro Nature v2 Dec2025," to make it easier to manage updates and iterations.
To safeguard your presets, export them as .xmp files. Right-click on a preset, select Export, and save the file to cloud storage or an external drive. This ensures you have backups in case of data loss. Regularly review your presets - delete ones you no longer use, merge similar ones, and reorganize folders as your style evolves.
Testing is crucial. Apply your presets to a variety of macro images to ensure they perform well under different conditions. For instance, a preset that works beautifully on flower macros might not suit insect photography. In such cases, create separate presets tailored to specific subjects.
When updating a preset, avoid overwriting the original. Instead, save it as a new version with a distinct name or version number. This allows you to compare iterations and revert to older versions if necessary.
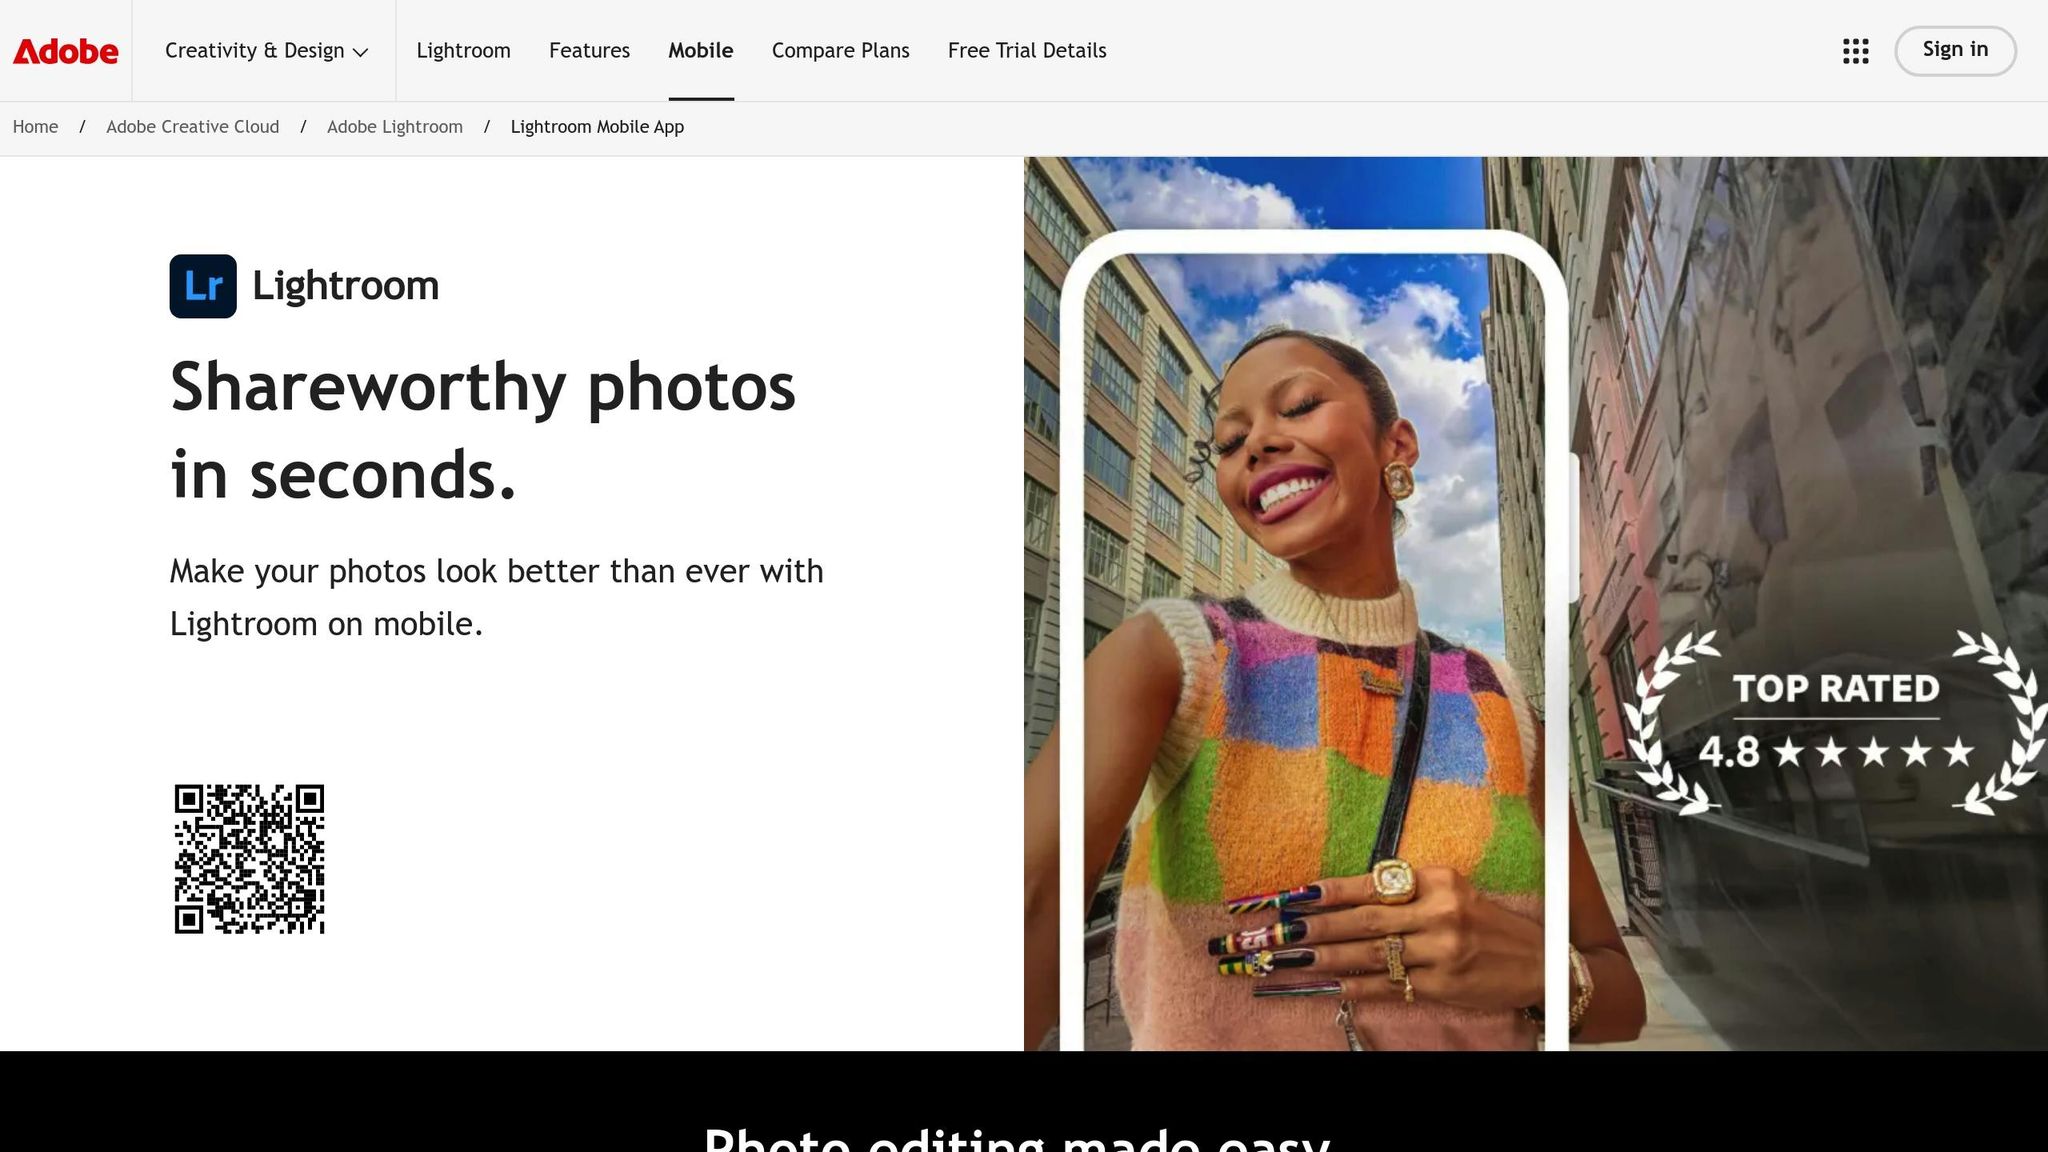
Finding Quality Presets at Presets.io
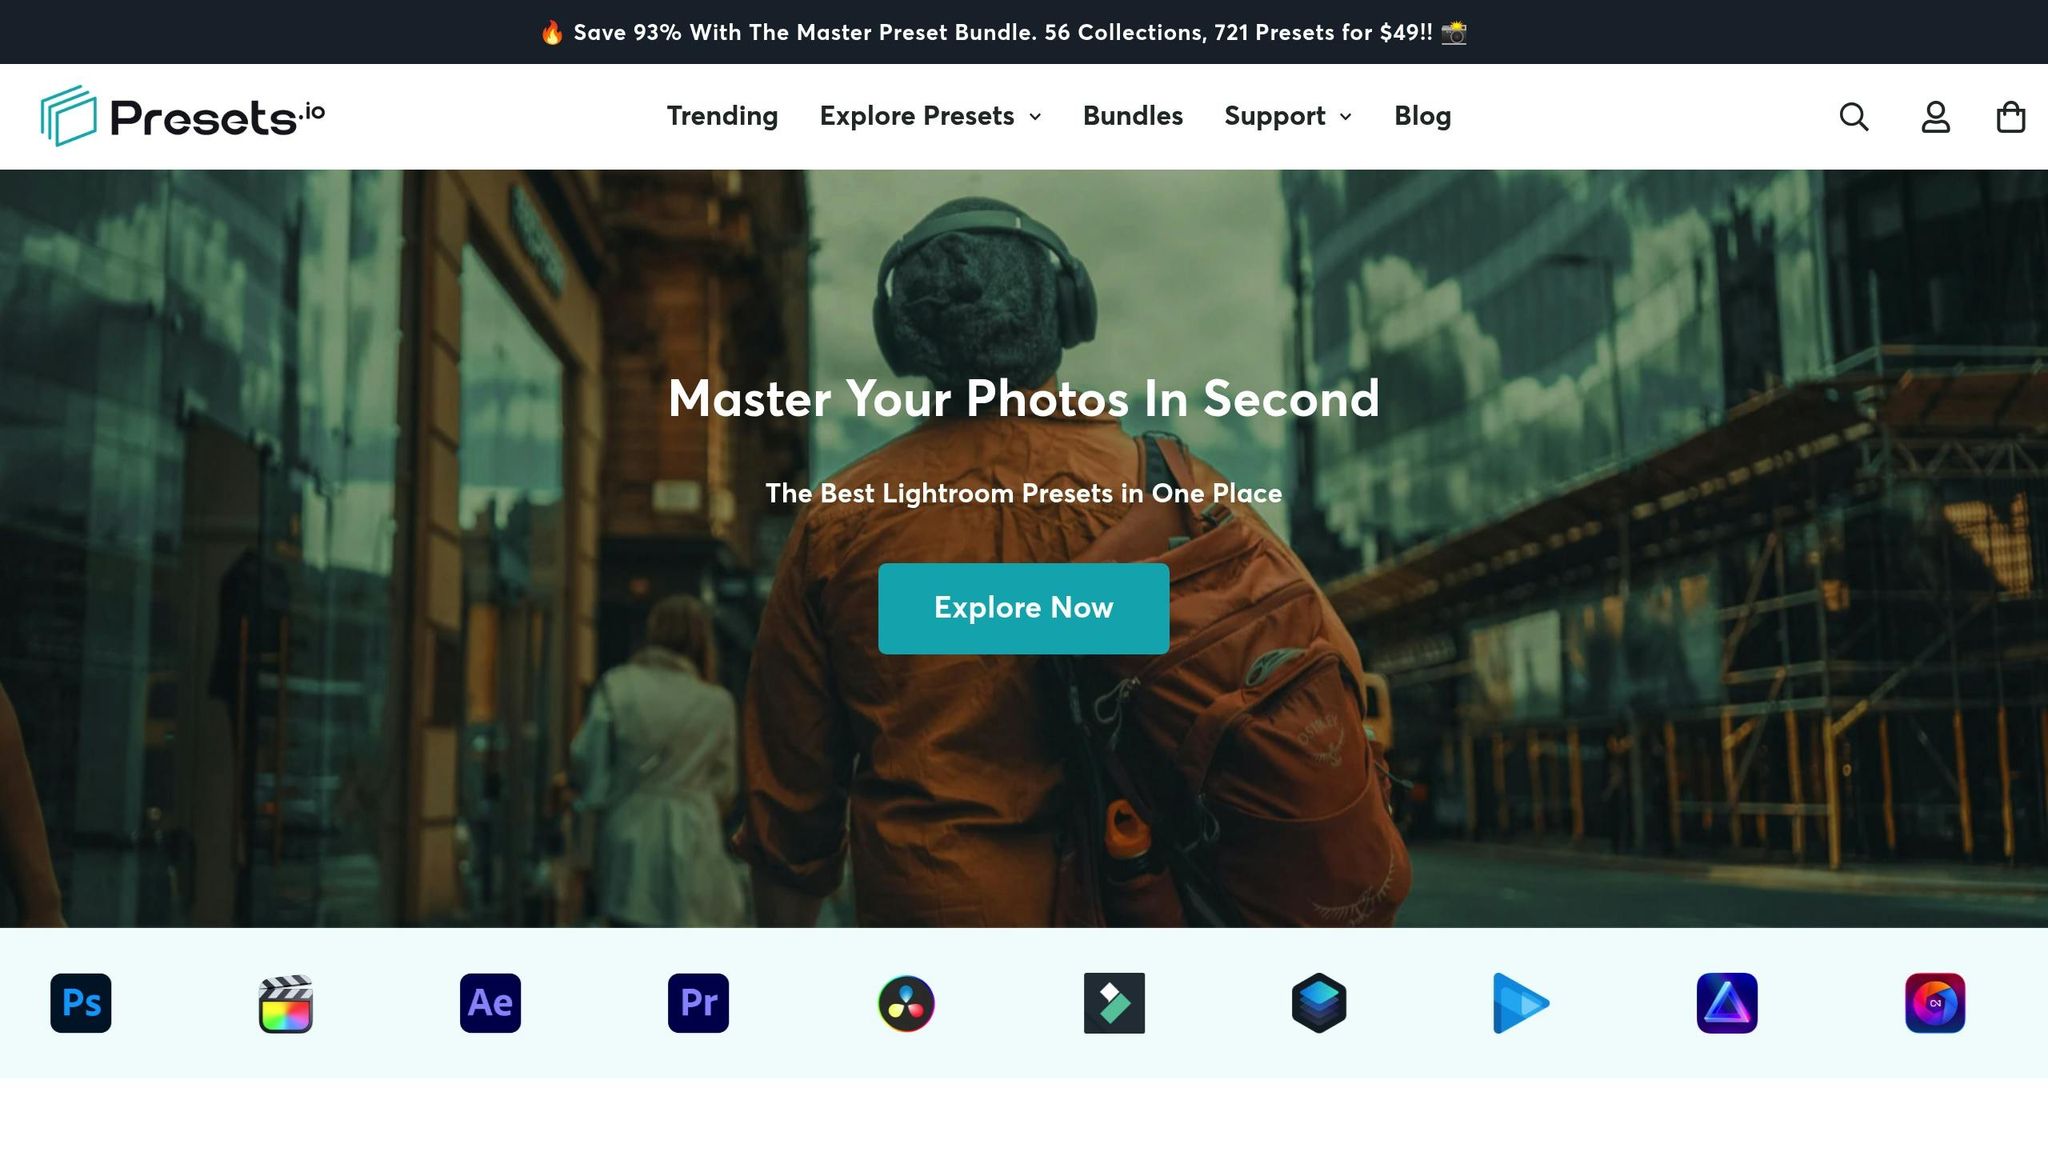
If you're looking to take your macro photography to the next level, finding the right presets is a game-changer. Presets.io is a fantastic resource, offering highly-rated macro presets with an impressive 4.8/5 score from 1,365 reviews.
To stay on top of new options, check out the "New Presets Weekly" section under the "Explore Collections" menu. These regular updates bring fresh styles and expand a variety of collections designed to enhance different types of photography, including macro work.
Although Presets.io doesn’t have a specific macro collection, several of their offerings work beautifully for close-up shots. The "Product Preset Collection" is crafted for product photography, making it perfect for capturing intricate details in commercial or artistic compositions. Meanwhile, the "Aesthetic Collection" and "Cinematic Collections" lend themselves well to subjects like flowers, insects, or textured surfaces, offering creative options to refine your close-up images. These collections not only expand your creative possibilities but also come with detailed guides to make the application process smooth and straightforward.
Presets.io supports popular editing software like Lightroom Classic, Lightroom Mobile, Capture One, and Luminar NEO, with clear, step-by-step installation instructions for each. This ensures that you can start using your presets quickly, no matter your preferred platform.
The platform is thoughtfully organized, making it easy to browse preview images and find presets that align with your artistic vision. Whether you're photographing jewelry, nature, abstract textures, or commercial products, the versatile collections at Presets.io provide plenty of options for achieving the perfect look. Weekly updates also give you the chance to experiment with new styles and keep up with the latest photography trends.
With its intuitive interface, detailed guides, and a reputation for excellent customer support, Presets.io is a reliable choice for both beginners and seasoned close-up photographers aiming to enhance their editing toolkit.
Conclusion: Key Points for Using Free Macro Presets
Using free macro presets effectively boils down to preparation, customization, and organization. Before diving into editing, make sure your photo library is well-organized. This simple step not only saves time but also ensures a smoother editing process and better creative control.
Installing presets - whether they're in .xmp, .dng, or .lrtemplate format - requires careful attention to the correct procedures. Following these steps properly helps you avoid unnecessary headaches down the road.
Presets are a great starting point, but they’re not the end of the journey. To get the best results, you’ll need to make adjustments after applying a preset. Fine-tuning elements like exposure, highlights, shadows, and color balance can elevate your images and make them truly stand out. In fact, targeted tweaks can reduce editing time by up to 60% during batch processing of similar photos.
Batch processing is another game-changer, especially when dealing with multiple magnified shots from the same session. By grouping similar images and applying consistent adjustments, you can maintain a cohesive look while cutting down on editing time.
Building a library of custom presets is a smart long-term strategy. Once you’ve fine-tuned a preset to your liking, save it as a new custom preset or user profile. Organize these presets into clearly labeled folders and back them up regularly. This ensures you’ll always have quick access to your favorite settings for future projects.
The rise of mobile editing is another trend worth noting. Many photographers now use .dng presets in Lightroom Mobile, which offers the flexibility to edit close-up shots on the go without sacrificing quality. This makes it easier than ever to achieve professional results, even when you’re away from your desktop.
Interestingly, more than 70% of Lightroom users now incorporate presets into their regular editing workflow. By sourcing presets from reputable platforms like Presets.io, you’re joining a community of photographers who understand how the right tools - when used correctly - can elevate detailed photography into compelling visual storytelling.
At the end of the day, the difference between amateur and professional results often comes down to the care you put into customization. Free macro presets are a great starting point, but it’s your personal touch and attention to detail that transform them into stunning final images.
FAQs
What steps should I take to ensure my macro photos are high quality before using presets?
To get stunning macro photos before diving into presets, start by equipping yourself with the right tools. A dedicated macro lens works best, but if that's not an option, extension tubes or close-up filters can help transform your existing lens for close-up shots. Lighting is critical - natural sunlight works wonders, but a ring light can also highlight intricate details beautifully. To keep your shot steady and avoid blur, use a tripod and take your time to focus carefully on your subject for razor-sharp results.
Nailing the exposure is just as important. Adjust your camera settings to balance highlights and shadows, and try switching to manual focus for greater precision. These steps will help you capture crisp, detailed images that will truly shine once you enhance them with presets.
How do I import and start using macro presets in Lightroom Mobile?
To bring macro presets into Lightroom Mobile, start by downloading the preset files to your device. Open the Lightroom app, pick any photo, and tap on Presets. Next, tap the three-dot menu in the top-right corner and select Import Presets. If the presets are in a ZIP file, you can upload them directly without extracting.
For DNG presets, however, you'll need to unzip the files first. After that, open Lightroom, tap Add Photos, and choose the DNG files from your device or cloud storage. Once they're imported, you can find your presets under Presets > Yours > User Presets, ready to give your photos that polished look.
How can I adjust macro presets to enhance individual photos?
To get the most out of macro presets for specific photos, begin by applying the preset and then fine-tune it using Lightroom's adjustment tools. Tweak sliders for exposure, contrast, saturation, and noise reduction to perfect the image and tackle any unique challenges it presents.
For even more control, use the adjustment brush to make detailed edits to specific areas, or the crop tool to enhance composition and draw attention to your subject. These adjustments help the preset work seamlessly with the photo, bringing out its best qualities.