
Table of Contents
- How to Edit Overcast Photos in Lightroom
- Common Problems with Overcast Photos
- How to Edit OVERCAST Photos in Lightroom Step by Step
- Setting Up Your Overcast Photos for Editing
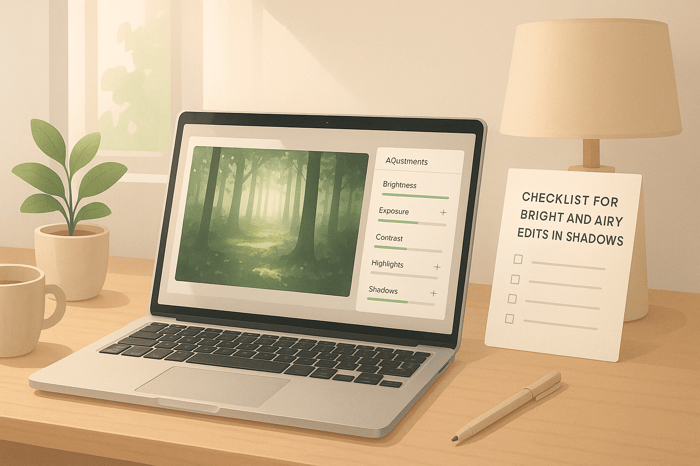
- Step-by-Step Guide to Editing Overcast Photos in Lightroom
- Making Cinematic Effects with Color Grading
- Speed Up Your Workflow with Presets
- Transform Your Overcast Photos with Confidence
- FAQs
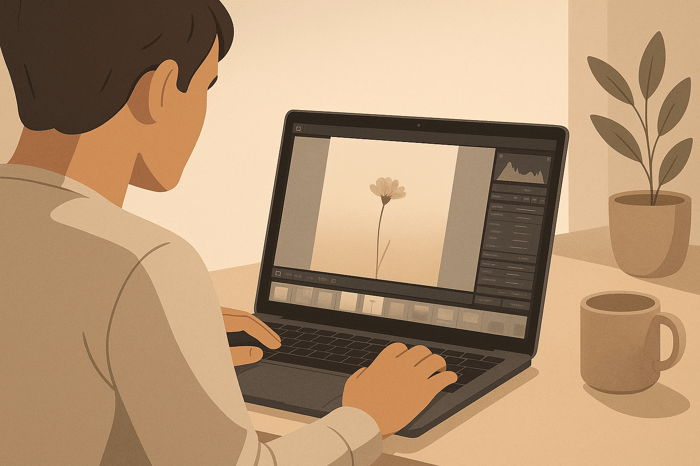
How to Edit Overcast Photos in Lightroom
Photographing on overcast days often results in flat, lifeless images with muted colors and dull skies. But Lightroom offers tools to fix these issues and turn your photos into visually striking pieces. Here's the quick process:
- Fix White Balance: Overcast lighting often creates a cool tint. Adjust the temperature slider or use the Eyedropper Tool to correct it.
- Recover Sky Details: Use tools like "Select Sky" or the Highlights slider to bring texture and drama back to the clouds.
- Boost Contrast and Depth: Adjust the Tone Curve and Clarity sliders to add dimension and make subjects stand out.
- Color Grade for Mood: Use the Color Grading panel to introduce warm highlights and cool shadows for a cinematic look.
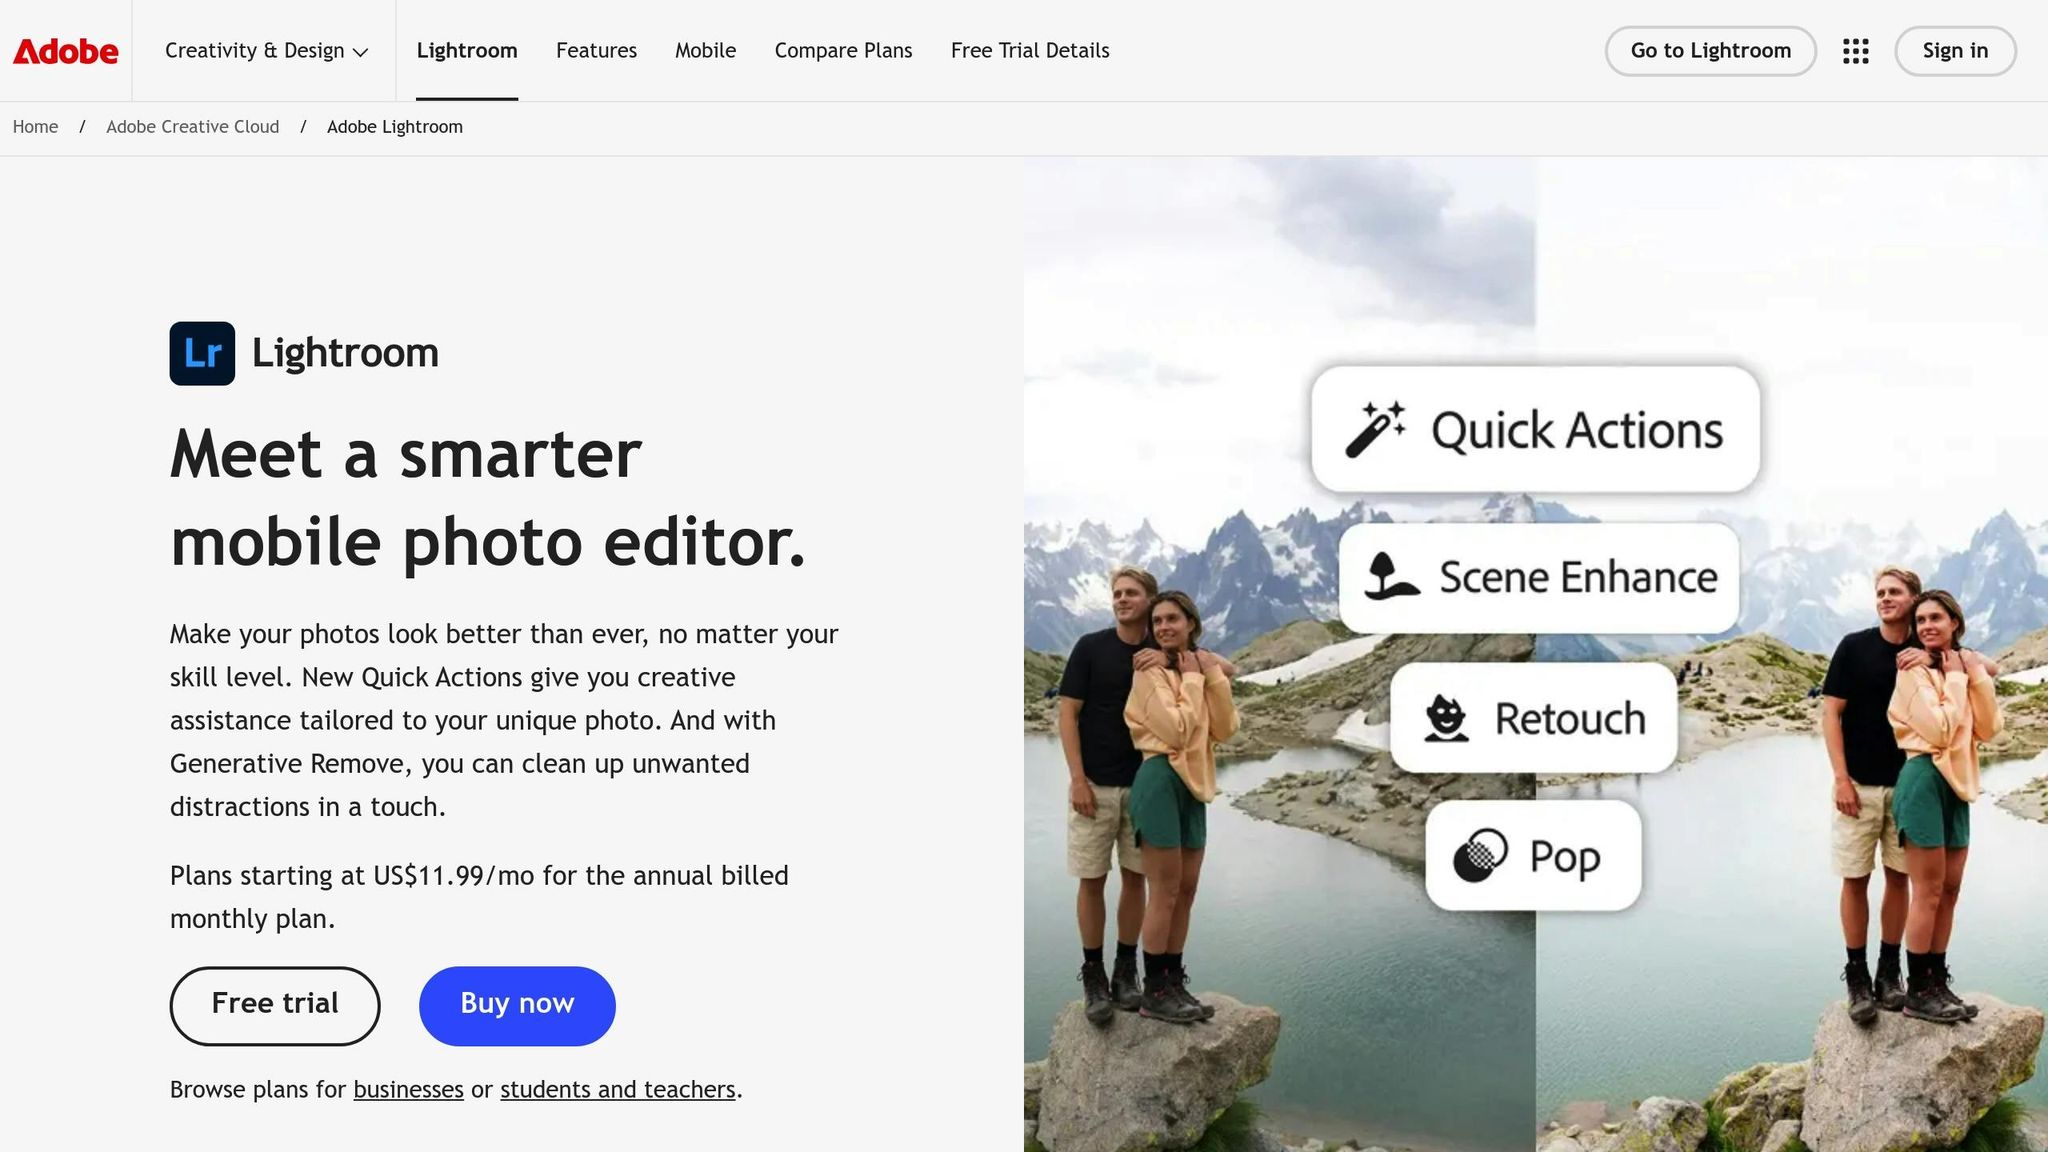
- Use AI Masks: Target specific areas, like brightening subjects or emphasizing the sky, for precise edits.
Shooting in RAW format and using presets can streamline your workflow, ensuring better results and consistency across multiple images. Overcast photos may seem dull at first, but with these Lightroom techniques, you can make them pop.
Common Problems with Overcast Photos
Typical Issues in Overcast Photography
Photographing in overcast conditions comes with its own set of challenges. The dense cloud cover acts like a giant softbox, evenly spreading sunlight across the scene. While this eliminates harsh shadows, it also removes the directional light that adds depth and character to your images.
This lack of contrast often leads to photos that feel flat and lifeless. Without strong highlights or deep shadows, subjects fail to stand out, making images appear two-dimensional. Additionally, overcast light tends to mute colors. Greens lose their vibrancy, blues fade into gray, and warm tones seem to vanish entirely. The result? Subdued tones that don’t quite capture the richness of the scene. The sky itself becomes a dull expanse of white or gray with little texture, offering a bland backdrop that doesn’t contribute much to the composition.
Another common issue is the cooler color temperature of overcast light. This can create an unwanted blue or green tint, which affects skin tones in portraits and diminishes the warmth in landscapes.
However, while these challenges might seem limiting at first, overcast conditions actually provide a unique opportunity for creative editing.
Editing Opportunities in Overcast Scenes
Understanding the challenges of overcast photography opens the door to creative solutions. The soft, even lighting that initially seems like a drawback is actually a great starting point for post-processing. Unlike harsh sunlight, which can create blown-out highlights or deep, noisy shadows, overcast lighting preserves a wide tonal range. This gives you more flexibility to push your edits further without compromising image quality.
One of the best opportunities lies in transforming the sky. By lowering highlights and lifting shadows, you can reveal subtle details and add drama that was hidden in the original flat lighting. Overcast photos are also perfect for selective adjustments. Radial masks, for instance, can brighten a subject’s face naturally by tweaking shadows and whites, while graduated filters can darken the sky to emphasize cloud texture and depth.
Color grading is another area where over cast photos shine. The muted tones provide a blank canvas for adding warmth - simply shift the temperature slider toward yellow to counteract the cool tones. From there, tools like the Color Grading panel allow you to fine-tune hues, creating complementary or analogous color schemes that bring your image to life.
Overcast conditions are also ideal for achieving cinematic effects. You can enhance texture and clarity to make subjects stand out, add a touch of grain for a film-like feel, and use the Dehaze tool to make clouds pop and highlight atmospheric details. These adjustments can turn a dull image into something visually striking.
How to Edit OVERCAST Photos in Lightroom Step by Step
Setting Up Your Overcast Photos for Editing
Getting the most out of your overcast photos starts with proper setup in Lightroom. The key is capturing your images correctly and setting up your editing workflow for success.
Shoot in RAW Format
Shooting in RAW format is a game-changer for editing over cast photos. Unlike JPEGs, which compress and discard much of the image data, RAW files preserve all the unaltered sensor data. This includes crucial tonal and color details that are essential for recovering shadows, highlights, and fine-tuning white balance adjustments.
Why does this matter? Overcast lighting often results in flat contrast and muted colors. RAW files retain the wide dynamic range of these scenes, giving you the flexibility to bring out details in both the highlights and shadows. You can also make more precise color adjustments without worrying about introducing artifacts. With the extra bit depth, you have the tools to turn dull, lifeless shots into striking, vibrant images.
Basic Lightroom Import Settings
Streamlining your import process in Lightroom can save time and set a solid foundation for editing your overcast photos. Here are a few tips to get started:
- Apply Develop Settings Presets During Import: Use presets to make consistent initial adjustments, such as tweaking white balance, exposure, and lens corrections. If you often shoot in over cast conditions, creating a custom preset for these scenarios can simplify your workflow.
- Build Smart Previews: Smart Previews are smaller, lightweight DNG files that let you edit your photos even when the original high-resolution files aren’t accessible. This is especially handy if you’re working on the go.
- Use "Embedded & Sidecar" for Previews: Selecting this option during import ensures faster scrolling and quicker visual feedback. It displays the largest available preview from your camera, making it easier to navigate through your images and zoom in with minimal delay.
Step-by-Step Guide to Editing Overcast Photos in Lightroom
Follow these practical steps to enhance the natural tones and add depth to your over cast photos.
Fix White Balance for Natural Colors
Overcast lighting often gives photos a cool, bluish tint, which can make skin tones look off - either muddy, overly yellow, or too blue [9, 11, 12]. Correcting the white balance early is crucial because it sets the stage for all your other color adjustments.
Start by heading to the Basic Panel and using the White Balance settings. The Eyedropper Tool is your best friend here. Click it and pick a neutral gray or white area in your photo - good options include gray rocks, snow (as long as it’s not overexposed), or the over cast sky itself. Avoid shadows or brightly colored spots, as they can throw off the balance.
If needed, manually adjust the Temperature slider to add warmth and fine-tune the Tint. Once the white balance is set, you can move on to recovering sky details.
Bring Back Sky Details
Overcast skies often lack texture and can look flat. To fix this, pull the global Highlights slider to the left to darken bright areas and bring back some detail. For a more precise adjustment, use AI Masking tools like "Select Sky" or a Linear Gradient Mask to target just the sky.
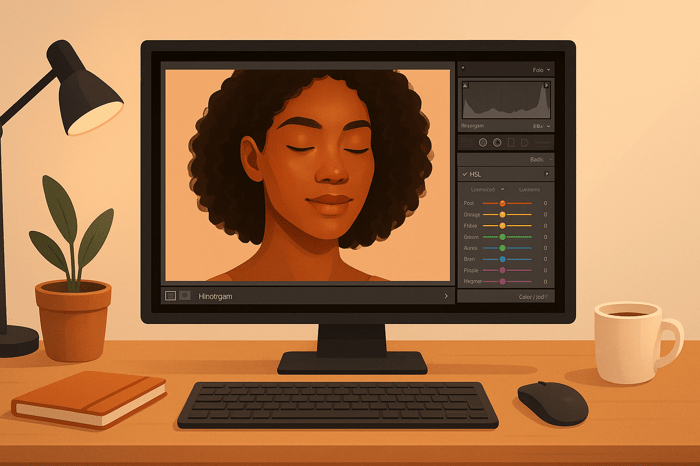
Within the sky mask, lower the Exposure slightly, reduce Highlights (sometimes all the way down), and increase Contrast to define the clouds. To enhance the sky's natural cool tone, shift the Temperature a bit toward blue. Adding Texture, Clarity, and Saturation can further bring life to the sky. Adjust the HSL sliders for blues and cyans to deepen the effect.
Brighten Shadows and Subjects
After restoring the sky, it’s time to focus on underexposed areas. Use the Shadows slider in the Basic Panel to lift dark areas and reveal hidden details [1, 13]. For targeted adjustments, AI Masking tools like "Select Subject" or a Radial Mask are great for brightening specific areas without losing the moody vibe of the overall image.
For an extra touch, tweak the Tone Curve by gently lifting the shadows to balance out the exposure.
Add Drama with Tone Curve and Clarity
To give your photo more depth, create a subtle S-curve in the Tone Curve. Lift the highlights slightly and deepen the shadows to add contrast. Then, adjust Clarity and Texture to make the details pop - aim for values around +10 to +25 for Clarity and +15 to +30 for Texture. This will help your subjects stand out without making the image look unnatural.
Be cautious with these adjustments. Overdoing them can make the photo look overly processed, which defeats the purpose of enhancing its natural feel.
Target Specific Areas with AI Masking
Lightroom’s AI Masking tools let you fine-tune specific parts of your photo without affecting the entire image. Use the "Select Sky" mask to refine contrast, temperature, and texture in cloudy areas, while keeping the foreground untouched.
For subjects, "Select Subject" or "Select Objects" masks are invaluable. These allow you to adjust brightness, clarity, or sharpness in specific areas. Brush masks can also help with detailed edits like dodging, burning, or sharpening small details for added precision.

The Master Preset Bundle

$57.00
$672.00
The Master Preset Bundle Every Style. Every Platform. One Download Get 56 high-quality Presets.io collections in one complete bundle — designed to help you edit faster, stay consistent, and get professional-looking results in seconds. Get All High-Quality Preset Collections For… continue reading
sbb-itb-b27063b
Making Cinematic Effects with Color Grading
Once you've fine-tuned exposure and enhanced details, color grading takes your image to the next level by adding mood and depth. With the right techniques, even over cast photos can be transformed into cinematic masterpieces.
Split Toning for Moody Effects
The Color Grading panel is your go-to tool for achieving that polished, cinematic vibe. A tried-and-true method is to create contrast between cool shadows and warm highlights - mimicking the dramatic lighting seen in films. Start by shifting shadows toward a blue hue (200–220) and highlights toward a soft orange hue (40–60). This balance between cool and warm tones sets the stage for a striking visual effect. Gradually increase the saturation, starting with about half the suggested level, to avoid overdoing it.
Want to add a unique flair? Experiment with a tan hue for the highlights. Use the balance slider to fine-tune how these tones blend, ensuring the cool shadows and warm highlights work seamlessly together. To complete the look, enhance the atmosphere with targeted adjustments like Dehaze and vignettes.
Use Dehaze and Vignettes for Atmosphere
The Dehaze tool is incredibly versatile, allowing you to craft different moods depending on your image. For flat, over cast photos, increasing the Dehaze slider boosts clarity and removes haze. If this adjustment darkens the image too much, you can counterbalance it by slightly raising the exposure. On the other hand, for a dreamy, cinematic effect, try reducing the Dehaze slider. Start with a subtle adjustment around -5 to maintain a soft, atmospheric feel without making the photo look overly washed out. Pair this with lower Clarity and Texture settings for a painterly, ethereal result that enhances the mood of over cast scenes.
Finally, add a Post-crop Vignette in the Effects Module to complete the cinematic transformation. Darkening the edges and corners naturally directs the viewer's focus to the center of the image. A setting of around -20 works well to darken skies and corners, amplifying the overall mood. Adjust the vignette's amount and midpoint to control its intensity - keeping it subtle often yields the best results.
Speed Up Your Workflow with Presets
Manually tweaking every photo can be a time sink, especially when working on multiple images. Lightroom presets offer a way to streamline your workflow, ensuring consistent and polished results with minimal effort.
Why Use Presets
Presets allow you to apply carefully crafted adjustments with a single click. They build upon your manual editing skills, saving time while maintaining a uniform aesthetic across your photos. Plus, they’re a great way to learn - by examining how presets tweak highlights, shadows, and color balance, you can uncover new editing techniques.
For instance, if you’re editing a batch of over cast shots, presets help ensure a cohesive look. They’re particularly handy for creating a specific mood or style across an entire series. If over cast photography is your focus, exploring preset collections designed for such conditions can be a game-changer.
Find Overcast-Specific Presets on Presets.io
Presets.io offers a variety of collections tailored to transform over cast photos:
- "Moody and Atmospheric Set": Perfect for adding drama to dull, gray scenes, this set breathes life into flat lighting conditions.
- "Cinematic Preset Bundle": Ideal for creating dark, unsaturated tones with a suspenseful, cinematic vibe. Pair these presets with tools like split toning and dehaze for even greater impact.
- "Moody Preset Sets": These presets emphasize deep tonal contrast, muted colors, and enhanced shadows, making them perfect for urban environments, portraits, landscapes, and street photography. They excel in tackling the challenges of flat lighting and subdued colors typical of over cast days.
These collections are designed to handle the specific difficulties of over cast photography, such as low contrast and muted tones, helping you achieve striking results effortlessly.
Presets.io also provides step-by-step installation guides, ensuring you can start using your presets without hassle. With regular updates to their offerings, you’ll always have new tools to match your evolving editing style.
Transform Your Overcast Photos with Confidence
Overcast days don’t have to result in dull, uninspiring photos. With the right techniques, you can turn those flat, gray scenes into striking visual narratives. The trick is to see over cast conditions as an opportunity, not an obstacle. They provide a soft, even light that can add a unique mood to your images.
The steps we’ve covered are the building blocks for editing over cast photos effectively. Once you’ve mastered these basics, you can dive deeper with targeted tweaks to make your photos stand out.
One powerful tool in your editing arsenal is AI masking. It allows you to focus on specific areas of your photo without altering the rest. Whether it’s enhancing the foreground subject, adding contrast to a cloudy sky, or creating depth between elements, this precision can elevate your edits from ordinary to professional.
Another game-changer is color grading, which can completely shift the mood of your image. Techniques like split toning, paired with tools like dehaze and subtle vignettes, can turn a gloomy day into something cinematic. Overcast photos are particularly forgiving of bold adjustments, giving you more freedom to experiment.
For a more efficient workflow, try combining manual adjustments with presets. While manual edits give you full control and help you learn the process, presets - such as those from platforms like Presets.io - can save time and ensure consistency across multiple images. This hybrid method lets you quickly apply a base look and then fine-tune specific details to align with your creative vision.
Don’t be afraid to experiment with different types of over cast scenes - whether it’s urban landscapes, portraits, nature, or street photography. Each type of scene will teach you something new about working with flat lighting and muted tones. The more you practice, the more natural these adjustments will feel.
Overcast photos are full of hidden potential. With Lightroom techniques and thoughtfully chosen presets, you can consistently create images that highlight the moody, dramatic beauty that these conditions naturally offer.
FAQs
How can I use AI masking tools in Lightroom to enhance specific parts of overcast photos?
When working with over cast photos in Lightroom, you can use its AI masking tools to fine-tune specific areas of your image. These tools can automatically identify elements like the sky, subject, or background, making adjustments a breeze. For example, the 'Select Sky' mask allows you to transform the mood of an over cast sky - brighten it for a gentle, soft vibe or darken it to create a more dramatic, cinematic feel.
You can also use the 'Select Background' or 'Select Subject' masks to adjust other parts of the photo with precision. To take it a step further, pair these masks with local adjustments such as tweaking exposure, contrast, or applying color grading. This method helps you enhance the natural beauty of overcast scenes while giving them a polished, professional finish.
Why is shooting in RAW format better for editing overcast photos compared to JPEG?
Shooting in RAW format offers a lot more freedom when it comes to editing overcast photos. RAW files store a broader range of details in both shadows and highlights, which makes it easier to bring back details that might seem lost in challenging lighting. This can be a game-changer for enhancing the moody, dramatic tones often seen in cloudy scenes.
Unlike JPEGs, RAW files keep all the image data intact. This means you can make significant edits - like increasing contrast or adjusting colors - with no loss in quality. RAW files also manage noise more effectively, which is essential when you’re aiming for a cinematic look in photos taken under gray skies. If you plan to edit your photos in Lightroom, shooting in RAW is the way to go for the best results.
How can I use Lightroom to give my overcast photos a cinematic look?
To give your over cast photos a cinematic vibe in Lightroom, start by tweaking the exposure, contrast, and white balance to set the overall mood. Then, head to the Color Grading panel to add teal or blue tones to the shadows and warm oranges or yellows to the highlights. This interplay of cool and warm tones creates that dramatic, film-inspired aesthetic.
Once you've set the tones, adjust the midtones carefully to maintain balance, and use the blending slider to ensure smooth color transitions. For an extra touch of character, add a subtle layer of grain to your photo. These simple adjustments can turn an ordinary over cast shot into a cinematic masterpiece with ease.