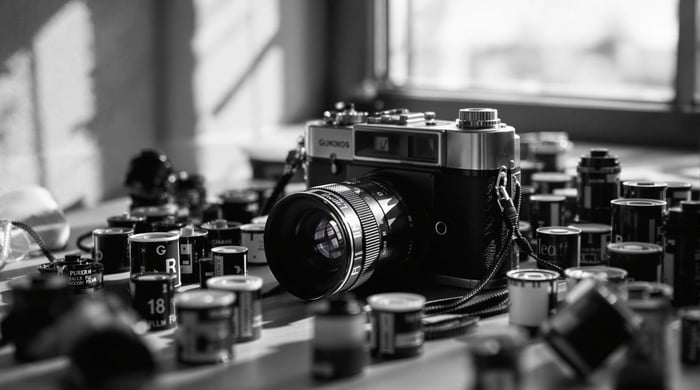
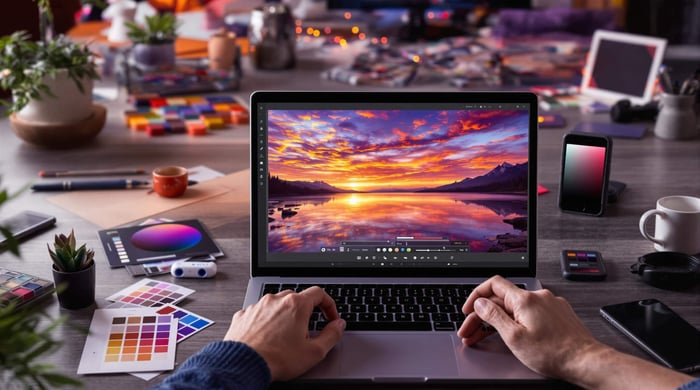
Black and white film presets in Lightroom let you quickly recreate the look of classic analog film photography. They save time, ensure consistency, and offer creative flexibility. These presets mimic iconic film styles like Ilford HP5 or Kodak Tri-X, adding tones, contrast, and grain for an authentic feel. You can customize them further using Lightroom's tools, such as the Black and White Mix panel or local adjustments, to match your vision. Platforms like Presets.io provide a wide range of options for both classic and modern black-and-white looks, making it easy to achieve stunning results in your digital edits.
Related video from YouTube
Key Lightroom Settings for Black and White Film Presets

To create striking black and white film effects in Lightroom, understanding the right settings is key. Let’s break down the adjustments that will help you craft stunning monochrome images.
Fine-Tuning Basic Settings
Start with the Basic panel to set the tone for your black and white look. Adjust the exposure to control the overall brightness of your image. Lower the highlights and lift the shadows to mimic the tonal characteristics of classic film.
The contrast slider plays a big role here. Many traditional black and white films are known for their bold contrast. Try boosting contrast by +15 to +30, then tweak it further to match the specific film style you’re aiming for.
Mastering the Black and White Mix Panel
The Black and White Mix panel allows you to refine the way colors convert into grayscale tones, giving you control over the tonal balance of your image.
For example, if you want dramatic skies, darken the blue channel (around -20 to -30). To add warmth and brightness to skin tones, lighten the yellow channel (+10 to +20) and slightly darken the red (-10). These subtle adjustments enhance tonal separation, which is a hallmark of black and white film photography.
Once you've nailed down the tonal adjustments, it’s time to add some texture.
Adding Film Grain for Texture
Grain is what gives digital photos that analog feel. It softens the sharpness of digital images and introduces the organic texture of real film.
Here’s how to adjust the grain settings:
- Amount (25-40): Controls how visible the grain is.
- Size (35-45): Adjusts the size of the grain particles.
- Roughness (50-65): Adds variation to the grain pattern.
For a realistic effect, increase the grain slightly in darker areas while keeping it lighter in the highlights. This mimics the way actual film grain behaves.
If you’re looking for a shortcut, consider using pre-made presets. Platforms like Presets.io offer black and white film presets that combine these adjustments, helping you achieve specific film styles quickly and accurately. These presets save time while ensuring your photos maintain that classic film vibe.
sbb-itb-b27063b
Popular Black and White Film Presets
Black and white film presets in Lightroom offer a range of styles, from timeless classics to sleek modern designs. Let’s dive into some of the most impactful options and how they can elevate your digital photography.
Classic Film Styles
Classic black and white film has left a lasting mark on photography. Presets inspired by these iconic emulsions capture the unique look and feel of traditional analog photography.
For instance, the Ilford HP5 preset is known for its balanced contrast and rich midtones, making it a reliable choice for a variety of scenes. On the other hand, the Ilford Delta 3200 preset shines in low-light settings, offering bold grain and strong contrast to create moody, atmospheric images.
These presets pay homage to the analog era, but there’s also a fresh take on black and white photography in the digital age.
Modern Black and White Styles
Modern black and white presets prioritize flexibility and a polished aesthetic, often designed with digital workflows in mind. These styles might include:
- Matte finishes with softer contrast and lifted blacks.
- Smooth tonal transitions for a refined, understated look.
- Clean grain or minimal texture, perfect for sharp, detailed images.
These presets are particularly suited for portraits, fine art, and architectural photography, where subtlety and precision take center stage.
Presets.io: A Hub for Film Presets
Presets.io offers a wide variety of black and white film presets, blending the charm of vintage film with modern sensibilities. Their collections feature both classic emulations and contemporary designs, updated regularly to align with evolving photography trends. Plus, their easy-to-follow installation guides make it simple to tailor presets to your creative vision.
How to Customize Black and White Film Presets
Adjusting Presets to Match Your Vision
The Black and White Mix panel is your go-to tool for tweaking color channels to craft unique grayscale tones. For example, darkening the blue channel can add drama to the sky, while adjusting the red channel can subtly alter skin tones in portraits.
Start by fine-tuning the basics - adjust exposure and contrast sliders to set the overall mood. Then, tweak highlights and shadows to achieve the tonal range you’re aiming for. These small changes help you retain the classic film feel while tailoring the preset to your personal style.
"While film emulation presets replicate iconic stocks like Ilford HP5 or Kodak Tri-X, personalization is essential to make them uniquely yours."
Once you’ve set the foundation, use local adjustments to enhance specific parts of your image for added depth and precision.
Adding Depth with Local Adjustments
Lightroom’s local adjustment tools let you focus on specific areas of your photo without losing the overall film aesthetic. Here’s how you can use them:
- Radial Filter: Draw attention to your subject or create subtle vignettes for that timeless film vibe.
- Graduated Filter: Add drama to skies or landscapes by creating smooth tonal transitions.
- Adjustment Brush: Perfect for selective dodging and burning, mimicking the techniques used in traditional darkrooms.
Once your edits are complete, consider saving them as custom presets to speed up your workflow in the future.
Saving and Organizing Your Presets
Keep your presets well-organized for efficiency. Save them with clear, descriptive names like "HP5-High Contrast-Portraits" so you can quickly find what you need. This is especially helpful when working on tight deadlines or large projects.
For better organization, create folders based on photography styles, such as "Street", "Portrait", or "Landscape." This way, your preset library stays tidy and easy to navigate, no matter the project.
Conclusion: Using Black and White Film Presets in Lightroom
Black and white film presets in Lightroom bring together the ease of digital editing with the timeless charm of analog photography. These tools allow photographers to replicate the look of classic film stocks like Ilford HP5 and Delta 3200 with accuracy and consistency.
These presets work well across various photography styles - portraits, landscapes, street photography - and offer a great starting point for your edits. You can easily tweak them to align with your unique creative vision, striking a balance between preset efficiency and personal touches. This approach helps you craft a distinct style while keeping the essence of traditional film photography alive.
For those looking to explore more options, curated platforms can be a helpful resource. For instance, Presets.io offers a wide selection of black and white film presets, blending classic film looks with modern edits to fit different artistic goals.
As you try out different presets and refine your workflow, you'll naturally develop a better understanding of how to mix the timeless beauty of black and white photography with your own artistic flair. The real magic happens when you use these tools as a foundation while staying true to your creative instincts.


.png)


