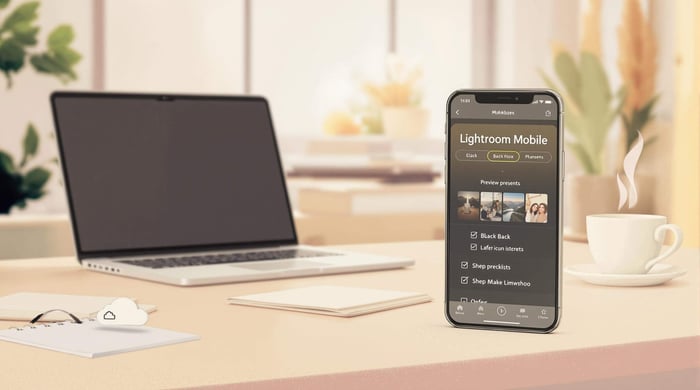
Here's how to adjust preset intensity in Lightroom Mobile:
- Apply a preset to your photo
- Tap the preset icon again
- Use the Opacity Slider to adjust intensity
Key points:
- Slide left to decrease intensity, right to increase
- Start around 50-70% and tweak as needed
- Less is often more - enhance, don't overpower
Pro tips:
- Use masking tools for targeted edits
- Mix multiple presets for unique looks
- Always check white balance after applying presets
Remember: The goal is to enhance your photo, not overwhelm it. With practice, you'll create edits that nail your vision while looking natural and polished.
Need more presets? Check out Presets.io for a wide range of options.
Featured Video: How to Adjust Presets in Lightroom
What is Preset Intensity
Preset intensity is how strong a preset effect is when you apply it to a photo in Lightroom Mobile. It's a cool feature that gives you more control over your edits.
The star of the show? The Opacity Slider. This tool lets you tweak how much of a preset you want to use, just like adjusting layer opacity in Photoshop.
Here's the deal with the Opacity Slider:
- Apply a preset, and it starts at 100% intensity.
- Slide left to tone it down.
- Slide right to crank it up past 100%.
Why's this awesome? Because presets can be too much sometimes. The Opacity Slider lets you find that sweet spot where your edit pops without going overboard.
Lou & Marks Presets, who know their stuff, say:
"Lightroom now has an Opacity Slider!! This is a game changer for those wanting more control over their edits."
You can use this slider in all Lightroom versions, including Mobile and Adobe Camera Raw. Here's how:
- Slap a preset on your photo
- Tap the preset icon again
- Slide to adjust
Remember: subtle is usually better. The Opacity Slider helps you nail that pro look without overdoing it.
Want to try some new presets? Check out Presets.io. They've got a bunch of cool options for Lightroom Mobile, from aesthetic to vintage vibes. And with the Opacity Slider, you can make them work just right for your style.
How to Use the Opacity Slider
The Opacity Slider in Lightroom Mobile is a game-changer. It lets you tweak preset intensity with just a few taps. Here's how to master it:
Basic Steps
Using the Opacity Slider is easy:
- Open your photo in Lightroom Mobile
- Apply your chosen preset
- Tap the preset icon again
- Find the Opacity Slider
- Slide left to decrease intensity, right to increase
That's it! The slider starts at 100% (full preset effect). Move it down to soften the effect, or up to intensify it.
"The opacity/amount slider is an amazing new feature that Lightroom users have anticipated for a long time!" - Pretty Presets for Lightroom
They're right. This slider gives you unmatched control over your edits.
Getting the Right Strength
Finding the perfect preset intensity isn't an exact science. It depends on your photo, preset, and desired look. Here are some tips:
Start subtle. Begin around 50-70% intensity and increase if needed. This helps avoid over-editing.
Consider your subject. Portraits often look better with softer preset applications. Landscapes might handle stronger effects.
Check the details. Zoom in on key areas to make sure the preset intensity isn't causing unwanted effects.
Compare versions. Use Lightroom Mobile's before/after view to compare different intensities and pick the best one.
Remember: enhance your photo, don't overpower it. When it comes to presets, less is often more.
Want more presets? Presets.io offers a wide range of Lightroom mobile presets. From aesthetic to vintage looks, you'll find options to elevate your photos when paired with the Opacity Slider.
Other Ways to Adjust Intensity
The Opacity Slider is great, but it's not the only tool in your Lightroom Mobile toolkit. Let's look at some other ways to fine-tune your presets.
Manual Adjustments
Sometimes you need to get your hands dirty. Here's how:
Check the sliders: After applying a preset, look at which sliders moved the most. These are your key players.
Tweak the big movers: Start with the biggest changes and work your way down. For example:
- Exposure: Too bright or dark? Slide left to darken, right to brighten.
- Saturation: For overall color punch, this is your go-to. Dial it down to tame an overzealous preset.
Color fine-tuning: If specific colors are screaming for attention, hit up the Color Mix panel. You can adjust hue, saturation, and luminance for individual colors here.
"Indoor photos often look more yellow than outdoor shots", says Kate Sharp, Co-founder of Azori. In these cases, the temperature slider can be your best friend.
Single Slider Controls
Lightroom's got some powerful one-slider wonders:
Amount Slider: New in Lightroom 11, this bad boy lets you crank up or tone down the overall preset effect. Slide right to intensify, left to soften.
Adjustment Brush: Want to "paint" adjustments onto specific areas? This is your tool. Perfect for selective editing when you want to tweak the preset effect in certain spots.
Graduated Filter: Great for gradual adjustments across your photo. Think landscapes where you want the sky to pop but the ground to chill.
"Don't bother with individual color sliders. Just dial down the overall saturation", advises the 123PRESETS Author. It's often the quickest fix for an overcooked preset.
sbb-itb-b27063
Fix Common Problems
Even with the Opacity Slider, you might hit a few snags when tweaking preset intensity in Lightroom Mobile. Let's dive into some common issues and how to fix them.
Compatibility Issues
Compatibility can be a pain when working with presets. Here's how to smooth things out:
1. Check preset compatibility
Not all presets play well with the Opacity Slider. Make sure yours are designed for this feature. Older presets might need an update.
2. Re-import after updates
App updates can sometimes mess with imports. Guido from Lr Mobile QE says:
"We've just dropped version 6.2.1 with a fix. Since this was an import issue, you'll need to re-import the dngs... Let us know if it's working now... and sorry for the hassle."
3. Sync issues on new devices
If your presets are MIA on a new phone, check the Lightroom web app. Head to adobe lightroom, open an image, and look for your presets in the bottom right of the edit screen.
4. Multiple applications
Sometimes presets need a nudge. If one isn't applying right, try hitting it a few times. This can sometimes do the trick.
Keep Your App Fresh
An up-to-date Lightroom Mobile is key for smooth preset adjustments. Here's why and how:
1. Regular updates
Adobe's always squashing bugs and polishing features. Stay current to dodge compatibility issues.
2. App store check
iOS and Android users: keep an eye on your app stores for Lightroom Mobile updates.
3. Auto-update
Turn on auto-updates for Lightroom Mobile. It's the easiest way to stay current.
4. Restart after updates
After updating, give the app a quick restart. It helps make sure all the changes stick.
Keeping your app fresh is your best bet against preset problems. As one Adobe Community User puts it:
"If you can't see the presets in the Lightroom web app, your old device might still be syncing them."
Pro Tips for Better Control
Want to level up your Lightroom Mobile preset game? Let's dive into some advanced techniques that'll give you surgical precision over your edits.
Target Specific Areas
Sometimes you want that preset magic, but only in certain parts of your photo. Here's how:
Use Masking Tools: These are your secret weapon. They let you apply presets to specific areas while leaving others untouched.
Invert for Background Edits: Got a tricky background? Select your subject, then invert the mask. Now you can tweak the background without messing with your main focus.
Gradient Filters: Perfect for landscapes. Apply a preset to the sky, then use a gradient filter to blend it with the ground.
Kristina Sherk, an instructor at LinkedIn Learning, nails it:
"When retouching, it is helpful to be able to create targeted adjustments."
She's right on the money. Targeted adjustments can turn a good edit into a showstopper.
Mix Different Presets
Why stick to one preset when you can blend several? Here's how to create a unique look:
Apply a general preset first. This sets the overall tone.
Add tool presets on top. These target specific aspects like color or contrast.
Use the Opacity Slider to dial in the strength of each preset layer.
Here's a real-world example from Pretty Presets for Lightroom:
- Pretty Portrait Toolkit: WB Auto (tweaks white balance)
- Pretty Portrait Toolkit: Ex. +1.00 (bumps up exposure)
- Base 3 | Pastel Color (base preset with nice color and slightly muted greens)
- Curve 5 | Soft Matte (adds a soft matte effect using the Tone Curve)
- Split Tone | Silver-Lilac (adds color using the Split Tone panel)
- Pretty Portrait Toolkit: Soft Center Light Neutral (adds soft light to the center)
- Noise Reduction +50 (smooths out any noise)
Keep in mind, not all presets play nice together. Some might cancel each other out, especially if they target the same settings. Play around and see what clicks for your style.
Pro Tip: Found a combo you love? Save it as a new preset. Next time, you can recreate that perfect look with just one tap.
Conclusion
Let's wrap up what we've learned about preset intensity in Lightroom Mobile.
The Opacity Slider is a game-changer. It's not just about slapping on a filter anymore. You can fine-tune your edits with precision. Slide left to tone it down, or crank it up past 100% if you're feeling bold.
But that's just the start. We've covered a bunch of ways to tweak preset intensity:
- Manually adjusting key sliders like Exposure and Saturation
- Using Masking Tools for targeted edits
- Mixing multiple presets for unique looks
Here's the thing: every photo is different. As Nicole Morley, a pro photographer and editor, says:
"Utilize these tips and tricks when applying your Lightroom Presets, and all your photos will look amazing!"
She's spot on. You've got to adapt your approach to each image.
Want to up your preset game? Try these:
1. Start subtle
Begin with lower intensities (50-70%) and work your way up. It's easier to add more than to dial it back.
2. Mix it up
Experiment with different preset combos at varying intensities. You might stumble on your signature style.
3. Master the masks
Use masking tools to apply presets to specific areas. It's perfect for complex edits.
4. Light it right
Good lighting makes presets shine. Try shooting during golden hours for best results.
5. Watch the white balance
Always check and adjust white balance after applying a preset. It's crucial for natural-looking colors, especially in portraits.
Remember, the goal is to enhance, not overpower. "Less is more" isn't just a catchy phrase.
Don't be scared to try new presets and techniques. Sites like Presets.io offer tons of options to play with. Combine these with your new intensity skills, and you're set to take your mobile editing to new heights.
Keep practicing, and soon you'll be creating edits that nail your vision while looking natural and polished. Now go edit some photos!
FAQs
How to adjust preset intensity in Lightroom mobile?
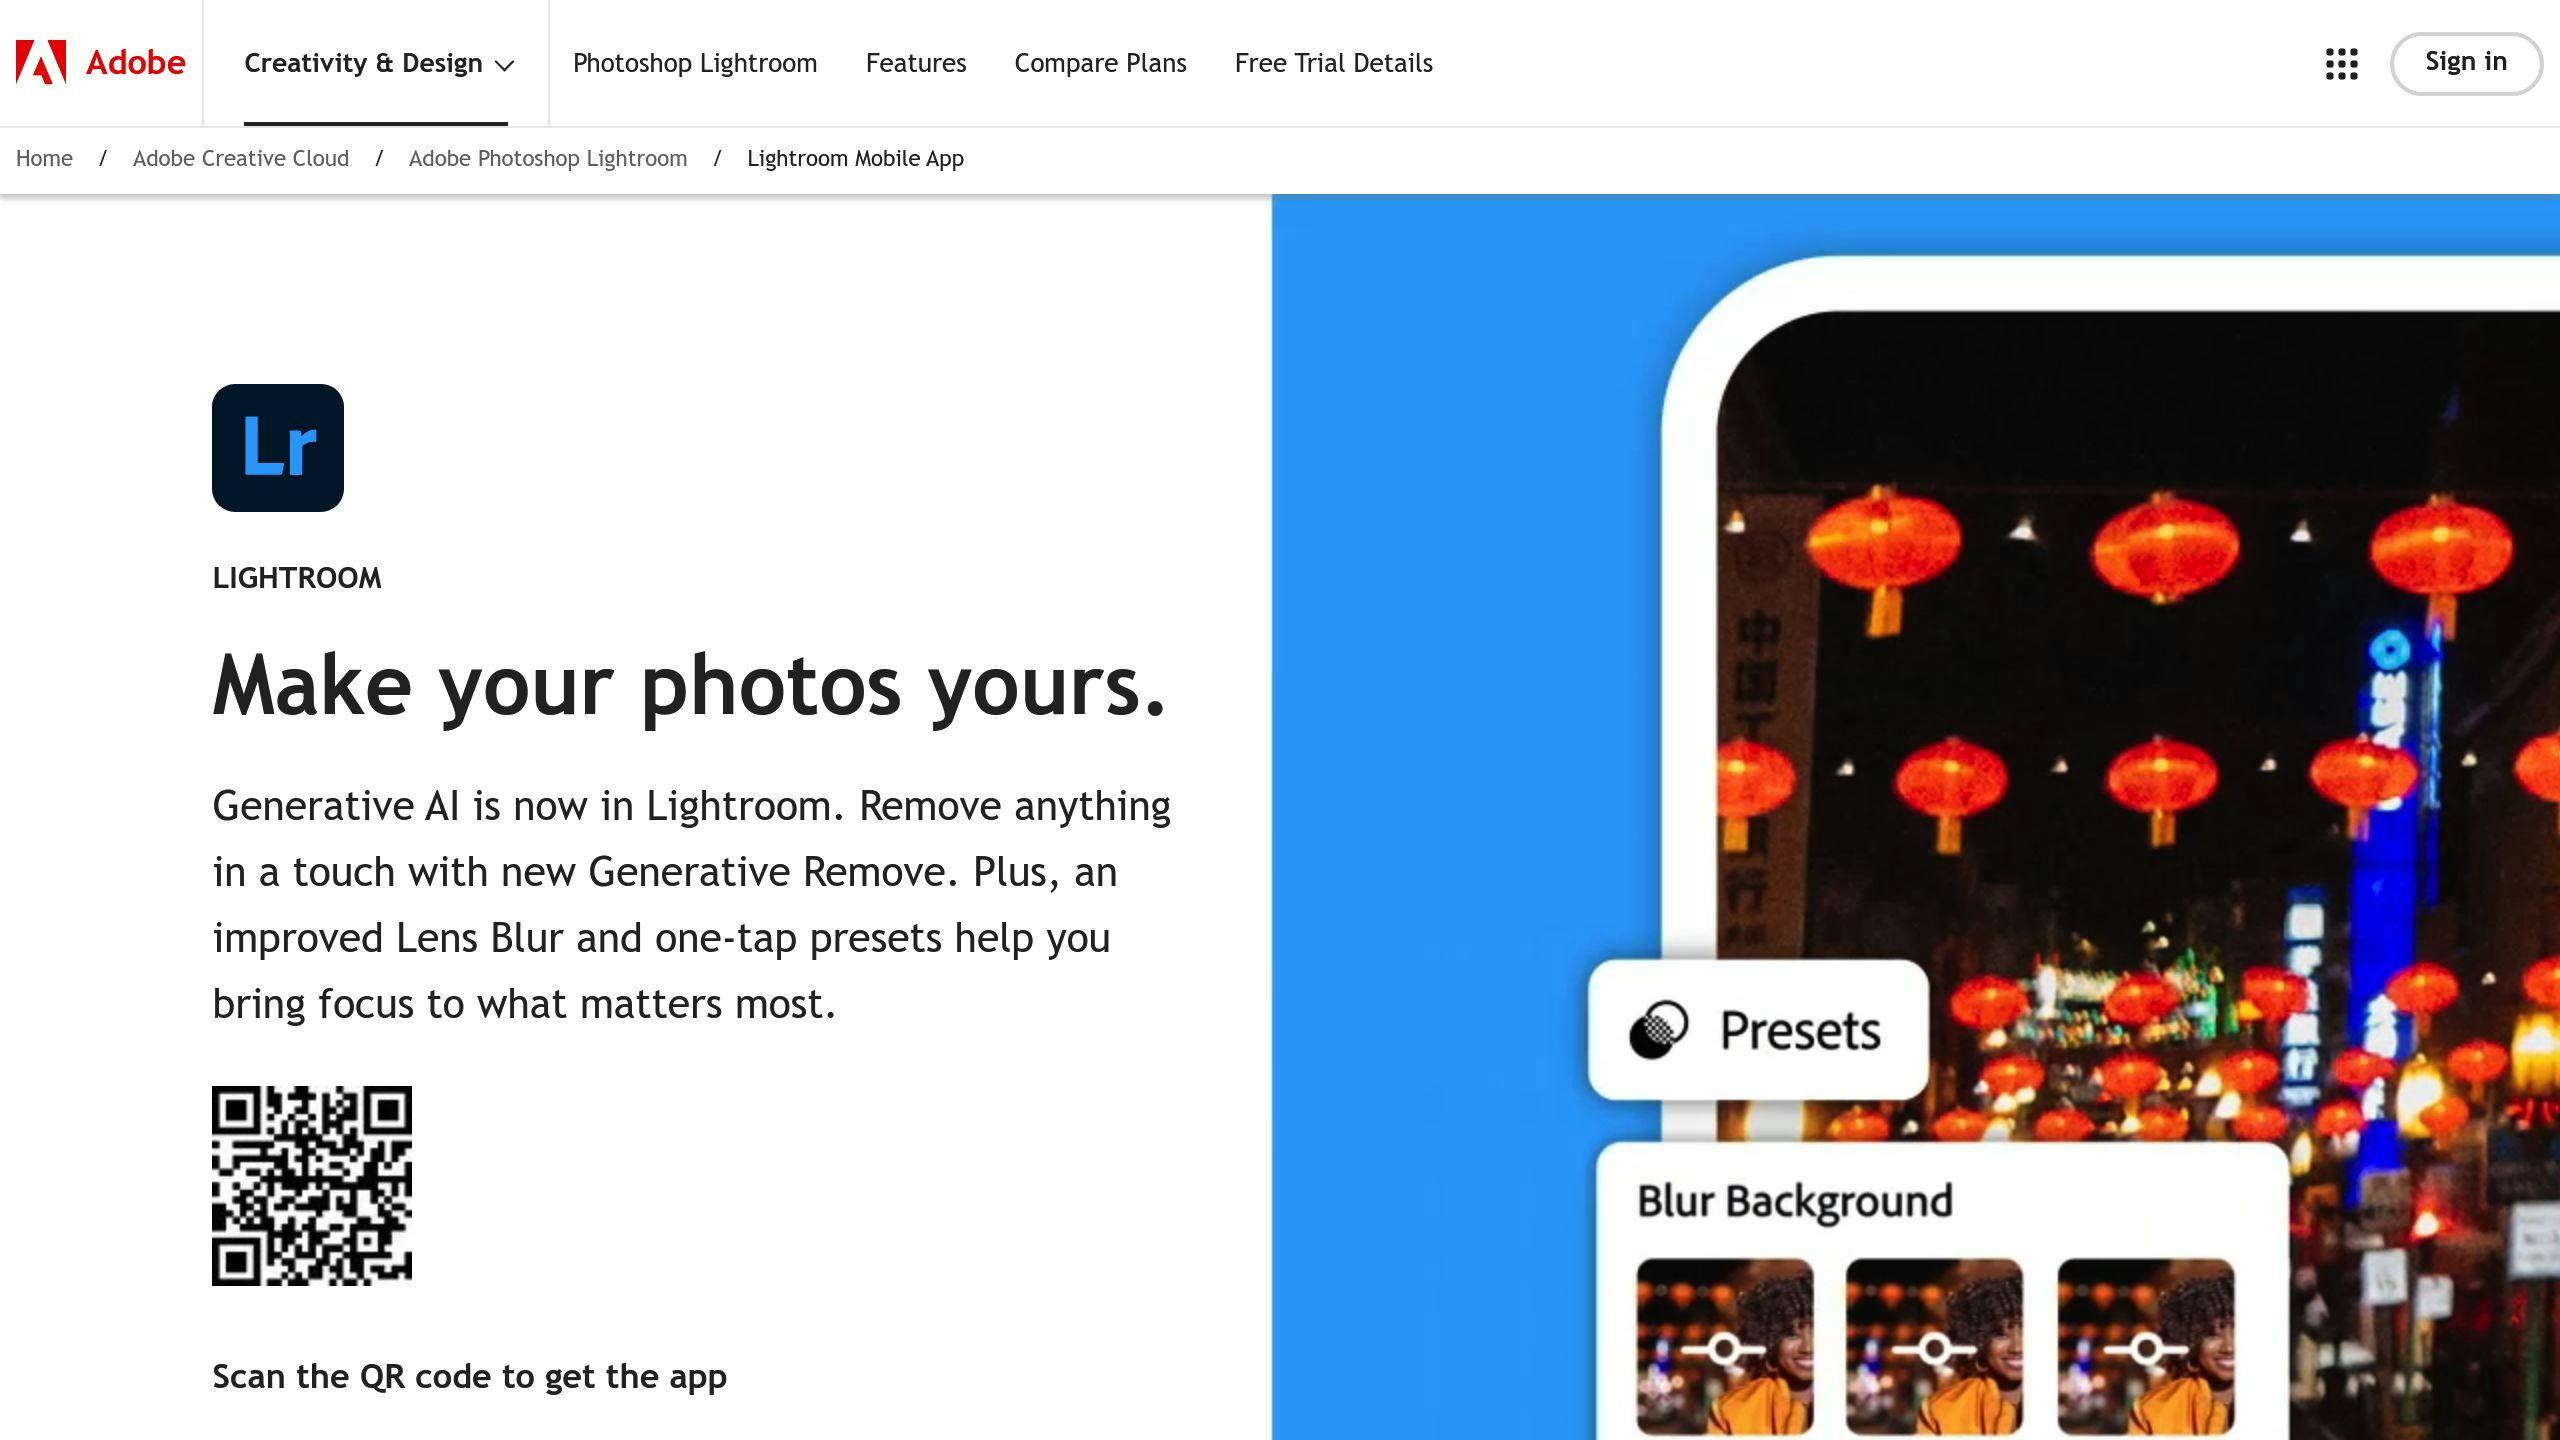
Tweaking preset intensity in Lightroom mobile is a breeze:
- Slap that preset on your photo
- Tap the preset again
- Slide the Amount slider to your heart's content (0-100%)
Pro tip: Want to see the before and after? Just tap and hold the photo. It's like time travel for your edits!
How do I change the opacity in Lightroom mobile?
Changing opacity? Easy peasy:
- Apply your favorite preset
- Tap it again
- Slide left to fade, right to pop
As Lou & Marks Presets puts it: "Lightroom now has an Opacity Slider!! This is a game changer for those wanting more control over their edits."
How do I adjust my Lightroom preset?
Fine-tuning your preset? Here's the scoop:
- Hit up the Presets tool
- Pick your preset
- Play with the Amount slider
- Tweak individual settings if you're feeling fancy
Don't sweat it if you mess up. The undo and redo buttons are your best friends.
How to lower preset opacity in Lightroom?
Toning down that preset? No sweat:
- Apply the preset
- Tap it again
- Slide left to chill out the effect
Pretty Presets for Lightroom says: "Once you apply a Lightroom preset to your photo, the opacity/amount slider will become active. By default, the slider will be set to 100."
How do I adjust a preset in Lightroom?
Want to make that preset your own? Here's how:
- Apply the preset
- Tinker with settings in the Edit panel
- Right-click the preset and hit "Update With Current Settings" to save your masterpiece
This way, you're not just using presets – you're creating your own editing style. How cool is that?



.png)
