Mastering Moody Photography: The Best Presets for Dark and Dramatic Looks
Moody photography relies on deep contrasts, soft lighting, and rich color grading to build atmosphere. Lightroom presets make this process faster and simpler, giving you a strong foundation to edit moody photos. Here’s what you’ll learn:
- Key techniques for moody photography: Use contrast, lighting, and color grading to add depth and emotion.
- Best Lightroom presets for moody looks:
- Presets.io: Weekly updated cinematic presets for all devices.
- Psdstack: Free options for beginners.
- Northlandscapes: Ideal for dramatic landscapes.
- Flourish Presets: Versatile presets for portraits, urban, and golden hour shots.
- Customization tips: Fine-tune exposure, curves, and colors for a personal touch.
Whether you’re a beginner or an experienced photographer, this guide will help you achieve striking, moody edits while saving time.
How to Create Dark and Moody Presets in Lightroom

Core Features of Moody Photography
Moody photography thrives on specific techniques that bring out its dramatic and emotional appeal.
Using Contrast for Depth
Contrast is a cornerstone of moody photography, adding drama through the balance of light and shadow. Tools like Lightroom's tone curve, especially the "S" curve, are perfect for boosting contrast. Adjusting shadows and highlights carefully is key to creating depth without losing details.
Here’s what to keep in mind:
- Keep blacks rich while retaining highlight details.
- Use precise adjustments to refine transitions between light and dark areas.
- Focus attention on specific parts of the image with intentional contrast.
Lighting Tips for Darker Photos
Lighting shapes the mood of your photos. Golden hour delivers warm, directional light, perfect for adding depth. On the other hand, overcast skies provide soft, diffused lighting that works well for moody compositions. For indoor or studio setups, a single, well-placed light source can create striking shadows and add dimension.
Color Grading for Mood
Color grading is a game-changer in creating the right atmosphere. Here are a few techniques to consider:
| Technique | Purpose |
|---|---|
| Desaturation | Creates a nostalgic or somber feel. |
| Warm Tones | Brings a sense of intimacy, great for portraits. |
| Selective Coloring | Draws attention to specific elements. |
Start with subtle adjustments and build up gradually to maintain balance. Pay special attention to skin tones and overall harmony in the color palette. Using presets can simplify this process, offering consistency while saving time.
Best Lightroom Presets for Moody Photography
Looking for presets to nail that moody vibe? Here's a handpicked list of some of the best options to help you create stunning, atmospheric photos.
Presets.io: A Variety of Cinematic Looks
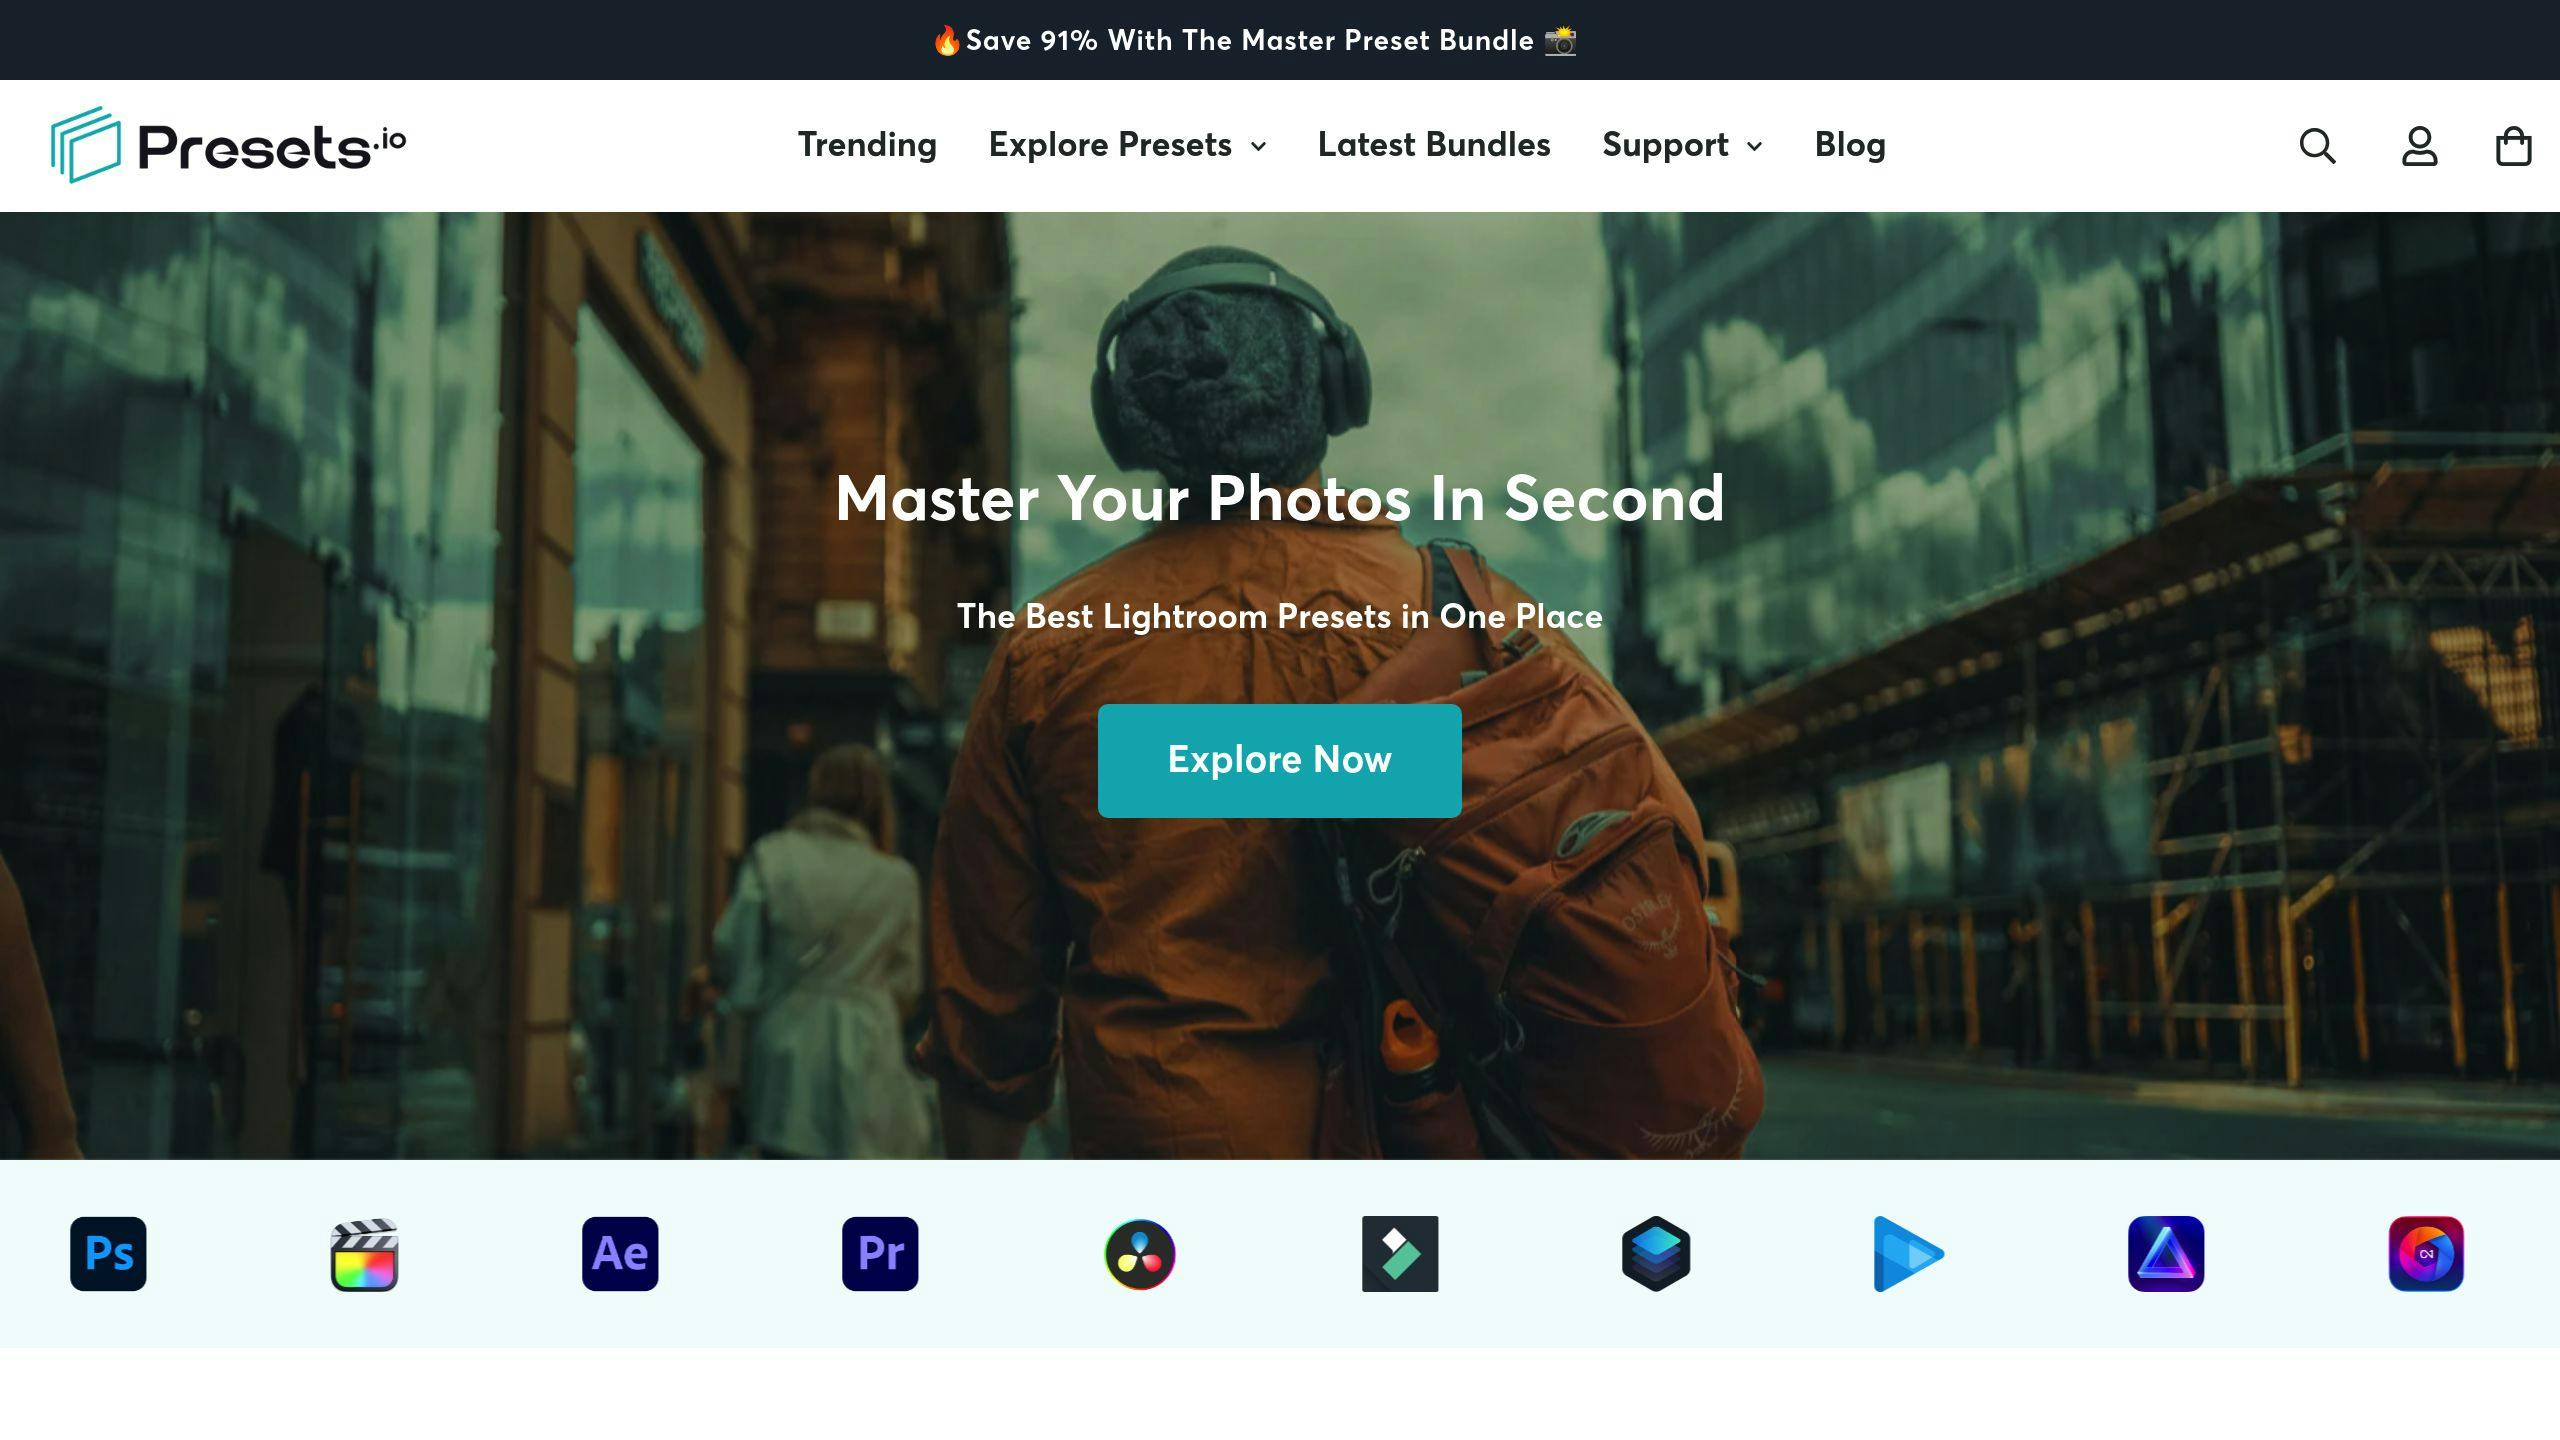
Presets.io is a go-to platform for high-quality cinematic and moody presets. They release new options weekly, and their guides make installation a breeze on both desktop and mobile. Their Cinematic Dark collection is particularly popular for its polished, professional edits that suit modern photography styles.
| Feature | Why It Matters |
|---|---|
| Weekly Updates | Keeps your edits aligned with current trends |
| Cross-Platform | Compatible with desktop and mobile workflows |
| Installation Guides | Beginner-friendly setup process |
| Multiple Styles | Flexibility for different lighting and scenes |
Psdstack: Free Options for Beginners
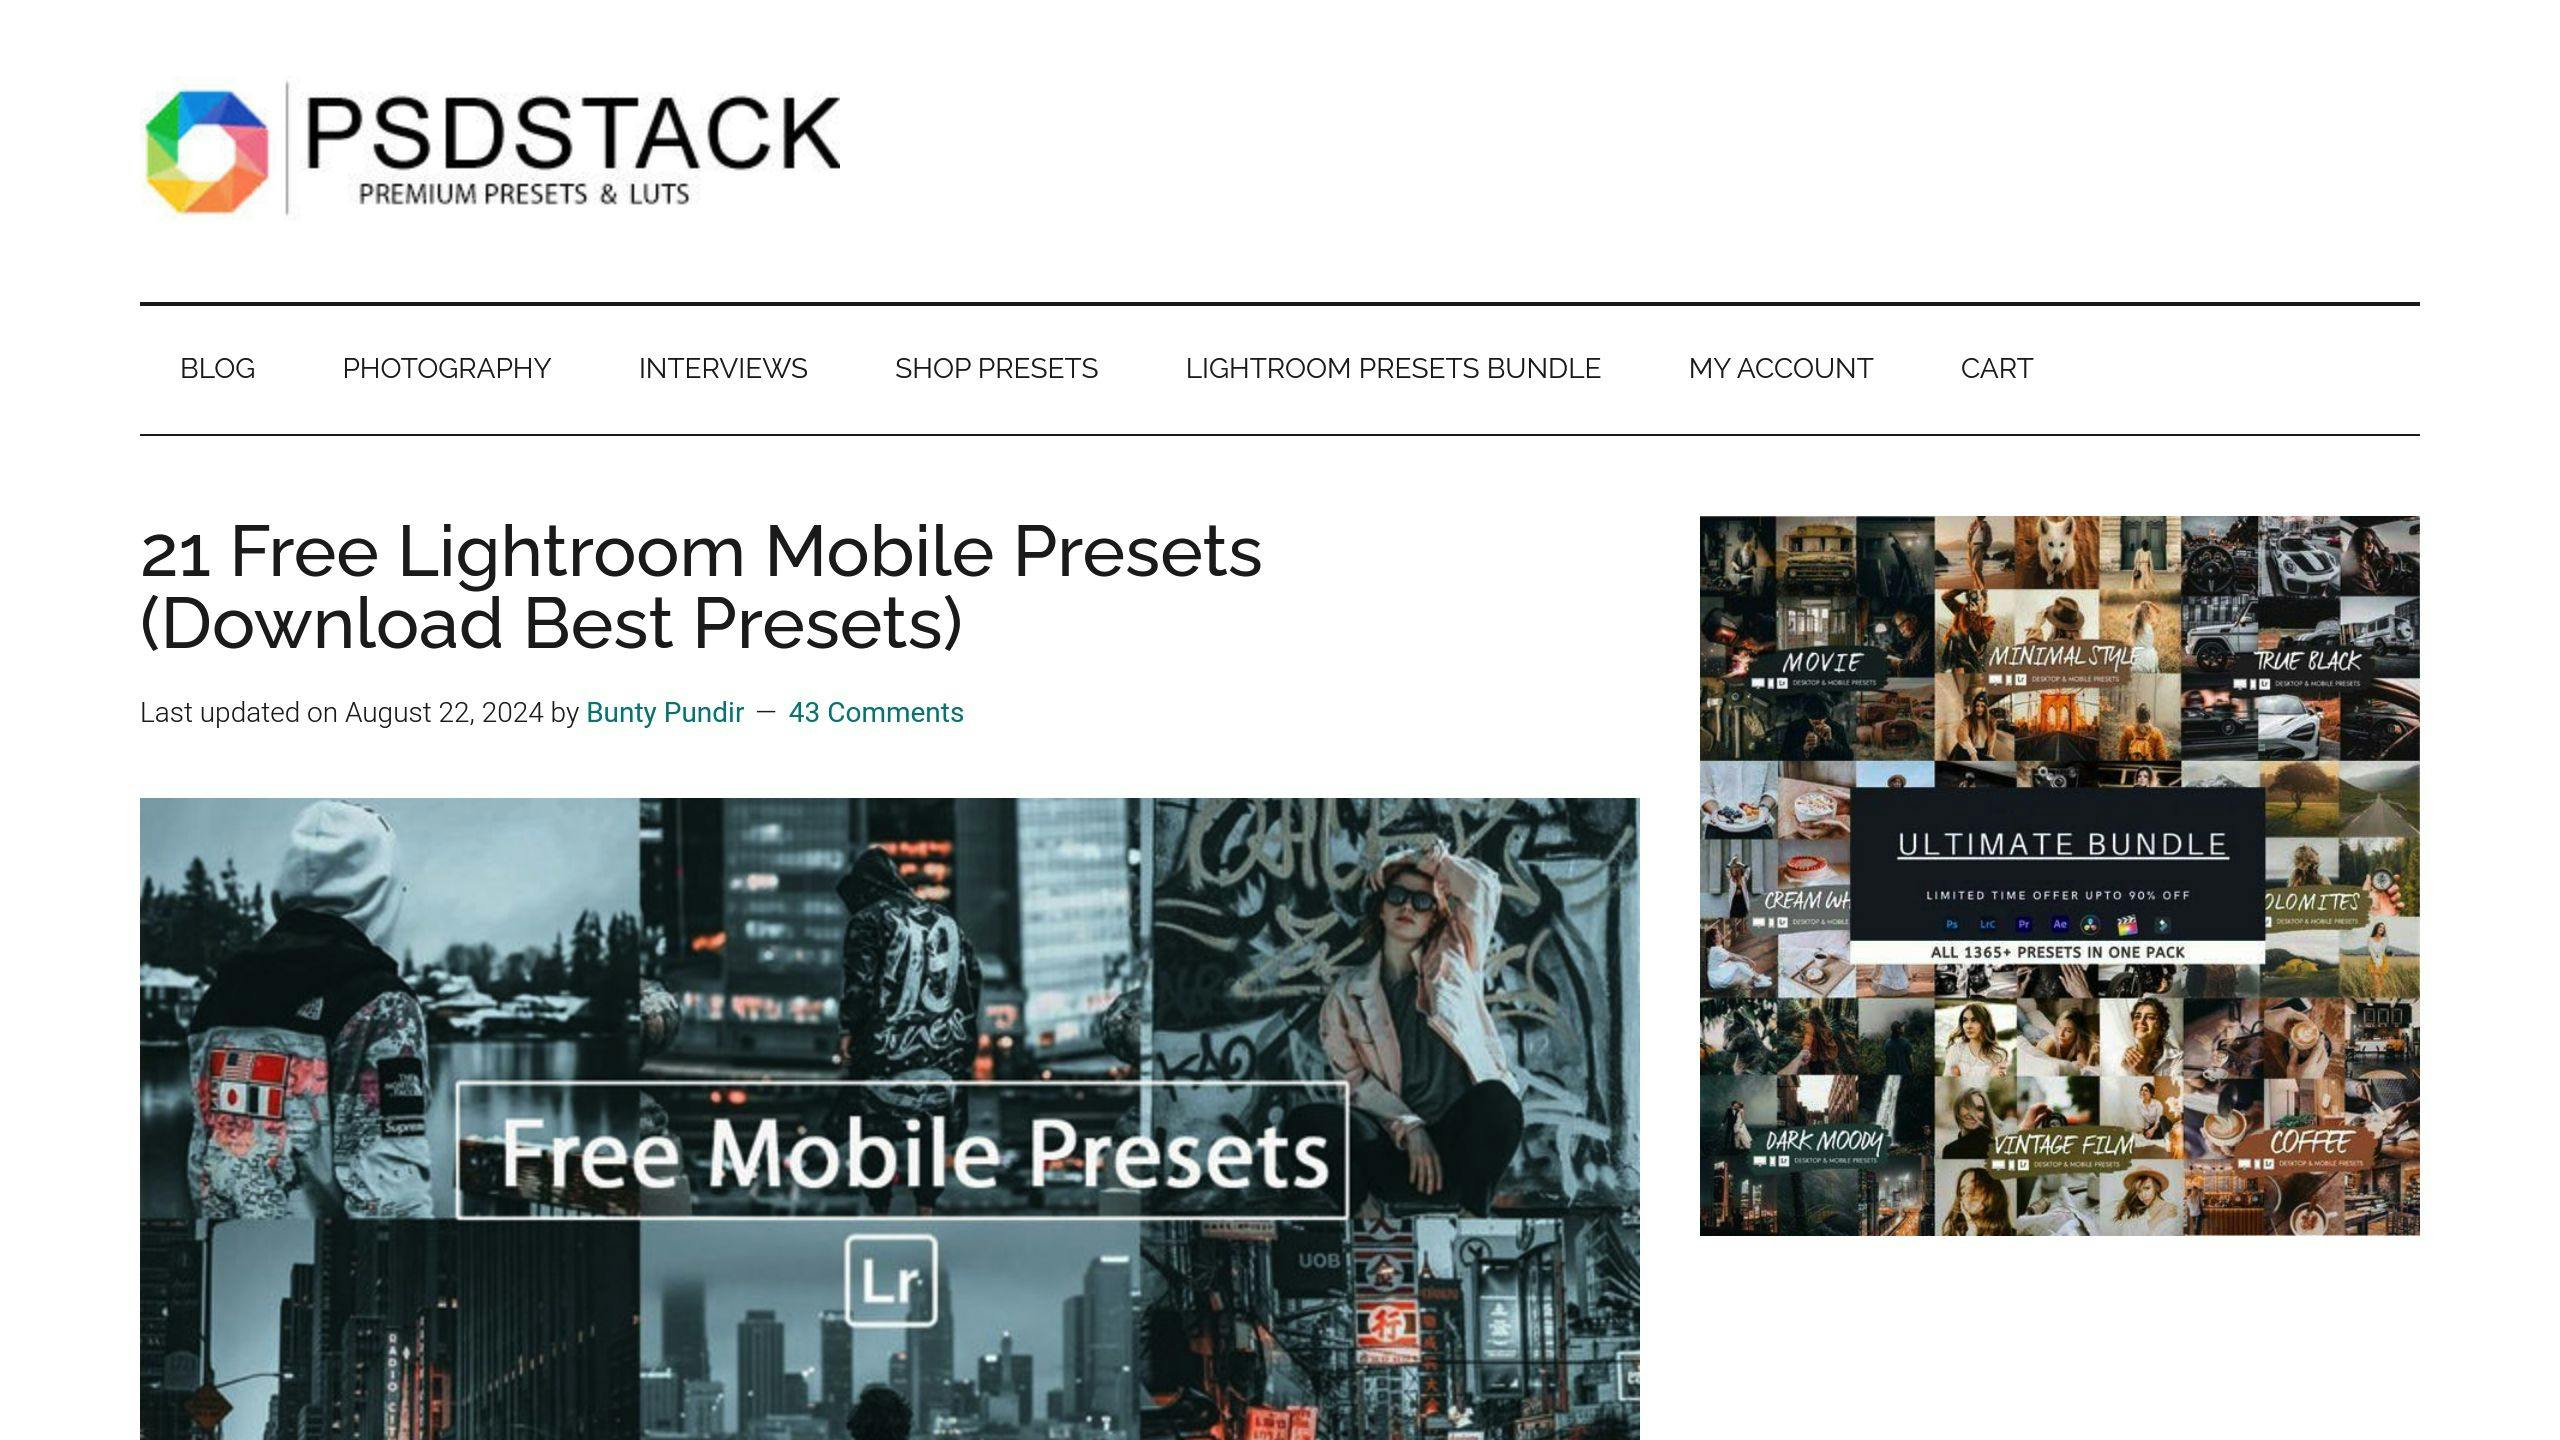
If you're just starting out, Psdstack offers free presets that are perfect for experimenting. Their Dark Atmosphere preset is great for low-light indoor shots, making it an easy way to dip your toes into moody editing [1].
Northlandscapes: Perfect for Dramatic Landscapes
Northlandscapes focuses on landscape photography, offering presets designed to enhance the natural drama of outdoor scenes. These presets are particularly effective at:
- Retaining deep shadows
- Defining clouds with precision
- Preserving natural colors
- Adding depth to atmospheric shots
Flourish Presets: Versatile and Simple to Use
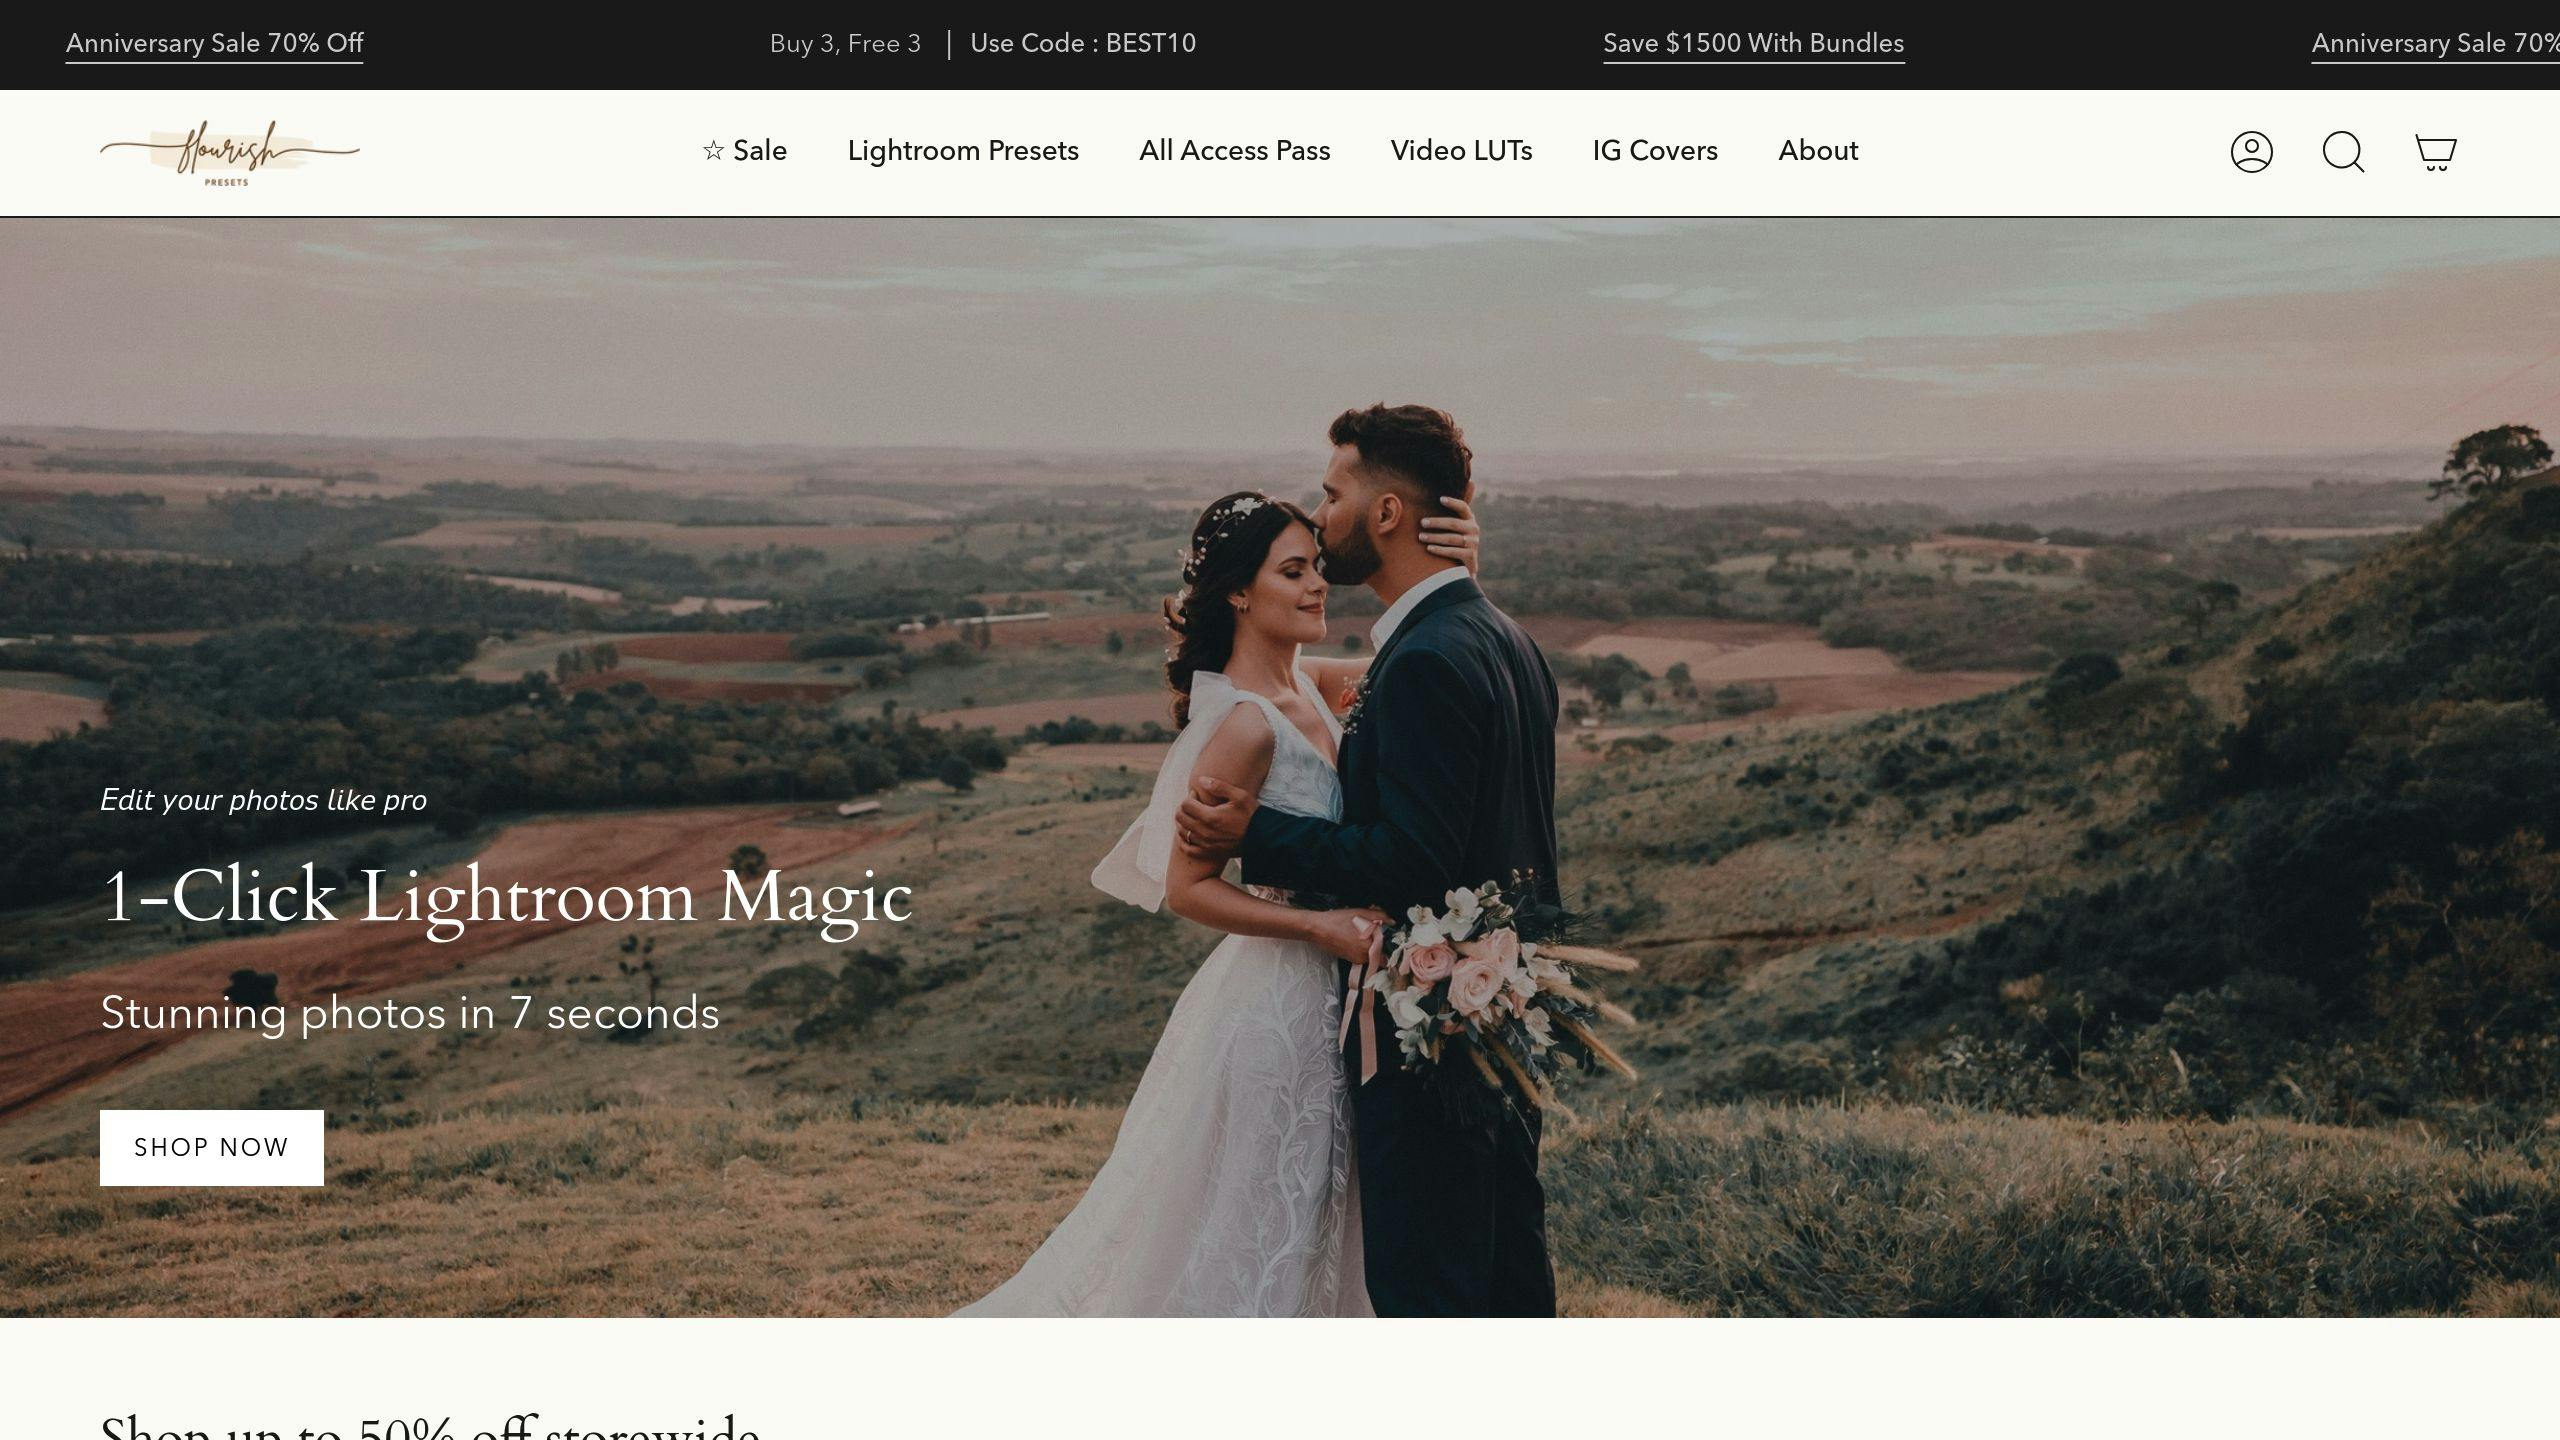
Flourish Presets offers a mix of color and black-and-white options, complete with grain adjustments for added texture [2]. Their presets work beautifully for moody shots taken during golden hour, overcast days, urban settings, and even portraits.
While these presets provide an excellent foundation, tweaking them to suit your personal style can make your edits even more unique.
How to Customize Presets for a Personal Touch
Fine-Tuning Exposure
Creating a moody look starts with adjusting the exposure. Begin by reducing the exposure by 1–2 stops to add depth. Increase the contrast (around +15 to +40) to bring out more detail and dimension. Adjust highlights and shadows to keep the image balanced while preserving important details.
| Exposure Element | Adjustment Purpose | Typical Range |
|---|---|---|
| Base Exposure | Controls overall brightness | -1.0 to -2.0 |
| Contrast | Enhances depth | +15 to +40 |
| Shadows | Retains details in darker areas | -30 to -50 |
| Highlights | Prevents overexposure | -20 to -40 |
Once you've got the exposure dialed in, the Curve Tool can help you refine the relationship between light and dark even further.
Using the Curve Tool for Shadows and Highlights
An S-curve is a great way to enhance contrast. Lift the highlights, deepen the shadows, and smooth out midtones for a natural transition. The targeted adjustment tool can provide more precision, giving your image depth without feeling overdone.
Tweaking Colors for Consistency
The HSL panel is your go-to tool for fine-tuning colors. Adjust hues to set the mood, slightly reduce saturation for a more subtle effect, and tweak luminance to balance brightness across your color palette.
"Presets, generally sold in collections with a cohesive vibe, allow us to try dozens of different moody looks on our photos in a few minutes, so that we can devote more energy to personalizing the editing and the images off of a solid foundation." [2]
For added depth, try Split Toning. Apply warm tones like amber or copper to the shadows and cooler tones to the highlights. This creates a balanced contrast that enhances the overall mood.
Presets are a great starting point, but these adjustments let you shape the tone to match your vision. With these tools, you can create a moody aesthetic that feels entirely your own.
Conclusion: Achieving the Moody Look
Key Takeaways
Capturing dramatic, moody photographs is all about combining technical know-how with your artistic perspective. Tools like presets from Presets.io and Northlandscapes can give you a great starting point for editing. To create depth and atmosphere, focus on how contrast, lighting, and color grading work together.
While presets save time, your personal touch is what makes your work stand out. Adjust settings like exposure, curves, and color grading to develop a style that's uniquely yours. These tweaks allow you to transform a preset into a reflection of your creative vision.
Experiment and Explore
Now’s the time to push your editing skills further. Start with a preset that matches your aesthetic, then use the techniques we've covered to make it your own. Experimentation is key - don’t be afraid to try new ideas and step out of your comfort zone. Developing a signature moody style takes patience and practice.
Joining online photography communities can be a great way to get feedback and inspiration. Over time, with dedication and experimentation, creating striking, moody images will feel natural.