
Table of Contents
- Lightroom to Capture One: Catalog Migration Guide
- Migrating Lightroom Catalogs to Capture One – Walter Rowe
- Getting Your Lightroom Catalog Ready for Migration
- How to Move from Lightroom to Capture One
- Fixing Common Migration Problems
- Setting Up Your Workflow in Capture One After Migration
- Conclusion: Main Points for a Successful Migration
- FAQs
Lightroom to Capture One: Catalog Migration Guide
Switching from Lightroom to Capture One can improve your photo editing process with better RAW processing, faster handling of large files, and advanced color tools. This guide helps you migrate your Lightroom catalog to Capture One smoothly, ensuring your edits, metadata, and organization transfer properly. Here's what you'll learn:
- Preparation: Back up your Lightroom catalog and photos, check its structure, and optimize it for migration.
- Migration Steps: Create a new catalog in Capture One, import your Lightroom catalog, and verify the transferred data.
- Post-Migration Tips: Reorganize files, recreate presets as Capture One Styles, and use advanced tools like layers and tethered shooting.
Quick Tip: Large Lightroom catalogs may slow Capture One. Splitting them into smaller sections by year or project can improve performance.
This guide ensures a seamless transition, so you can fully utilize Capture One's features for your photography workflow.
Migrating Lightroom Catalogs to Capture One – Walter Rowe
Getting Your Lightroom Catalog Ready for Migration
To ensure a smooth transition from Lightroom to Capture One, start by preparing your Lightroom catalog. This step is crucial for avoiding data loss and ensuring everything transfers as seamlessly as possible.
Find and Back Up Your Catalog
Your LR catalog is the heart of your workflow - it holds all your edits, metadata, and organizational structure. Losing it would be a nightmare, so backing it up is a must. Keep in mind, though, that Lightroom's built-in backup feature only saves the catalog file itself. You'll need to back up your actual photos and exported images separately.
Here’s where you can typically find your catalog:
- Windows:
\Users\[user name]\Pictures\Lightroom\[catalog name]\Backups\ - Mac OS:
/Users/[user name]/Pictures/Lightroom/[catalog name]/Backups\
To back up manually, go to Edit > Catalog Settings > Backups (Windows) or LR Classic > Catalog Settings > Backups (Mac OS). You can also set Lightroom to back up automatically by choosing "When Lightroom next exits" in the backup menu. Once set, close the window and quit LR Classic to trigger the backup.
For added protection, follow the 3-2-1 Backup Rule:
- Keep three copies of your files.
- Store them on two different media types (e.g., external drives and cloud storage).
- Keep one copy offsite.
Store backups on a separate hard drive from your working files. For maximum safety, consider keeping one backup in a fireproof safe or an offsite location. Using backup software can simplify this process by automating file synchronization between your working and backup drives.
Check Your Catalog Structure
Once your backup is secure, take a closer look at your catalog's structure and size. Capture One handles catalogs differently than LR, storing more information and previews within each catalog file. Large catalogs can slow down Capture One's performance, so optimizing your catalog before migration is a smart move.
Here are a few tips to get your catalog migration-ready:
- Remove unsupported files from your LR catalog.
- Ensure the catalog name uses Latin characters only, as non-Latin characters can cause import issues.
- Use English for all color tags, since Capture One doesn’t recognize tags in other languages.
- Export metadata to XMP files to safeguard your data. This ensures critical metadata remains intact even if some catalog information doesn’t transfer perfectly.
If your Lightroom catalog is massive, consider breaking it into smaller, logical segments - by year, project, or another category. Capture One works better with smaller catalogs, and this approach can make your workflow more efficient.
Export Smaller Catalogs (Optional)
For photographers with large libraries, splitting your catalog into smaller sections can improve Capture One’s performance. To do this, right-click a folder in LR , select "Export This Folder as a Catalog", and uncheck options for negatives, Smart Previews, and available previews.
Photographer Martin Bailey highlights the benefits of this approach:
"Capture One Pro does not work well with this many images in a single catalog, so it's best to split images into multiple smaller catalogs".
"Capture One Pro stores more information and previews inside the Catalog than Lightroom does, which I imagine is the main reason that Catalogs can't contain that many images".
How to Move from Lightroom to Capture One
Once your LR catalog is prepped and securely backed up, it’s time to start the migration process. Capture One simplifies this with its built-in import feature, but there are a few key steps to follow to ensure a smooth transfer.
Set Up a New Catalog in Capture One
Before you begin importing, you’ll need to create a new catalog in Capture One to house your LR data. Keep in mind that Lightroom catalogs can only be imported into Capture One catalogs, not sessions.
To create a new catalog, open Capture One and navigate to File → New Catalog. Save it on a fast local drive, give it a descriptive name, and adjust preferences under Capture One/Edit → Preferences. Here, you can configure backup settings and adjust preview image sizes.
If you’re working exclusively with RAW files, consider disabling editing for JPEG, TIFF, or PNG files in the preferences. This can streamline your workflow and help avoid unintentional edits to processed images.
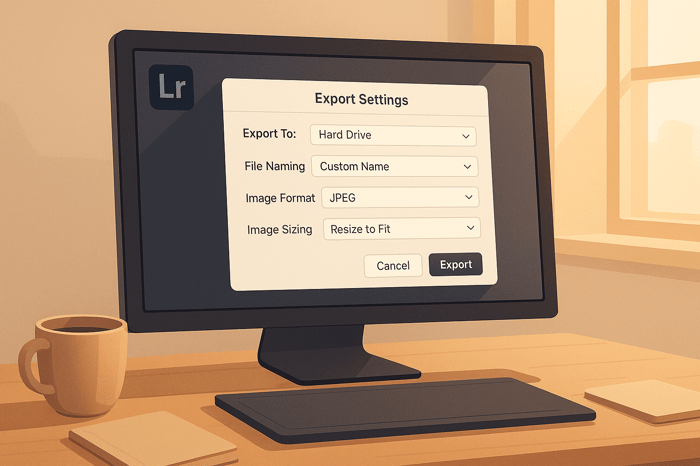
Import Your Lightroom Catalog
With your new catalog ready, you can start importing your LR data. The process is straightforward:
| Step | Action |
|---|---|
| 1 | Open or create a new catalog in Capture One (File → New Catalog) |
| 2 | Go to File → Import Catalog |
| 3 | In the dialog window, click "Select Catalog…" |
| 4 | Locate and select your .lrcat file |
| 5 | Review the pre-import summary and click "Import" |
| 6 | Monitor progress in the Activities window |
"Capture One allows you to import Lightroom Classic Catalogs with adjustments, offering a familiar non-destructive workflow." - Capture One
When selecting your .lrcat file, Capture One will analyze the catalog and display a pre-import summary. Take a moment to review this summary - it outlines what will be transferred. Once ready, click "Import" to begin.
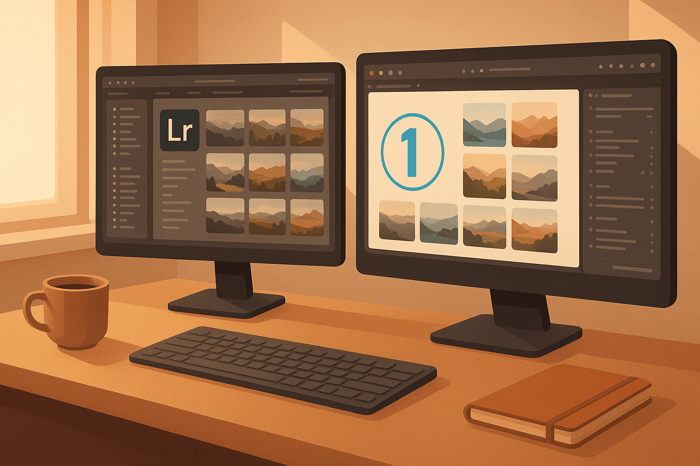
The time it takes to import depends on the size of your catalog and your system’s performance. You can track the progress in the Activities window, which will show you the number of files being processed. Once the import is complete, check to ensure all key data and organizational elements transferred correctly.
Check Your Imported Data
Here’s what you can expect to transfer successfully:
- Collections will appear as Albums, and Collection Sets will convert to Groups (though empty sets won’t transfer).
- Basic image adjustments such as Orientation, Rotation, Crop, White Balance, Saturation, Contrast, and Exposure.
- Metadata, including star ratings, color labels, flat keywords, and IPTC fields.
However, some elements won’t transfer, including:
- Smart Collections.
- Red-eye corrections.
- Spot removal adjustments.
After the import, browse through your images to ensure they display properly. Verify that the organizational structure matches your original Lightroom setup - Collections should now appear as Albums, grouped correctly in Capture One.
Pay close attention to your image adjustments. While basic edits like exposure and white balance should carry over, more advanced edits often won’t transfer due to differences in how LR and Capture One process images. This is normal, so don’t be alarmed.
If any files were skipped during the import, you can click "Show unimported files…" to generate a text file listing those items. For further details about any issues, check the Event Log under Window → Event Log.
One photographer shared their experience of successfully migrating a Lightroom 6 catalog with 44,000 images into Capture One. They were able to retain variants, adjustments, ratings, color coding, and collections. While results may vary depending on your catalog’s complexity and the adjustments you’ve made, this demonstrates the potential for large-scale migrations.
Take the time to review various folders and albums, ensuring that metadata like star ratings, color labels, and keywords transferred as expected. If you exported metadata to XMP files during preparation, this should help preserve key details, even if some catalog-specific data didn’t transition perfectly.

The Master Preset Bundle

$57.00
$672.00
The Master Preset Bundle Every Style. Every Platform. One Download Get 56 high-quality Presets.io collections in one complete bundle — designed to help you edit faster, stay consistent, and get professional-looking results in seconds. Get All High-Quality Preset Collections For… continue reading
Fixing Common Migration Problems
After verifying your imported data, the next step is tackling common migration challenges. Even with thorough planning, moving from LR to Capture One can present a few hurdles. Here's how to address some of the most frequent issues and keep your workflow smooth.
Handling Edits That Don't Transfer
Lightroom and Capture One process images differently, meaning not all edits will carry over. Basic adjustments like exposure, white balance, and contrast typically transfer without issues. However, more advanced edits - like Smart Collections, red-eye corrections, and spot removal - won't make the jump.
To preserve your work:
- Export Finished Edits: For images with finalized edits in LR, export them as high-quality files (e.g., TIFF or JPEG) before migrating. Then, import these alongside your RAW files into Capture One.
- Recreate Specific Looks: For images needing further tweaks, manually rebuild their edits using Capture One's tools. Keep your LR catalog handy as a reference for replicating specific adjustments.
Fixing Missing Files
If files appear as "Offline" in Capture One (often marked by warning triangles), it’s likely because images or folders were moved or renamed outside the software.
Here’s how to fix it:
- Locate Missing Files: Right-click the offline image or folder, select "Locate…", and navigate to its current location.
- Reconnect External Drives: Ensure external drives are properly connected. If they don’t reconnect automatically, right-click the offline drive and choose "Locate…" to manually link it.
If the "Locate" option is grayed out, restarting Capture One can sometimes resolve the issue. While offline files can still be edited using previews, exporting them at full resolution isn’t possible until their original locations are restored.
Working with Large Catalogs
Migrating large catalogs can sometimes slow down Capture One’s performance, especially with extensive collections. Here are some strategies to keep things running smoothly:
- Split Catalogs Into Smaller Segments: Instead of migrating your entire LR catalog at once, divide it into smaller sections by year, project, or client. This makes the process more manageable and improves performance.
- For example, a user with a catalog of around 285,000 images on a Mac Pro M2 (with 192GB of RAM and fast NVMe storage) achieved responsive performance by using smaller preview sizes. However, this setup required significant hardware investment.
- Store Catalogs on Internal SSDs: Keep catalogs on internal SSDs for faster access. Disconnect unnecessary external syncing services and exclude Capture One's catalog folders from antivirus scans to enhance performance.
- Adjust Filter Tools: The Filter tool can slow things down due to extensive metadata indexing. Remove it from the Library tool tab or customize its metadata fields to reduce processing demands.
- Regular Maintenance: Periodically run the Verify/Repair function in Capture One to optimize catalog indexes and compact them. For ongoing projects, consider using Capture One Sessions instead of adding everything to a single catalog. Completed projects can be imported later.
- Limit Online Images: If performance issues persist with catalogs exceeding 50,000 images, try disconnecting unneeded drives to reduce the number of online images your system has to track.
Setting Up Your Workflow in Capture One After Migration
Now that your catalog has been successfully migrated and any common hiccups have been addressed, it's time to optimize your workflow. This will help you tap into Capture One's full potential and streamline your editing process.
Organize Folders, Albums, and Collections
Capture One uses a three-tier structure - Folders, Albums, and Smart Albums - to keep your files organized:
- Folders: These reflect the structure of your file system.
- Albums: Virtual collections that let you group images without physically moving the files.
- Smart Albums: Automatically update based on criteria you set, like specific camera settings or keywords.
To get started, consider creating a folder hierarchy that suits your shooting habits. For instance, you might organize by year, then by month or project, such as "2025/January/Wedding_Smith" or "2025/Portraits/Client_Sessions." Use albums to curate specific groups like "Portfolio Selects", "Social Media Ready", or "Client Favorites." Smart Albums can then automatically gather images based on rules you define, such as edits made within the last week or files shot with a particular lens.
Once your files are neatly organized, the next step is to focus on recreating your editing styles to maintain consistency in your workflow.
Replace Your Presets and Styles
If you relied on Lightroom presets
, you'll need to recreate those looks in Capture One. In this software, what LR calls "presets" are referred to as Styles, while "Presets" in Capture One apply to single-tool adjustments. To save time, you can use Picture Instruments' Preset Converter app (priced at $47) to automate the process. However, some LR-specific settings may not translate perfectly, so manual adjustments will likely be necessary.
To ensure your editing style remains consistent, manually recreate your signature looks by tweaking exposure, contrast, and color balance while comparing images side-by-side with LR. Capture One’s advanced Color Editor can help you refine color profiles, and you can adjust curves to match your desired aesthetic. Documenting your adjustments as you go will make future recreations much easier.
For those looking to expand their style library, websites like Presets.io offer a variety of Capture One styles alongside options for LR, giving you ready-made tools to enhance your workflow.
Use Capture One's Advanced Tools
With your files organized and styles in place, take full advantage of Capture One's powerful features to boost your editing efficiency. The software allows you to customize your workspace, letting you rearrange tool tabs, create floating tools, and set up configurations tailored to your specific photography needs. Its tethered shooting capabilities enable you to capture images directly to your computer for instant review and adjustment.
Layer-based adjustments and masking tools provide precise control, allowing you to edit specific areas of an image with ease. In May 2025, Capture One introduced the "Retouch Faces" tool, which automatically detects faces and lets you quickly address blemishes, dark circles, and skin smoothness. Ines Carton, Principal Engineering Manager at Capture One, highlights the balance between automation and creativity:
"We believe AI is an incredible tool for lightening workloads, automating tedious tasks, and solving difficult problems. But we're a photography company, and we believe creative decisions should stay with creators."
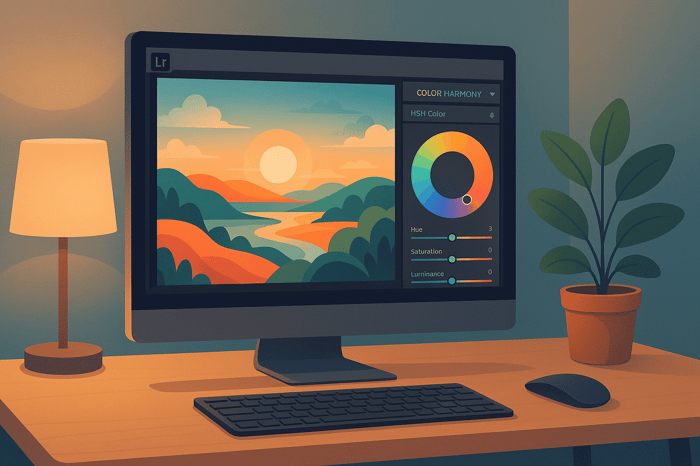
Capture One’s Color Editor offers fine-tuned control over hue, saturation, and luminance, while process recipes allow you to set consistent export settings for web, print, or client galleries. You can also speed up your workflow by customizing keyboard shortcuts. Notably, Capture One has proven its efficiency, importing 200 raw files in just 67 seconds - making it a strong choice for handling high-volume projects.
Conclusion: Main Points for a Successful Migration
Switching from LR to Capture One can be a smooth process with the right preparation. One essential step is performing thorough pre-migration checks to ensure everything is in order. It's worth noting that your original files will remain untouched during the transition.
Capture One's built-in import tool simplifies the migration process, though you might need to make a few tweaks along the way. Basic edits like exposure, contrast, and white balance usually transfer without issue, but Lightroom-specific features may not translate perfectly. Double-check that all your files are accessible once the migration is complete.
Once you've moved your files, the next step is to get organized. Capture One offers flexible options like folders, albums, and Smart Albums, which you can use to create a system that works best for you. Taking the time to customize your workspace and master keyboard shortcuts will make your editing process more efficient and enjoyable.
As you settle into Capture One, you'll also need to rethink your editing style. Lightroom presets won't transfer directly, but Capture One uses Styles, which offer a different but equally powerful way to enhance your photos. If you're looking to expand your creative options, Presets.io provides a rich collection of Capture One Styles, including cinematic, vintage, and film-inspired looks, which can add new dimensions to your workflow.
Capture One's advanced tools - like layer-based editing, precise color adjustments, and customizable workspaces - open up new possibilities for photographers. With careful preparation and a willingness to adapt, you can unlock a more efficient and creative editing experience.
FAQs
How does Capture One handle large catalogs compared to Lightroom, and what steps can I take to ensure a smooth migration?
Capture One stands out for its ability to manage large catalogs more efficiently than Lightroom, delivering quicker thumbnail browsing and stronger metadata handling. That said, some users have reported occasional hiccups, like freezes or slow performance, especially during migration when settings aren't properly adjusted.
To make the migration process smoother, start by reducing preview sizes in both Lightroom and Capture One - this helps lighten the processing load. Before exporting from Lightroom, clean up your catalog by removing unnecessary files or duplicates. Once you're ready to import into Capture One, stick to the recommended catalog import steps to ensure your data transfers without a hitch. These simple steps can help you avoid performance issues and make the switch as smooth as possible.
How can I transfer my custom Lightroom presets and editing styles to Capture One?
To move your custom Lightroom presets and editing styles into Capture One, you'll first need to export your Lightroom presets as files. Once that's done, use Capture One's Styles & Presets tool to import and apply them. Keep in mind that Lightroom and Capture One operate on different systems, so you may need to tweak the settings to achieve the same look. For an easier process, you can explore tools or guides specifically created to convert Lightroom presets into Capture One-compatible styles. Spending some time fine-tuning these adjustments will help maintain the consistency of your editing style after the switch.
What can I do if some edits or metadata don't transfer correctly when migrating my Lightroom catalog to Capture One?
If you're experiencing issues with edits or metadata not transferring correctly during a migration from Lightroom to Capture One, the first step is to review the metadata settings in Capture One. Make sure the necessary options are enabled during the import process. Also, verify that the export from Lightroom was completed without errors, as incomplete exports can lead to missing data.
For ongoing problems, try re-importing the catalog or tweaking the metadata preferences in Capture One. If the issues persist, you may need to manually reapply key edits or metadata to ensure everything is accurate. These steps can address most migration difficulties and help keep your workflow on track.