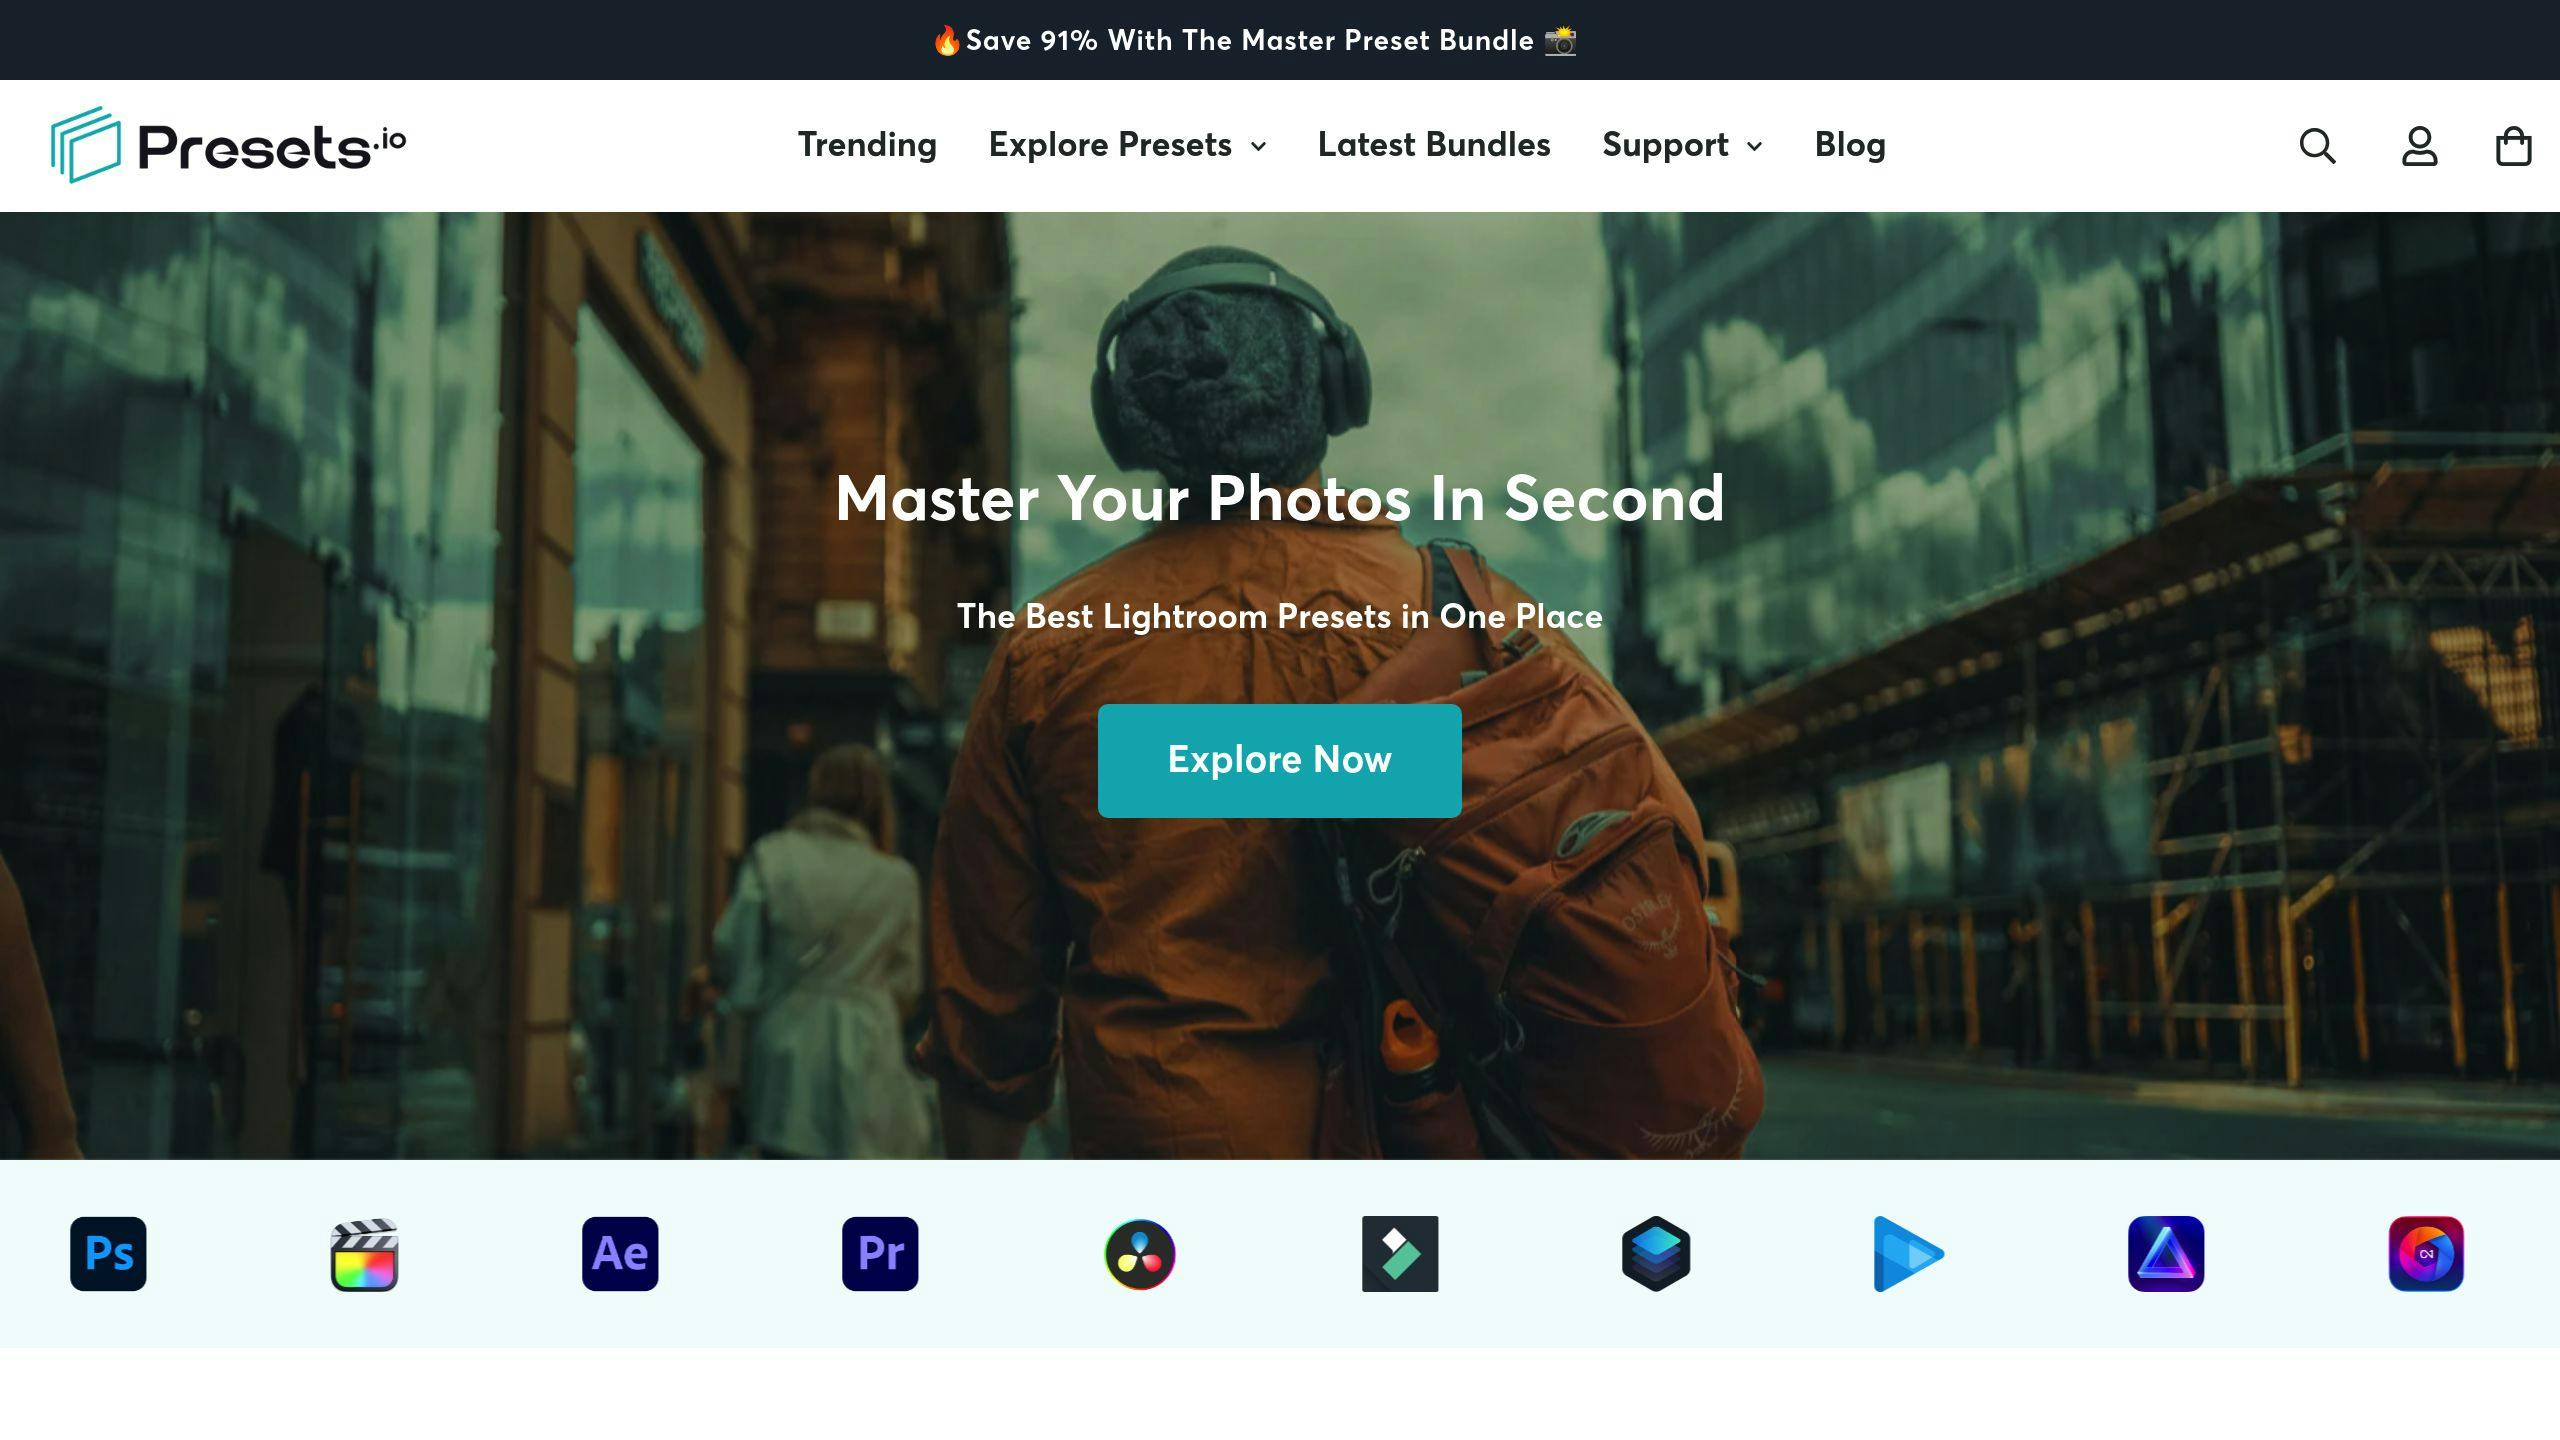
How to Edit Photos Like a Pro Using Lightroom Presets
Want to edit photos like a pro? Lightroom presets make it easy. With just one click, you can apply professional adjustments - like exposure, contrast, and color grading - to your photos. Here's why they're essential:
- Save Time: Apply edits instantly and batch process multiple photos.
- Consistency: Maintain a unified look across your portfolio.
- Customizable: Adjust presets to match your unique style.
- Accessible Anywhere: Sync presets across devices with Adobe cloud.
Whether you're editing portraits, landscapes, or street photography, presets give you a polished starting point. Learn how to choose, apply, and even create your own Lightroom presets to streamline your workflow and elevate your edits.
What You Need to Know About Lightroom Presets

Understanding Lightroom Presets
Lightroom presets are pre-set configurations that can instantly adjust your photos. They tweak settings like exposure, contrast, color balance, and tone curves in one click. While these changes apply to the entire image, you can refine them further using tools like brushes or graduated filters for more precise edits.
Different Types of Lightroom Presets
Lightroom includes a variety of preset options:
- Built-in presets: Ideal for basic edits.
- AI-powered Recommended presets: Use Adobe's AI to suggest adjustments tailored to your photo.
- Premium presets: Offer professional-grade styles for specific genres, such as travel or cinematic photography.
- Custom presets: Designed for your personal editing preferences [1].
The AI technology behind Recommended and Premium presets makes automated adjustments based on the content of your photo, helping you achieve polished, professional results [1].
Presets are particularly useful for batch editing. You can apply the same adjustments to multiple images at once, saving time while maintaining consistency. Plus, every preset is fully adjustable, giving you the flexibility to fine-tune settings and align the edits with your creative vision [1].
Choosing the Best Presets for Your Photos
Finding Presets That Match Your Style
Choosing the right presets can give your photos a polished and consistent look. Different presets are designed to complement specific photography styles and moods. For instance, portrait presets focus on enhancing skin tones and creating soft, flattering highlights. On the other hand, landscape presets emphasize vibrant natural colors and a broader dynamic range. Adobe's Premium preset collection even includes options like "Adaptive Presets", which adjust intelligently based on the subject in your photo [1].
To preview how a preset will affect your photo, use Lightroom's Detail view in the Presets panel. Simply hover over the preset thumbnails to see the effect. Lightroom also offers a "More like this" feature to help you find other presets that align with your vision [1].
| Photography Style | Key Preset Features |
|---|---|
| Portrait | Enhanced skin tones, soft shadows |
| Landscape | Vibrant colors, dynamic range |
| Street | High contrast, dramatic shadows |
| Cinematic | Film-like color grading, muted highlights |
Once you’ve found presets that match your style, make sure they allow for further adjustments to fine-tune your edits.
Looking for Adjustable Presets
The best presets give you room to tweak and customize. Look for ones that allow adjustments to basics like exposure, contrast, and color. Check if they’re compatible with local adjustments, such as brushes and graduated filters, and ensure they work with your version of Lightroom.
"Lightroom presets accelerate workflows and enhance precision, delivering professional-quality results." - Kyle Goldie, Photographer and Editor, KyleGoldie.com [4]
When choosing presets, focus on these key features:
- Basic adjustment options
- Flexible color grading
- Compatibility with local adjustments
- Support for your Lightroom version
This level of flexibility ensures you stay in control of your creative process.
How to Use and Adjust Lightroom Presets
Steps to Apply Presets in Lightroom
Using Lightroom presets is straightforward. First, import your presets by clicking the three-dot menu in the Presets panel, choosing "Import Presets", and selecting your .lrtemplate or .xmp files [1][2]. After importing, open your image in the Develop module and pick a preset from the Presets panel.
Once you've applied a preset, you can tweak the settings to make the edit fit your creative style.
Adjusting Preset Settings
Presets offer a starting point, but fine-tuning is key to achieving the best results for each photo Focus on these areas for adjustments:
- Basic Adjustments: Fix exposure, contrast, and highlights to suit your photo.
- Color Grading: Adjust temperature and tint to create natural or stylized colors.
- Local Adjustments: Use tools like the Brush for portraits or Graduated and Radial filters for landscapes.
"Lightroom presets accelerate workflows and enhance precision, delivering professional-quality results." - Kyle Goldie, Photographer and Editor, KyleGoldie.com [3]
For more control, use local adjustment tools to refine specific areas while keeping the preset's overall look. To save your edits, right-click the preset and select "Update With Current Settings." If you're working on multiple images, the Sync button lets you apply changes across all of them [1][2].
Improving Workflow with Lightroom Presets
Using Presets to Speed Up Editing
Organizing your presets can make Lightroom editing much faster. Try sorting them into folders based on style, purpose, or project. This way, you can quickly find what you need. The "User Presets" section is a handy place to keep your custom presets within easy reach [1][2].
Adobe Sensei's "Recommended" presets take things a step further. They analyze your photos and suggest presets that might work well, offering a great starting point for your edits [1]. Plus, the Detail view lets you preview thumbnails to see how each preset will change your photo instantly.
For larger projects, batch processing is a lifesaver. Apply a preset to multiple images at once to maintain a consistent look - perfect for weddings or event photography. Once you've streamlined your workflow, creating your own presets adds another layer of customization and efficiency.
Creating Your Own Presets
Ready-made presets are useful, but making your own ensures your edits match your personal style. Custom presets not only save time but also help establish a unique editing signature that sets your work apart.
To create a custom preset:
- Pick a photo and make your adjustments in the Edit panel.
- Click the Presets button, select "Create Preset", and give it a meaningful name.
- Choose which adjustment categories to include.
- Save it to your Presets panel [1][2].
You can also create variations for different lighting conditions or subjects while keeping your style consistent. Need to tweak an existing preset? Apply it to a photo, make changes, and choose "Update With Current Settings" [1][2]. Thanks to cloud syncing, your custom presets are available across all your devices.
Advanced Tips and Resources for Lightroom Presets
Syncing Presets Across Devices
With Adobe's cloud syncing, you can make your editing process much easier. Any presets you create or import on your desktop will automatically sync to your mobile devices via your Adobe account [1][2]. Just enable auto-sync in Lightroom settings, and you'll have your presets ready to go, no matter which device you're using.
This feature is especially helpful for professional photographers who need to maintain a consistent editing style while working on the go. However, syncing is only part of the equation - using high-quality presets is crucial for achieving polished results.
Presets.io: A Trusted Source for Lightroom Presets
Presets.io is a go-to platform for photographers seeking expertly crafted presets for a variety of styles. Their collections include options for aesthetic, cinematic, vintage, and film-inspired looks.
What sets Presets.io apart is their commitment to quality. Each preset is rigorously tested across different photography scenarios to ensure reliable results. Plus, they update their collections weekly, adding presets that align with current visual trends.
To stay organized, store your presets in folders based on photography genres. And remember, even premium presets are just a starting point. The real magic happens when you adjust the settings to suit your specific needs while keeping a cohesive visual style [1][2].
How to Use Presets in Lightroom
Conclusion: Start Using Lightroom Presets for Better Edits
Lightroom presets make editing faster and improve photo quality. Photographer Kyle Goldie explains it best:
"Lightroom presets offer precision and creative potential, accelerating your editing workflow with just a single click" [4]
By experimenting with presets and tweaking them to suit your style, you can gain confidence in your editing. Whether you're working on landscapes, portraits, or street photography, presets serve as a great starting point for creating eye-catching images.
They also help you maintain a consistent editing style while leaving room for creativity. You can use them as a base, then fine-tune details to ensure each photo still feels unique. Beyond saving time, presets help create a unified look across your portfolio.
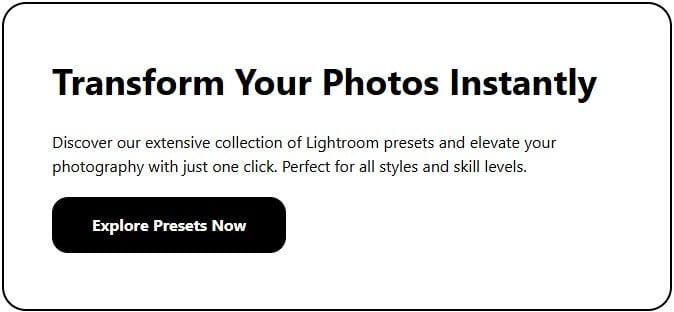
With AI-powered presets, achieving professional results has never been easier. Check out resources like Presets.io for high-quality options to enhance your editing skills.
Start exploring presets today and take your photography to the next level.