
Table of Contents
- How Lightroom Presets Work in Other Software
- LIGHTROOM PRESETS and PROFILES: What is the difference???
- Lightroom Preset Formats and Compatibility
- How to Export and Convert Lightroom Presets
- Using Lightroom Presets in Other Editing Software
- Troubleshooting and Best Practices
- High-Quality Preset Collections for Multiple Programs
- Conclusion: Getting the Most from Lightroom Presets Across Programs
- FAQs
How Lightroom Presets Work in Other Software
Lightroom presets are popular tools for applying pre-designed photo edits, but using them across different software can be tricky. Here's what you need to know:
- Preset Formats: Lightroom presets come in XMP (modern, desktop/mobile), DNG (mobile), and LRTemplate (older versions).
- Software Compatibility: XMP files work best across Adobe tools like Photoshop and Camera Raw. Third-party apps like Luminar also support XMP, while others like Capture One require manual recreation.
- Exporting & Converting: Export presets as XMP for desktop or DNG for mobile. Some programs may need additional tweaks to replicate the original look.
- Challenges: Variations in RAW processing and unsupported features (e.g., AI tools) can lead to inconsistencies.
- Tips for Consistency: Test presets on multiple programs, use the same color space, and regularly back up your files.
For photographers using multiple platforms, cross-platform presets like those from Presets.io simplify workflows and ensure consistent results. Their bundles include XMP, DNG, and LUT formats for photo and video editing, making them a practical choice for diverse editing needs.
LIGHTROOM PRESETS and PROFILES: What is the difference???
Lightroom Preset Formats and Compatibility
When it comes to transferring your editing styles between programs, understanding preset formats is key. Each format serves a specific purpose and works with different software. Choosing the correct format can save you from unnecessary troubleshooting.
Main Lightroom Preset Formats: XMP, DNG, and LRTemplate
XMP files are the current standard for Lightroom presets. They store all adjustment data in a format that works seamlessly across Adobe's ecosystem and beyond. XMP presets are compatible with Lightroom Classic 7.3+, Lightroom CC v7+, and Photoshop's Adobe Camera Raw v14+. Their flexibility makes them a go-to choice for both desktop and mobile editing.
DNG files, while technically image files, act as preset carriers for mobile workflows. When imported into Lightroom Mobile, these files transfer their adjustment settings, allowing you to create presets directly from them. This format is especially useful for bridging desktop and mobile editing.
LRTemplate files are the legacy format from older Lightroom versions. These presets were widely used in Lightroom 4-6 and are still compatible with Lightroom 5 and Photoshop CS6/ACR 9.1.1. While functional, they lack the advanced features of newer formats.
Software That Works with Lightroom Presets
Adobe's suite offers the most seamless support for Lightroom presets. Adobe Camera Raw and Photoshop can handle both XMP and LRTemplate formats, ensuring consistency when switching between Lightroom and Photoshop. For instance, presets applied in Lightroom Classic will look identical when the same RAW file is opened in Photoshop.
Outside of Adobe, several third-party programs also support Lightroom presets. Luminar, for example, can directly use XMP files, though it also has its own preset format for better integration. Video editing software like Adobe Premiere, Final Cut X, DaVinci Resolve, and Filmora can utilize XMP files when converted to 3D LUTs, making them useful for color grading.
Compatibility extends even further. Any software that supports XMP metadata might be able to read Lightroom presets. However, the level of support varies - some programs may only recognize basic adjustments like exposure and contrast, while others can handle more advanced settings like tone curves and color grading.
Software Version Requirements
Using the right software version is essential to ensure presets work as intended. XMP presets require relatively recent versions of Adobe software. For example, Lightroom Classic 7.3+ and Adobe Camera Raw v14+ are needed for full functionality.
LRTemplate presets, on the other hand, are compatible with older versions, like Lightroom 5. However, they don’t support newer adjustment features introduced in later updates.
Version mismatches can impact compatibility. If a preset includes features like advanced masking tools that aren’t supported by your software version, only basic adjustments (such as exposure or color) will apply. This is especially important when collaborating with others or sharing presets.
| Format | Earliest Compatible Version | Best Use Case | Cross-Platform Support |
|---|---|---|---|
| XMP | Lightroom Classic 7.3+ | Desktop/mobile editing | Excellent - works with most XMP-compatible software |
| LRTemplate | Lightroom 5 | Legacy desktop editing | Limited - mainly Adobe products |
| DNG | Lightroom Mobile, desktop imports | Mobile/cross-platform workflows | Good - any software that reads DNG metadata |
Being mindful of software versions and formats is particularly important when collaborating or switching between editing setups. Always double-check compatibility to get the most out of your presets and workflows.
How to Export and Convert Lightroom Presets
Transferring your Lightroom presets to different editing programs requires careful attention to the export process and the format you select. The steps you follow depend on the software you're moving to and whether you need to retain specific adjustment settings.
Exporting Presets from Lightroom
Exporting presets from Lightroom Classic is straightforward thanks to its built-in tools. To get started, right-click on a preset in the Develop panel and choose Export. This will save the preset in XMP format, which is widely compatible with other programs. The exported file includes key adjustments like exposure, contrast, and color grading.
In Lightroom CC, you can export presets by navigating to File > Export Presets, which also generates XMP files.
For mobile workflows, the process is a bit different. Apply a preset to an image, then export the image as a DNG file. This DNG file will carry the preset's adjustment metadata, making it usable elsewhere.
If you need to export multiple presets at once, batch exporting can save you time. Simply select multiple presets (hold Ctrl on Windows or Cmd on Mac), right-click, and choose Export. Lightroom will create individual XMP files for each preset, keeping their names and organization intact.
From here, you can move on to converting these presets for use in Adobe Camera Raw.
Converting Presets for Adobe Camera Raw

Using Lightroom presets in Adobe Camera Raw (ACR) involves a specific process. Start by applying the preset to a RAW image in Lightroom. Once the adjustments are applied, export the image as a DNG file, ensuring all metadata is included.
Next, open the DNG file in Photoshop. This will automatically launch Adobe Camera Raw, where the preset adjustments will appear in the adjustment panels, mirroring the settings from Lightroom.
To save the preset in ACR, click the preset icon (three horizontal lines) in the toolbar and select Save Settings. Name your new preset and choose the adjustment categories you want to include. The preset will now be available in ACR's preset panel, functioning similarly to its Lightroom counterpart.
For older LRTemplate presets, first apply them in Lightroom Classic, then export them as XMP files to update them to the current format.
Keeping Settings Consistent During Conversion
Ensuring consistency between Lightroom and other programs requires attention to detail. Start by managing color profiles. Both Lightroom and the target software should use the same color space - typically sRGB for digital displays or Adobe RGB for print - to avoid noticeable color shifts.
Using a calibrated monitor is crucial for evaluating the performance of your presets. This helps minimize variations in color and contrast.
It’s also a good idea to test your presets on a variety of images. Choose photos with different lighting conditions - bright outdoor scenes, low-light portraits, and high-contrast landscapes - to see how well the presets translate. Pay attention to differences in exposure, color temperature, and saturation between the original and target software.
Keep in mind that not all adjustments will transfer perfectly. Every editing program has its own processing engine, so some settings - like Lightroom's tone curve - may look slightly different in another application. You might need to make small tweaks to replicate the original look. Focus on retaining the overall mood and color grading, then fine-tune individual settings as needed.
Compatibility issues can also arise with newer Lightroom features. Advanced tools like AI-powered masking or enhanced color grading might not have direct equivalents in older or third-party software. In these cases, only basic settings - such as exposure, contrast, and color adjustments - are typically carried over.
Finally, document any manual adjustments or conversion settings you use. This creates a reliable process for future transfers and helps maintain consistency across your editing workflow.
Using Lightroom Presets in Other Editing Software
Once you've exported your Lightroom presets, the next step is to bring them into your preferred editing software. Each program has its own way of handling presets, so understanding how they interpret these files can help you manage your expectations. Below, we’ll break down how some popular third-party editors work with Lightroom presets.
Third-Party Editors That Support Lightroom Presets
Luminar NEO: This software directly supports XMP files, making it easy to transfer basic adjustments like exposure, contrast, and color temperature. It also handles settings for highlights and shadows effectively.
Capture One: Unlike Lightroom, Capture One uses its own "Styles" format, so you can't directly import XMP files. Instead, you’ll need to manually recreate the preset settings or use Styles specifically designed for Capture One.
ON1 Photo RAW: While ON1 Photo RAW can read XMP files, the process isn’t seamless. Basic adjustments transfer over, but more advanced Lightroom features might require manual tweaks after the import.
How to Import Presets into Third-Party Software
Luminar NEO: Importing presets into Luminar NEO is simple. Open the Presets panel, click the + icon or Import button, and select your XMP files. Luminar will organize them into a new preset group, keeping their original names intact.
Capture One: Since Capture One doesn’t directly accept Lightroom presets, you’ll need to recreate the settings manually. To do this, open the same image in both Lightroom and Capture One, adjust the Capture One settings to match the Lightroom look, and save it as a new Style. Alternatively, use Styles specifically designed for Capture One to achieve similar results without manual adjustments.
ON1 Photo RAW: To import presets, navigate to the Effects panel and select Import. Choose your XMP files, and ON1 will translate the settings into its format. Be prepared to fine-tune the imported presets for optimal results.
No matter which software you use, it’s a good idea to test your imported presets on a variety of images before diving into a full editing session. This will help you spot any settings that didn’t translate correctly and make the necessary adjustments.
Preset Support Comparison Across Different Programs
The table below highlights how various editing programs handle Lightroom presets:
| Feature | Lightroom | Luminar NEO | Capture One | ON1 Photo RAW |
|---|---|---|---|---|
| Basic Adjustments | Full | Good | Manual Recreation | Partial |
| Tone Curve | Full | Good | Manual Recreation | Partial |
| Color Grading | Full | Good | Manual Recreation | Limited |
| Local Adjustments | Full | Limited | Not Supported | Limited |
| AI Enhancements | Full | Software-Specific | Not Supported | Software-Specific |
| Camera Profiles | Full | Limited | Manual Setup | Limited |
Luminar NEO does a solid job with basic adjustments such as exposure and contrast, but advanced features like AI masking or lens corrections often require manual intervention. While Luminar has its own AI tools, these won’t automatically apply when importing Lightroom presets.
Capture One offers precise control over your edits, but recreating presets manually can be time-consuming. That said, Capture One’s color science often delivers excellent results, particularly for portrait and commercial photography.
ON1 Photo RAW strikes a balance between the two. While it can read basic XMP data, achieving the desired look often requires additional adjustments. Its layered editing features, however, provide flexibility for building on imported presets.
One key limitation across all programs is the difference in how they process RAW files. Each software interprets these files uniquely, so even presets that import perfectly might look slightly different. This is especially noticeable in areas like skin tones, sky colors, and shadow details.
For a more seamless workflow, consider using cross-platform preset collections. For instance, in November 2025, Presets.io introduced a Master Preset Bundle featuring 721 XMP presets compatible with Luminar and other software that supports XMP files and 3D LUTs. Priced at $49.00 (discounted from $672.00), this bundle includes a User Installation & Tutorial Guide to simplify the import process.
Photographers who frequently switch between editing programs can save significant time with these collections. They’re tested across multiple platforms to ensure consistency and come with detailed installation guides tailored to each software.

Luminar Neo Cross-Device Perpetual Desktop Software

$129.50
$159.00
Luminar Neo Cross Device Perpetual Desktop Software Luminar Neo is a visionary AI-powered photo editor that redefines creativity with cutting-edge technology. Effortlessly achieve studio-quality results with next-gen tools designed to empower and inspire. Harness the power of GenAI to erase… continue reading
sbb-itb-b27063b
Troubleshooting and Best Practices
Transferring presets between editing programs can sometimes lead to lost settings or inconsistent results. Knowing the common pitfalls and how to avoid them can save you a lot of time and ensure your edits look consistent across platforms.
Common Problems When Moving Presets
Grayed-out or missing presets often stem from file format mismatches or software version incompatibilities. For instance, importing a newer XMP preset into an older version of Luminar NEO may result in unrecognized adjustments, making the preset appear unusable.
Color shifts and uneven adjustments are a frequent issue because different editing programs process RAW files differently. A warm, golden sunset in Lightroom might look cooler or more magenta-toned in ON1 Photo RAW due to differences in RAW processing engines.
Missing effects and adjustments can occur when presets rely on program-specific features. For example, Lightroom's Texture and Clarity sliders often have no direct equivalents in other software, meaning those adjustments are lost during the transfer, leaving your image looking incomplete.
Mobile versions may require desktop import and syncing since most mobile editing apps don't allow direct installation of XMP files. You'll need to first install these presets on desktop software and then sync them to your mobile device using the app's cloud service.
AI-based or adaptive presets might not work in older software versions or mobile apps. Testing and updating your workflow can help address these compatibility issues.
How to Keep Your Presets Looking Consistent
Test presets immediately after import by applying them to the same RAW file in both programs. This comparison will help you spot any differences and adjust accordingly.
Keep your software updated to improve compatibility with newer preset formats. Many programs regularly update their support for additional features, so staying current gives you the best chance of seamless transfers.
Know the limitations of each program to manage expectations. Some features, like exposure or contrast adjustments, usually transfer well, while advanced tools like masking or AI-based effects may need manual tweaking.
Use presets designed for cross-platform compatibility whenever possible. Some providers rigorously test their presets to ensure they work well across multiple programs. Using these collections can save you from the hassle of manual adjustments.
Document your manual adjustments when recreating presets. For example, if you spend time matching a Lightroom preset in Capture One, jot down the settings you used. This will serve as a reference for future conversions.
Once you've achieved consistency, maintaining it becomes easier with proper organization and backups.
Organizing and Backing Up Your Presets
Store your XMP files in a dedicated folder separate from your editing software. This ensures your presets are safe during software updates or when moving to a new device.
Use clear, descriptive names for your presets. Instead of generic labels like "Preset 1", opt for specific names like "Golden Hour Portrait - Warm" or "Urban Street - High Contrast" to make them easier to identify.
Back up your presets to cloud storage regularly. Set a schedule to save any new presets you create or download, ensuring you never lose your work.
Document the installation process for each program to avoid confusion later. Different software often has unique import steps, and it's easy to forget them over time.
Organize presets by compatibility to streamline your workflow. Create folders for categories like "Universal XMP", "Lightroom Only", "Capture One Styles", and "Mobile Compatible." This way, you can quickly find the presets that work with your current setup.
Export custom presets regularly to protect your work. If you've spent hours perfecting a look, make exporting those presets a habit - especially before major software updates or installations.
With the rise of the XMP format for cross-platform use, organizing your presets around these universal files is becoming increasingly important. As more providers offer cross-platform collections and guides to address compatibility challenges, having a solid organizational system will help you manage your growing library of presets effectively.
High-Quality Preset Collections for Multiple Programs
Professional photographers often need preset collections that work seamlessly across different platforms and software. Whether you're using Lightroom for RAW processing, Photoshop for detailed edits, or Premiere Pro for video projects, these presets simplify workflows and ensure consistent results. Below, we’ll explore the formats and pricing options that make cross-platform compatibility possible.
Cross-Platform Preset Collections
Top-tier preset collections are available in multiple formats to ensure they work with a variety of software. Common formats include XMP, LRTemplate, DNG, and CUBE, offering flexibility for both photo and video editing tools. Before purchasing, it’s essential to check that your software version supports these formats to avoid compatibility issues.
Pricing for premium collections typically falls between $29 and $99.
Presets.io: Professional Presets for Any Software
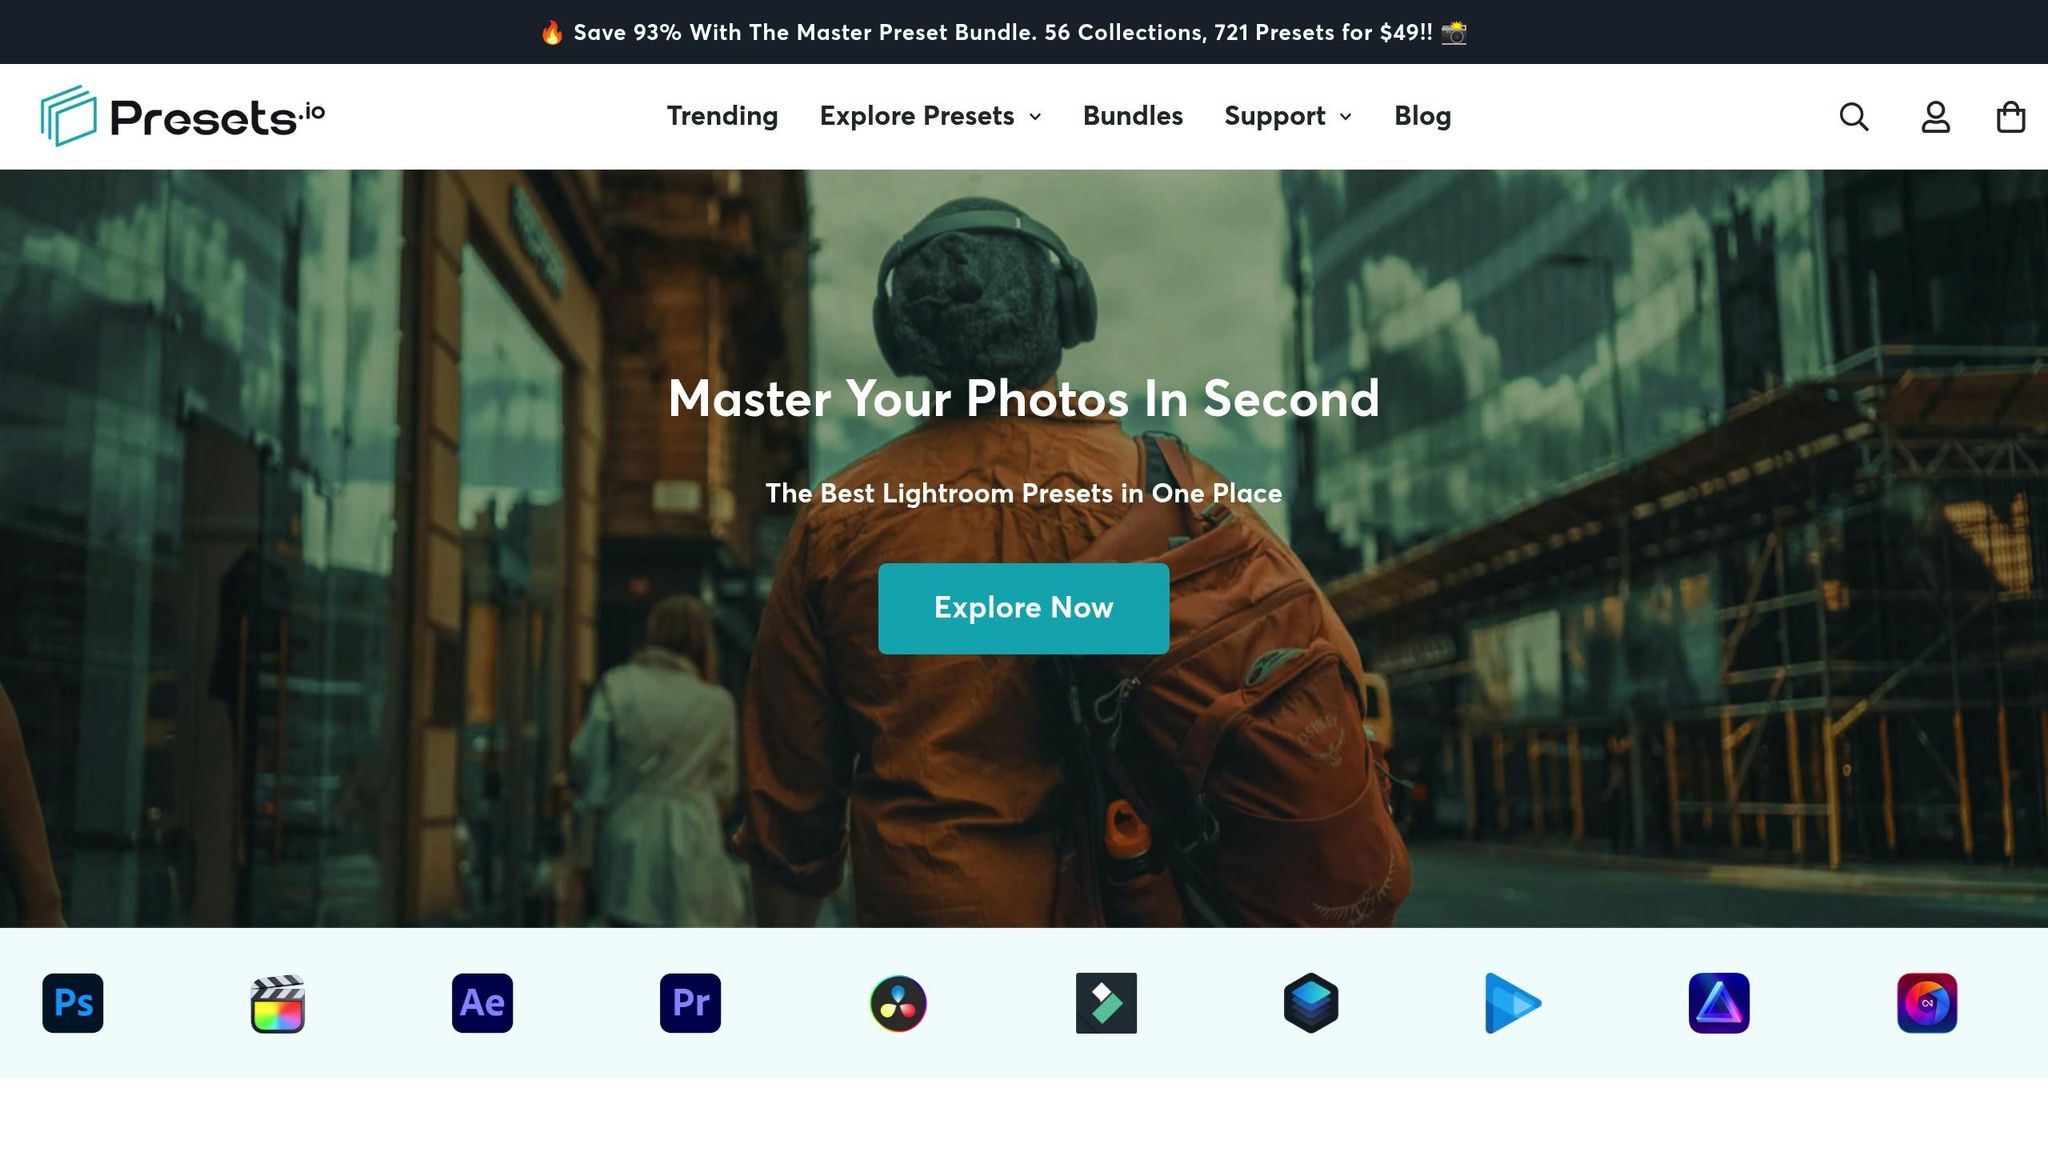
Presets.io has positioned itself as a go-to platform for cross-platform presets, catering to a wide range of editing needs. Their collections are designed for compatibility with numerous editing tools, offering DNG files for mobile use, XMP and LRTemplate files for desktop editing, and CUBE files (LUTs) for video projects. Supported software includes Lightroom, Adobe Premiere, Final Cut X, DaVinci Resolve, Photoshop, Luminar, Filmora, and Capture One, along with any program that accepts XMP files or 3D LUTs.
According to Presets.io:
"Our presets are creatively designed to help you achieve a unique and stunning style in your photos."
In November 2025, they introduced the Master Preset Bundle, a collection of 721 presets spanning all formats. This bundle includes mobile presets (DNG), desktop presets (XMP and LRTemplate), and video LUTs (CUBE), along with detailed installation instructions and tutorials. New presets are added weekly, covering a variety of styles such as cinematic, vintage, film-inspired, moody, minimalist, and wedding themes - offering something for every photography niche.
Presets.io has earned a 4.8 out of 5 stars rating from over 1,400 reviews, reflecting its commitment to quality and customer satisfaction. Individual collections are priced around $27 (often discounted to $12), while specialized styles for Capture One and Luminar NEO cost about $47 (frequently marked down to $15). Their Master Preset Bundle, regularly priced at $672, is available for just $49, making it an attractive option for photographers and videographers seeking a versatile, all-in-one solution. These collections ensure a smooth editing experience across Adobe tools, video software, and third-party applications, delivering consistent results every time.
Conclusion: Getting the Most from Lightroom Presets Across Programs
Using Lightroom presets across various editing software comes down to understanding compatibility and choosing the right tools. Focus on presets that work with multiple formats - like XMP files for desktop editors, DNG files for mobile apps, and 3D LUTs for video editing platforms. This approach ensures your workflow remains smooth and efficient, no matter the tools you’re using.
For photographers and content creators, having a well-organized collection of presets can save time and reduce headaches. These collections eliminate common problems like color inconsistencies, missing adjustments, or settings that don’t translate properly during manual conversions.
Keeping your editing software up-to-date is also key. Modern preset collections are designed to take advantage of the latest features, ensuring you get the best results.
Presets that maintain their visual consistency across software like Lightroom, Photoshop, and DaVinci Resolve are invaluable for creators who frequently move between platforms. Comprehensive bundles - such as those from Presets.io - help simplify the technical side of things, making it easier to achieve a uniform creative style across all your projects. Investing in high-quality preset bundles can streamline your workflow and ensure your work looks polished and cohesive, no matter the platform.
FAQs
How do I make sure my Lightroom presets work consistently in other editing software?
To make sure your Lightroom presets work smoothly in other editing software, begin by exporting them in a format that the target program supports. Each software often has its own requirements, so it's worth double-checking compatibility beforehand. If the format doesn’t match, you can use a conversion tool to adjust the presets accordingly.
Remember, different editing programs may apply adjustments in slightly different ways, which could alter how your presets appear. Testing them in the new software and making small adjustments can help you preserve the original look and feel you intended.
What challenges might arise when using Lightroom presets in other editing software, and how can you address them?
Using Lightroom presets with non-Adobe software can be tricky due to compatibility problems and the need for format conversions. Each editing program has its own way of handling presets, which often means some tweaking is necessary to make them function correctly.
To make the process smoother, export your Lightroom presets in a commonly accepted format like XMP or DNG, then carefully follow the import guidelines for the software you're using. Some programs even provide dedicated tools or plugins to help with the conversion. By taking these steps, you can seamlessly use your presets and keep your editing workflow consistent across different platforms.
Why should I update my editing software when using Lightroom presets on other platforms?
Keeping your editing software up to date is key when working with Lightroom presets across various platforms. Updates typically bring compatibility fixes, address bugs, and introduce new features. This ensures your presets work seamlessly and produce the desired results without glitches or inconsistencies.
On top of that, updates often add support for newer file formats or advanced editing tools, which can elevate your editing process. By keeping your software current, you reduce potential hiccups and enjoy a smoother, more efficient workflow when using presets across devices.