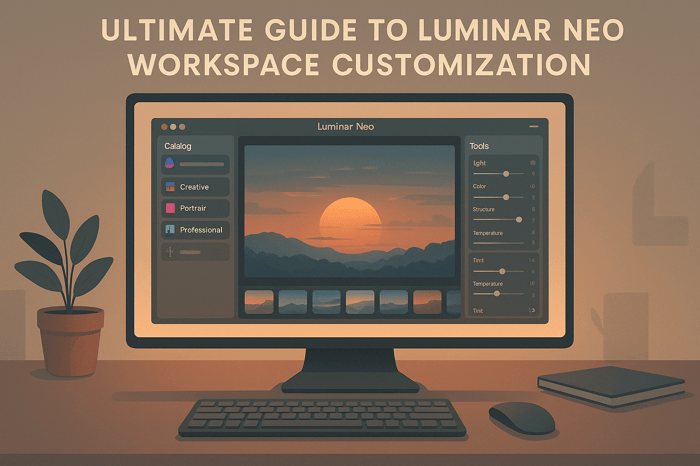

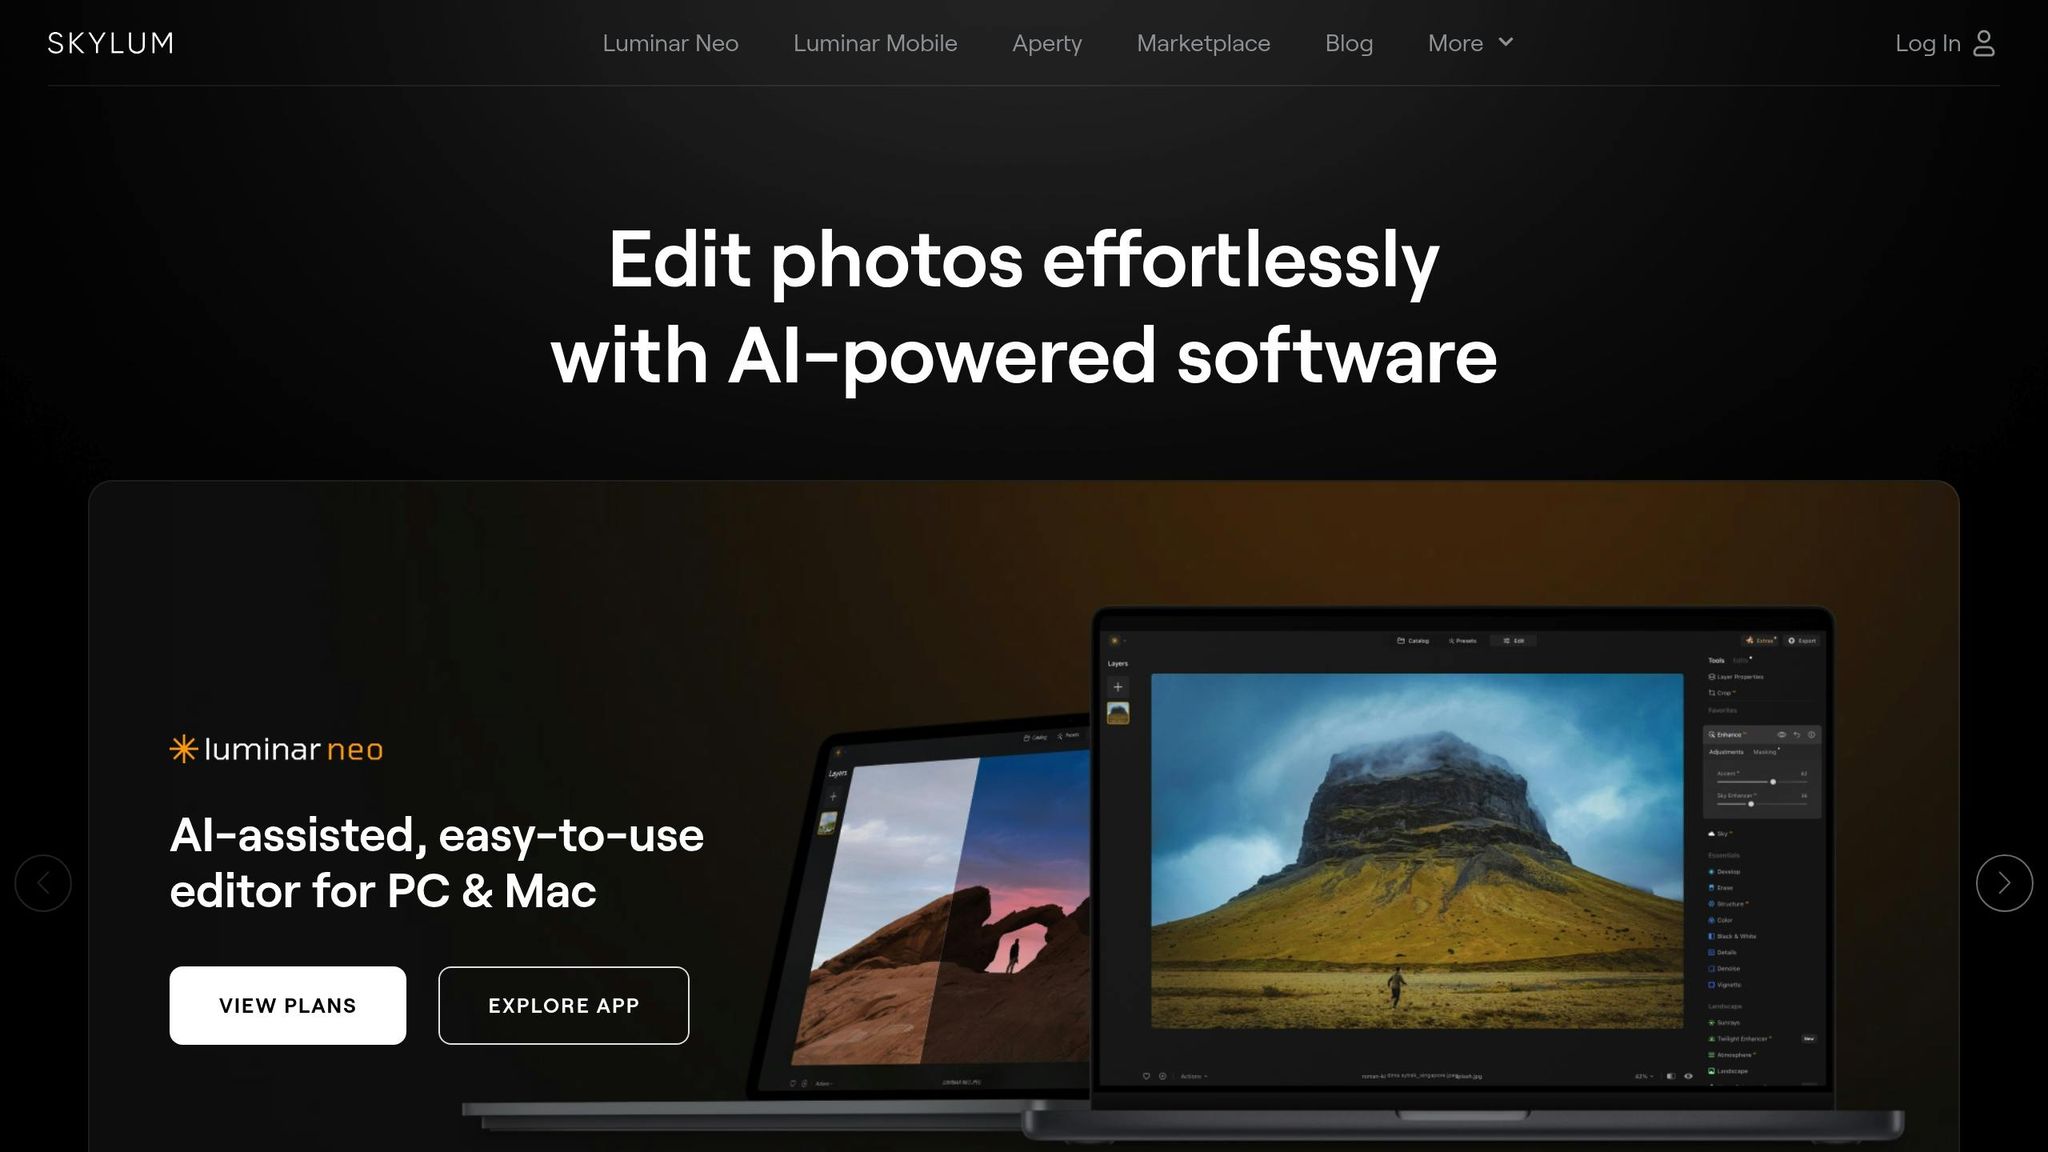
How to Save Custom Workspaces in Luminar NEO
Custom workspaces in Luminar NEO let you organize your tools and filters for faster, more consistent editing. Here's how to set them up and save them:
- Access Workspace Controls: Use the grid icon (☰) or shortcuts (Ctrl+Shift+W on Windows, Cmd+Shift+W on Mac).
- Customize Your Layout: Unlock the workspace, drag tools to preferred locations, and hide unused tools.
- Save Your Workspace: Click the grid icon, select "Save Current Workspace", name it (e.g., "Portrait Editing 05/2025"), and hit save.
Pro Tips:
- Use clear names with dates (e.g., "WED_Johnson_05082025") for easy organization.
- Export workspaces as
.lmswfiles to share or back them up. - Test your layout with different projects to ensure it works well.
Stay organized, save time, and streamline your workflow with custom workspaces.
Setting Up Custom Workspaces
Finding Workspace Controls
Look for the grid icon (☰) labeled "Workspaces" in the top-right corner of your screen. If you're on Windows, use Ctrl+Shift+W for quick access. Mac users can press Cmd+Shift+W to do the same.
Clicking the icon opens a menu with default options like "Essentials" and "Custom." These serve as a starting point to create a layout tailored to your editing needs.
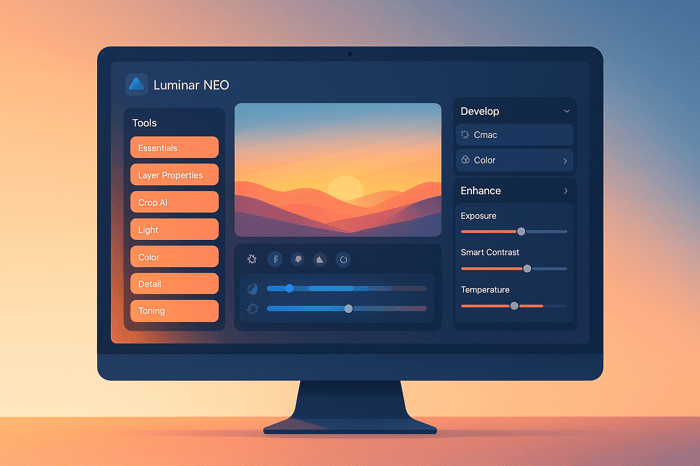
Setting Up Tools and Filters
Organize your tools for efficiency by following these steps:
- Unlock the workspace: Ensure the "Lock Workspace" toggle is off so you can make changes.
- Arrange panels: Drag and drop tools to place them where they’re easiest to access.
- Remove unused tools: Right-click on any panel to hide tools you don’t frequently use.
Here’s a recommended layout:
| Panel Location | Suggested Tools | Purpose |
|---|---|---|
| Top Panel | Catalog, Presets | Quick access to images and presets |
| Left Panel | Common editing tools | Primary controls for editing |
| Right Panel | Layers, History | Manage layers and track edits |
Once your layout feels right, it’s time to save your workspace.
Saving Your Workspace
To keep your setup ready for future use, save your workspace by following these steps:
- Click the workspace grid icon (☰).
- Select Save Current Workspace.
- Give it a clear name, such as "Portrait Editing 05/2025."
- Hit Save to store your custom configuration.
"The key to efficient editing is creating purpose-specific workspaces. Include the editing type and date in your workspace names, like 'Real Estate HDR – 05/2025' for better organization", suggests Digital Photography Review's March 2025 workspace guide.
Pro tip: Test your layout with different photos to ensure it works well across various editing scenarios.
Workspace Management
Organizing Your Workspaces
Start with a clear and logical naming system. Incorporate project codes and dates into your workspace names for easy identification. For instance, you can use prefixes like "WED" for weddings or "PORT" for portraits, followed by relevant details.
Here’s a simple way to structure your workspaces:
| Project Type | Naming Format | Example |
|---|---|---|
| Client Work | [CODE][Client][Date] | WED_Johnson_05082025 |
| Personal Projects | [TYPE][Description][Date] | PORT_BeachSeries_05082025 |
| Templates | [TEMP]_[Purpose] | TEMP_ProductPhotography |
To keep things organized, archive your 2025 workspaces in a folder named "2025_Workspaces." This helps maintain version control and keeps older projects easily accessible.
Sharing Workspaces
With Luminar NEO, sharing workspaces across devices or with team members is straightforward. Export your workspace as a .lmsw file to retain all filter settings and panel layouts.
Follow these steps to share your workspace:
- Right-click on the workspace name.
- Select "Share" from the menu.
- Choose "Email attachment" or export the
.lmswfile. - Recipients can import the workspace through their workspace menu.
For team collaboration, use shared cloud folders to sync workspaces. This ensures everyone has quick access to the latest version.
Pro Tip: Hold the Shift key while loading a shared workspace to reset all sliders to their default settings.
To manage your workspaces effectively:
| Action | Best Practice |
|---|---|
| Backup Creation | Export your workspace to cloud storage weekly. |
| Version Control | Add date stamps to filenames. |
| Cross-Platform Sync | Use dedicated sync folders for consistency. |
Additionally, you can share custom workspaces through Skylum's official Marketplace. This is a great way to share your workflow setups with the LNeo community.
ULTIMATE guide to the Skylum Luminar Neo Interface
sbb-itb-b27063b

Adding Presets.io Tools
Once your workspaces are organized, you can integrate editing tools to improve your workflow.
Installing Presets.io Content
Enhance your custom workspaces with Presets.io's presets designed to simplify editing.
To install Presets.io content in Luminar NEO:
- Purchase, download, and save your selected Presets.io collection to LNeo's presets folder.
- Use the "Import Presets" option to bring in the downloaded presets.
- Restart Luminar NEO to complete the integration.
Organize your presets into specific folders for easy access:
| Category | Folder Name | Content Type |
|---|---|---|
| Film Looks | FILM_Presets | Kodak and Fuji emulations |
| Creative Styles | STYLE_Presets | Moody and minimalist looks |
| Professional | PRO_Presets | Cinematic and aesthetic effects |
Working with Presets
Arrange Presets.io presets in your workspace to speed up your editing process. The Master Preset Bundle, available for $49.00, includes 721 presets for various editing needs.
Organize presets based on your workflow:
| Editing Stage | Preset Type | Usage |
|---|---|---|
| Initial Adjustments | Base Presets | Adjust tone and color |
| Creative Enhancement | Style Presets | Add artistic effects |
| Final Touch | Finishing Presets | Add polish and refinement |
Pro Tip: Place your most-used presets at the top of your workspace panel for faster access.
Group similar presets together. For example, combine cinematic color grading presets with workspace setups tailored for professional video still editing.
Preset collections are priced between $12.00 (during promotions) and $27.00. When building your library, start with collections that match your main photography style.
With these presets installed, continue fine-tuning your workspace for maximum efficiency.
Common Issues and Tips
Solving Workspace Problems
Editing disruptions caused by workspace issues are often easy to fix. If your workspace isn't saving, make sure you've given it a unique name (e.g., "Portrait_Retouch_2025") and clicked the checkmark to confirm. Many workspace errors are due to version conflicts - updating LNeo usually solves these problems. For issues with dual-monitor setups, try reopening the workspace on your primary monitor and resetting the display scaling to 100%.
If your workspace resets unexpectedly, here are a couple of solutions:
- Reset to default settings by going to Workspace > Reset to Default.
- Delete the configuration file:
- Windows: [User]/AppData/Roaming/Skylum/Luminar Neo/Workspaces
- Mac: ~/Library/Application Support/Skylum/Luminar Neo/Workspaces
Mac users can also run Disk Utility > First Aid on their system drive to fix any permission issues.
Once these problems are resolved, you can focus on improving your editing workflow.
Tips for Better Workflows
Organize your tools for maximum efficiency by placing the ones you use most often at the top of the right panel. For resource-heavy editing, set at least 8GB of RAM in Preferences > Performance.
Customize your workspace layouts based on different photography styles:
| Photography Type | Key Tools | Suggested Layout |
|---|---|---|
| Portrait | Skin Smoothing, Eyes Enhancement | Top-right panel |
| Landscape | Develop, Color, Sky Enhancement | Left-side panel |
| Real Estate | Perspective, HDR Merge | Bottom panel |
To keep your workspace stable, back up your setups regularly. Export them to external storage monthly and sync them to the cloud weekly.
For better performance:
- Break complex edits into smaller, focused workspaces.
- Turn off real-time previews for panels you're not actively using.
- Clear your cache monthly by going to Preferences > General > Clear Cache.
Summary
To keep your editing process smooth and efficient, focus on well-organized workspaces and preset integrations. By mastering custom workspaces in LNeo, you can speed up your workflow. Skylum's 2023 workflow analysis found that photographers with organized setups finish edits 37% faster than those with random layouts.
Make it a habit to back up your .lmsw files to cloud storage and use a clear naming system for easy access. A structured tool arrangement can significantly improve your workflow:
| Editing Stage | Recommended Tool Order | Processing Speed Gain |
|---|---|---|
| Initial Edit | Development > Color > Details | 35% faster navigation |
This layout also helps when integrating Presets.io content. By aligning your editing panels with your custom workspaces, you can create a smooth connection between your presets and tools for a better editing experience.
FAQs
How do I save and share custom workspaces in Luminar NEO across devices or with team members?
To save your custom workspace in LNeo, first set up the tools and layout exactly how you want them. Then, navigate to the workspace settings and save it under a unique name. This ensures your preferences are stored for quick access during future edits.
If you want to share your workspace with others or use it on another device, export the workspace file and share it via email or cloud storage. On the receiving device, simply import the workspace file into LNeo to replicate your setup. This is a great way to maintain consistency across projects or collaborate efficiently with team members.
Why isn't my custom workspace saving or why does it keep resetting in Luminar NEO?
If your custom workspace in LNeo isn’t saving or keeps resetting, there are a few steps you can take to resolve the issue:
- Check for software updates: Make sure you’re using the latest version of Luminar NEO, as updates often fix bugs and improve stability.
- Verify user permissions: Ensure that you have the necessary permissions to save changes on your computer, especially if you’re using a shared or restricted account.
- Restart the application: Close and reopen LNeo to refresh the app and apply any recent changes.
If the issue persists, consider reaching out to Luminar's support team for further assistance. Keeping your custom workspaces organized can greatly enhance your editing workflow, so it’s worth troubleshooting!
How can I save and organize custom workspaces in Luminar NEO for faster editing?
To save and organize custom workspaces in Luminar NEO, start by arranging the tools and panels to fit your editing preferences. Once you're satisfied with the layout, go to the workspace settings and select the option to save your custom workspace. Name it something descriptive to make it easy to identify later.
Custom workspaces help streamline your workflow by keeping your most-used tools within easy reach, making editing faster and more efficient. If you're looking to enhance your editing further, consider exploring high-quality presets designed specifically for LNeo to complement your workspace setup.