How to Choose the Right Preset for Your Photography Style
Want to speed up photo editing while keeping your style consistent? Presets are the answer. These one-click editing tools simplify adjustments like exposure, contrast, and color grading, saving you time and helping you maintain a uniform look across your portfolio. Here's a quick guide to choosing the perfect preset for your photography:
- Identify Your Style: Analyze your photos - do you prefer warm tones, bold colors, or muted vibes? Match presets to your aesthetic.
- Consider Shooting Conditions: Natural light? Try bright and airy presets. Low light? Opt for strong HDR presets.
- Match the Mood: Warm tones for golden hour, deep shadows for drama, or vintage film looks for a nostalgic touch.
- Experiment and Customize: Start with a preset, then tweak settings like exposure and contrast to make it uniquely yours.
Platforms like Presets.io offer diverse collections and tools compatible with Lightroom, Capture One, and more, making it easy to find and use presets that fit your needs. Whether you're editing portraits, landscapes, or street shots, presets can elevate your workflow and results.
EDIT PHOTOS Like a Pro - Complete LIGHTROOM Tutorial
How to Identify Your Photography Style
Understanding your photography style is key to selecting the right preset that simplify your editing process and enhance your work. Here’s how to figure out your approach by focusing on a few important aspects.
Look at the Colors in Your Photos
Take a close look at your portfolio to spot recurring color traits. Are your images dominated by warm or cool tones? Do you lean towards bold, vibrant colors or softer, muted ones? Identifying these patterns can guide your choice. For example, if your photos often feature warm, saturated tones, the right preset like the Honey Preset Collection could align perfectly with your style [2].
Consider Your Shooting Environment
The conditions you usually shoot in play a big role in choosing the right presets. If you work mostly with natural light, Bright & Airy presets can enhance your images. Studio photographers might prefer presets that offer clean, neutral tones. For low-light situations, Strong HDR presets can help recover lost details and improve clarity.
Define Your Desired Aesthetic
Think about the overall vibe you want your photos to convey. Do you want bold, eye-catching colors? Try the Colorful Clean Collection. Looking for something moody and dramatic? Muted Tones presets might be your match. If you’re after a timeless, film-inspired look, Portra Film Presets can deliver that classic aesthetic while still allowing for personal tweaks [2].
Keep in mind that your style can shift as you grow as a photographer, and experimenting with different presets is part of the creative journey. The goal is to choose the right preset that naturally enhances your work instead of imposing a look that feels out of place.
Once you’ve nailed down your style, you’ll be ready to pick presets that match the mood and genre of your photography.
Steps to Choose the Right Presets
Match the right preset to the Photo's Mood
Think about the mood you want your photo to convey - whether it's warmth, drama, or lightness - and choose the right preset that complements that feeling. For example, golden hour portraits often shine with presets that highlight warm and soft tones, while dramatic scenes might pop with deeper shadows and higher contrast.
When it comes to color grading, let the photo's atmosphere guide your choice. Light and airy images work well with presets that brighten highlights and keep shadows subtle. Once you’ve nailed down the mood, factor in your photography style to refine your selection.
Pick Presets Based on Photography Type
Different types of photography call for different preset styles. Here's a quick guide to help you pair presets with your photography:
| Photography Type | Ideal Preset Features | Example Collection |
|---|---|---|
| Portraits | Natural skin tones, soft contrast | Vibrant Portrait Effects by Dennis Tejero [4] |
| Landscapes | Bright colors, balanced lighting | ON1 All Seasons Adaptive Presets [1] |
| Street Photography | High contrast, dramatic shadows | Max Rive's Lightroom Pack [3] |
For landscape shots, look for presets that enhance specific elements while keeping colors natural. For portraits, prioritize presets that maintain realistic skin tones but add a touch of creative flair through color grading.
Experiment and Adjust Settings
Start with a preset that gets you close to your vision, then tweak the settings to make it your own. Focus on:
- Adjusting exposure, contrast, shadows, and highlights to maintain detail and balance
- Tweaking color temperature to match the mood you’re aiming for
Customizing presets is key to making them work for your specific image and style. These adjustments help you turn a good preset into a great one, giving your photos a polished, professional finish.
With these steps in mind, you're ready to explore popular styles and see how they can elevate your photography.
Popular Preset Styles and Their Uses
Bright and Colorful Presets
Bright and colorful presets are perfect for making vibrant scenes pop. They’re especially useful for travel photography, outdoor landscapes, and fashion shoots where bold, vivid colors can make a big impact.
For example, presets like "Summer Love" add warm, sunlit tones, while "Bright White" delivers clean, crisp results - great for travel and lifestyle images. These presets shine in specific scenarios:
| Scene Type | Preset Effect | Best Used For |
|---|---|---|
| Outdoor Landscapes | Boosts saturation, balances highlights | Sunrise/sunset shots, mountain views |
| Travel Photos | Sharp details, clean look | Cityscapes, architecture |
| Fashion/Lifestyle | Bright whites, natural skin tones | Product shots, outdoor portraits |
While these presets highlight vibrancy, dark and moody presets focus on creating deeper atmospheres with shadows and contrast.
Dark and Moody Presets
Dark and moody presets are all about atmosphere. By playing with shadows and contrast, they add drama and depth to your images. The "Contrast Noir" series, for instance, enhances deep blacks and selective contrast.
These presets work well for:
- Urban photography: Highlighting cityscapes with bold shadows
- Fine art portraits: Adding dramatic contrast for a striking effect
- Environmental shots: Bringing out mystery with deeper, richer tones
If your goal is to evoke emotion through dramatic lighting and tonal depth, these presets are a great choice. For a nostalgic touch, vintage film presets offer another creative avenue.
Vintage Film Look Presets
Vintage presets bring the charm of analog photography into the digital world. For example, the "Portra 160" preset delivers soft skin tones and subtle color grading, making it ideal for portraits Meanwhile, "Clean Vintage" adds film-like grain while keeping your image sharp and clear.
ON1’s All Seasons Adaptive Presets use AI masking to replicate classic film styles [1].
To get the most out of vintage presets:
- Pay attention to the original film stock’s qualities
- Adjust grain to match your image size
- Preserve highlights for that classic look
- Fine-tune the color temperature for balance
These presets are great starting points, but they’re not the final word. The real magic happens when you tweak them to match your creative vision.
Why Presets.io Is a Great Option
What Makes Presets.io Stand Out?
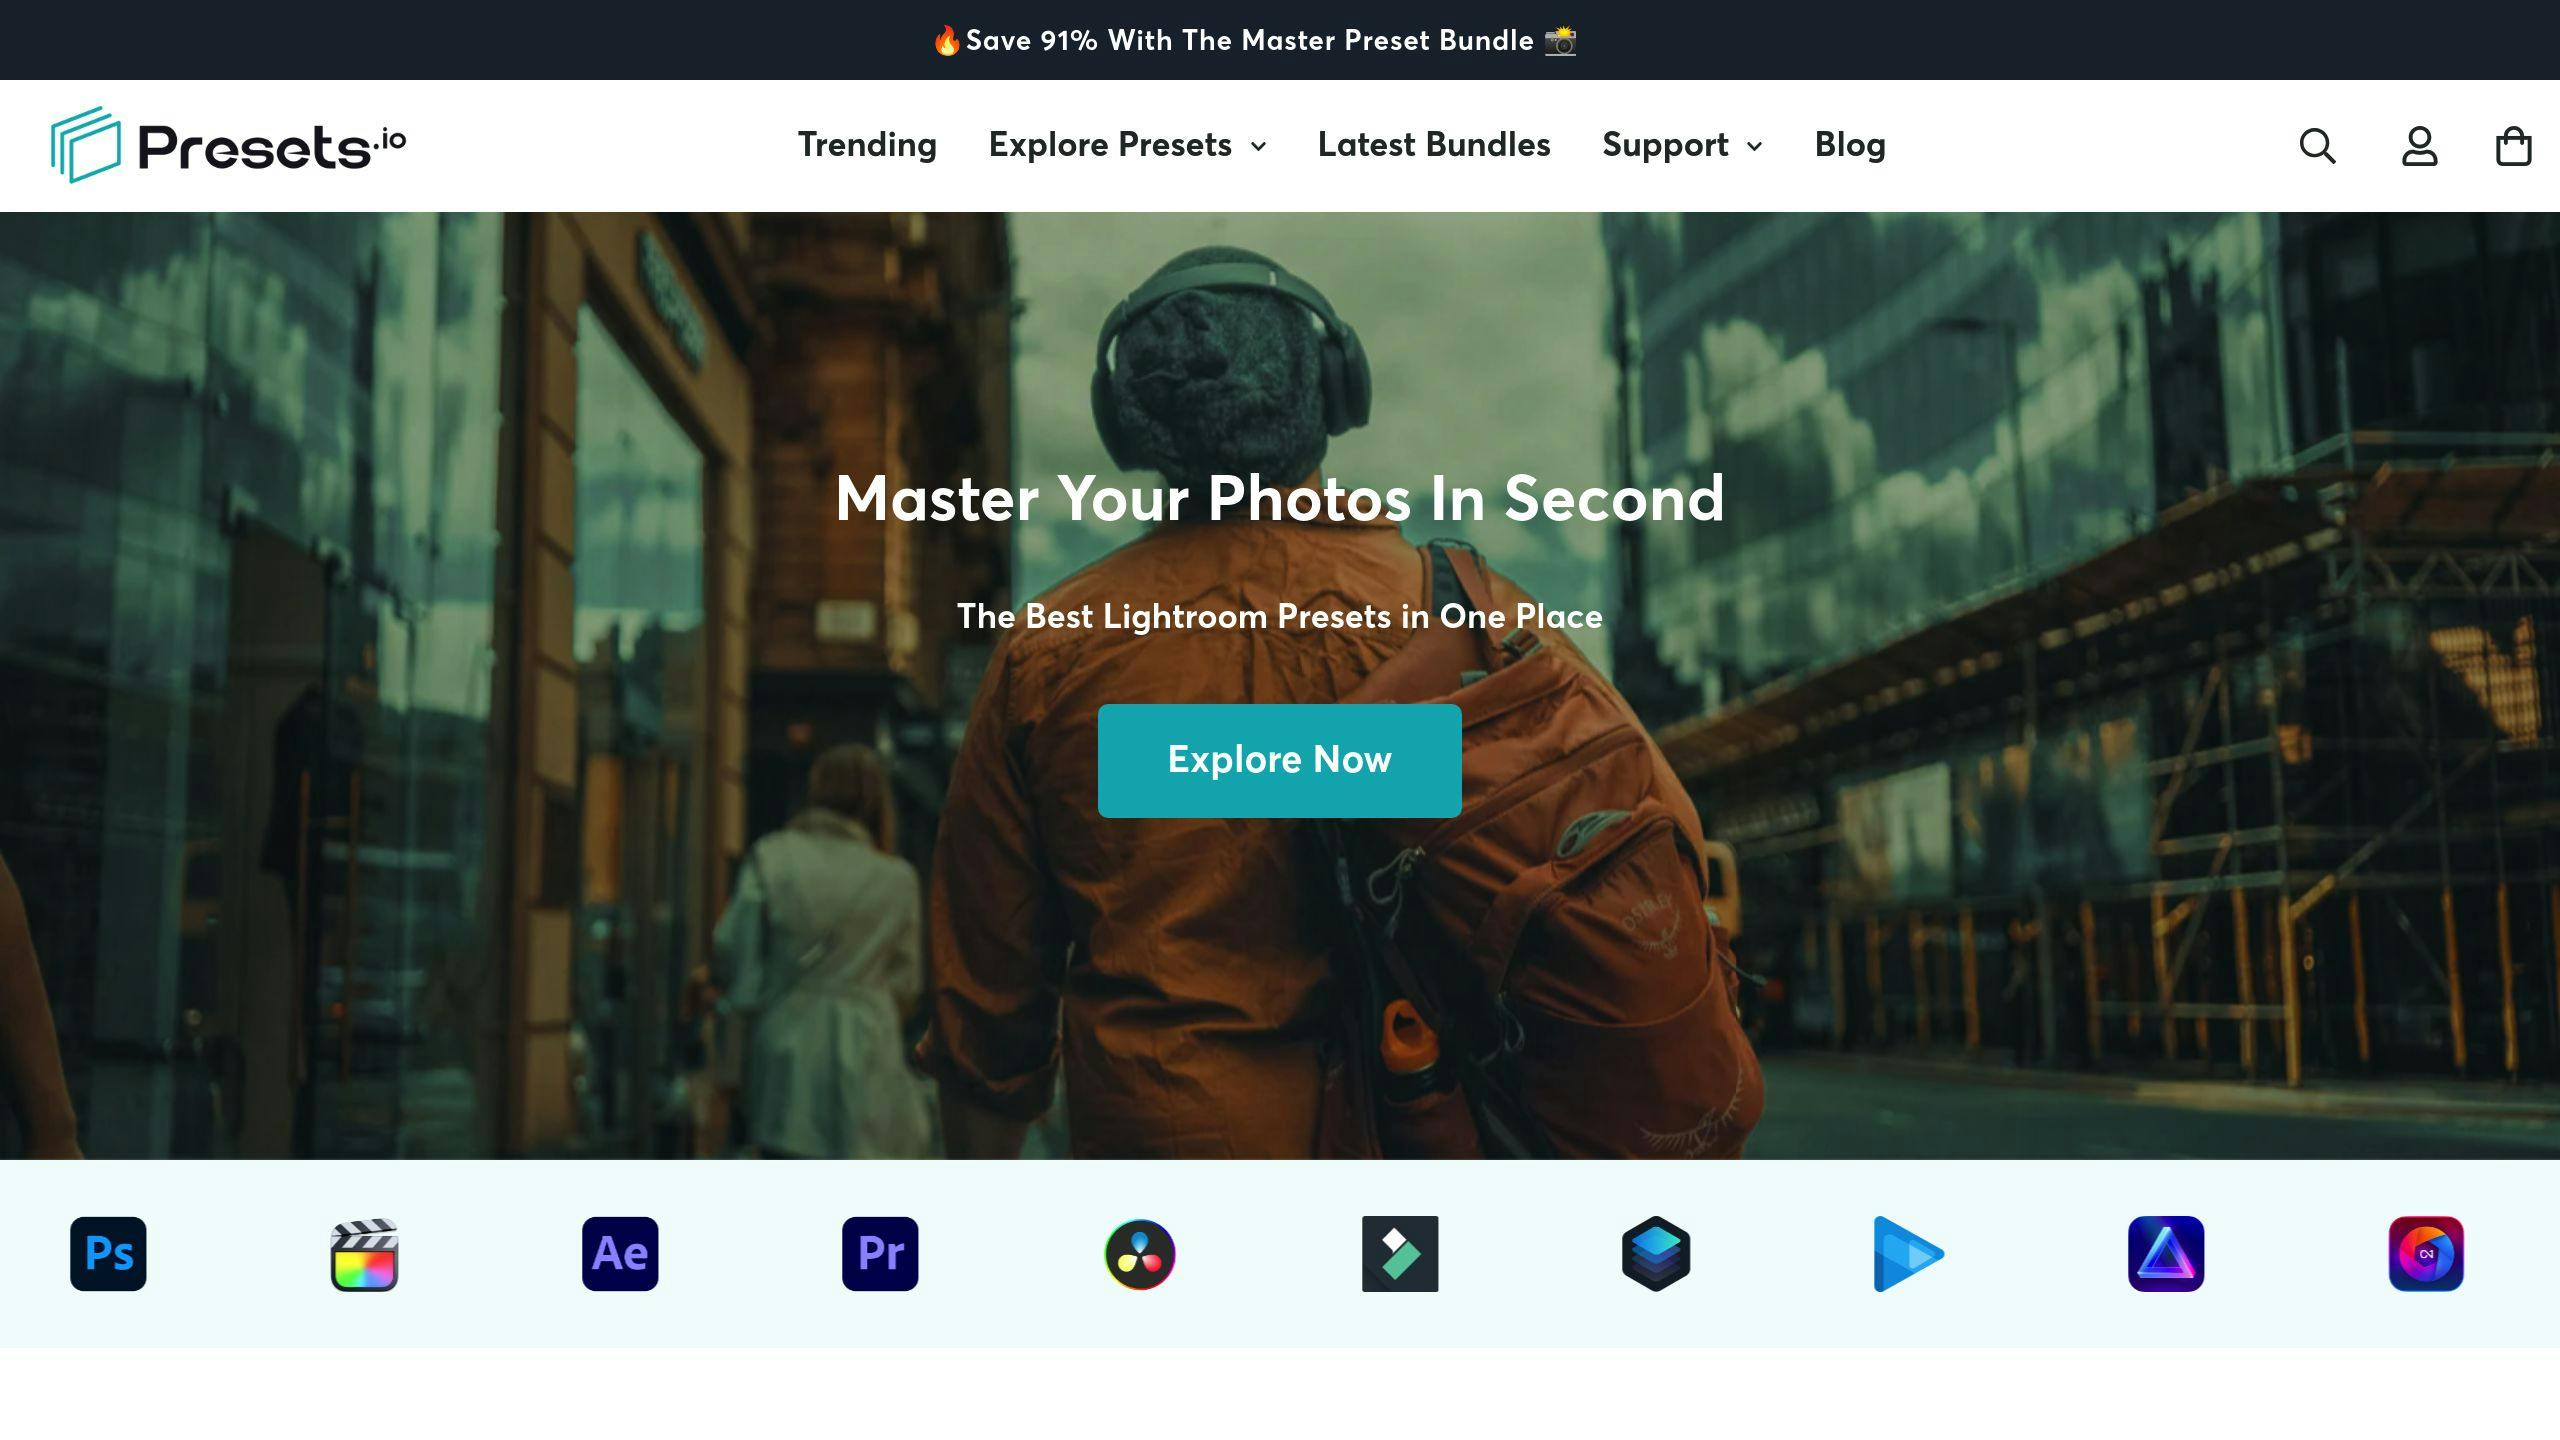
Presets.io shines with its ability to work across various platforms and its frequently updated library of presets. It caters to a wide range of photography styles, offering high-quality options for photographers at any level. The platform supports multiple editing tools like Lightroom, Capture One, and Luminar, making it easy to edit on different devices without hassle.
| Software Compatibility | Key Benefits |
|---|---|
| Adobe Lightroom | High-quality presets tailored for desktop editing |
| Mobile Apps | Easy editing while on the move |
| Capture One | Advanced tools for refined color adjustments |
| Luminar NEO | AI-powered features for enhanced editing |
Features of Presets.io
Presets.io is packed with features that make finding and applying the right preset straightforward and efficient:
- Weekly Updates: Stay current with new presets added every week, keeping pace with the latest photography trends.
- Installation Guides: Step-by-step instructions ensure even beginners can easily integrate presets into their editing tools.
- Diverse Collections: Choose from themed collections like Aesthetic, Cinematic, Vintage, and Mobile Presets, perfect for modern styles, retro vibes, or mobile photography.
The platform focuses on simplifying the editing process while delivering impressive results. With Presets.io, photographers can save time and consistently achieve polished, professional-quality edits across any style.
Conclusion: Using Presets to Improve Your Photos
Key Takeaways
Presets can simplify and enhance your photo editing process, but their impact depends on how well you choose and adjust them. Think about your shooting conditions, color preferences, and the mood you want to convey. The real magic happens when you combine automation with your own creative touch.
Next Steps
Take your editing skills further by exploring different preset combinations. Platforms like Presets.io provide a variety of collections and frequent updates to help you along the way. Here's how you can get started:
- Pick a preset that matches your style.
- Adjust exposure and colors to fit your vision.
- Save your customized presets to maintain consistency.
As you experiment, you'll develop a unique editing style that reflects your artistic voice. Using consistent presets can give your portfolio a polished, cohesive look, while small adjustments ensure each photo retains its individuality. With modern tools and resources at your fingertips, you're ready to streamline your editing process and bring your creative ideas to life.


.png)
