Creating Your Own Preset: A Step-by-Step Guide for Beginners
Want to speed up your photo editing in Lightroom? Creating your own custom presets can save time, ensure consistency, and help you master editing tools. Here's a quick breakdown of what you'll learn:
- What are Lightroom presets? Pre-configured adjustments you can apply with one click.
- Why make your own? Save time, cut costs, and gain more control over your edits.
- How to create one? Start with a clean test photo, adjust settings (like exposure, colors, and tone curves), and save your presets for future use.
- Tips for success: Use RAW photos, keep edits subtle, and organize presets by type.
Complete Beginner's Guide to LIGHTROOM PRESETS ...
Preparing Your Lightroom Workspace
Set up a clean and organized workspace to create consistent pre-sets in Lightroom.
Using the Develop Module
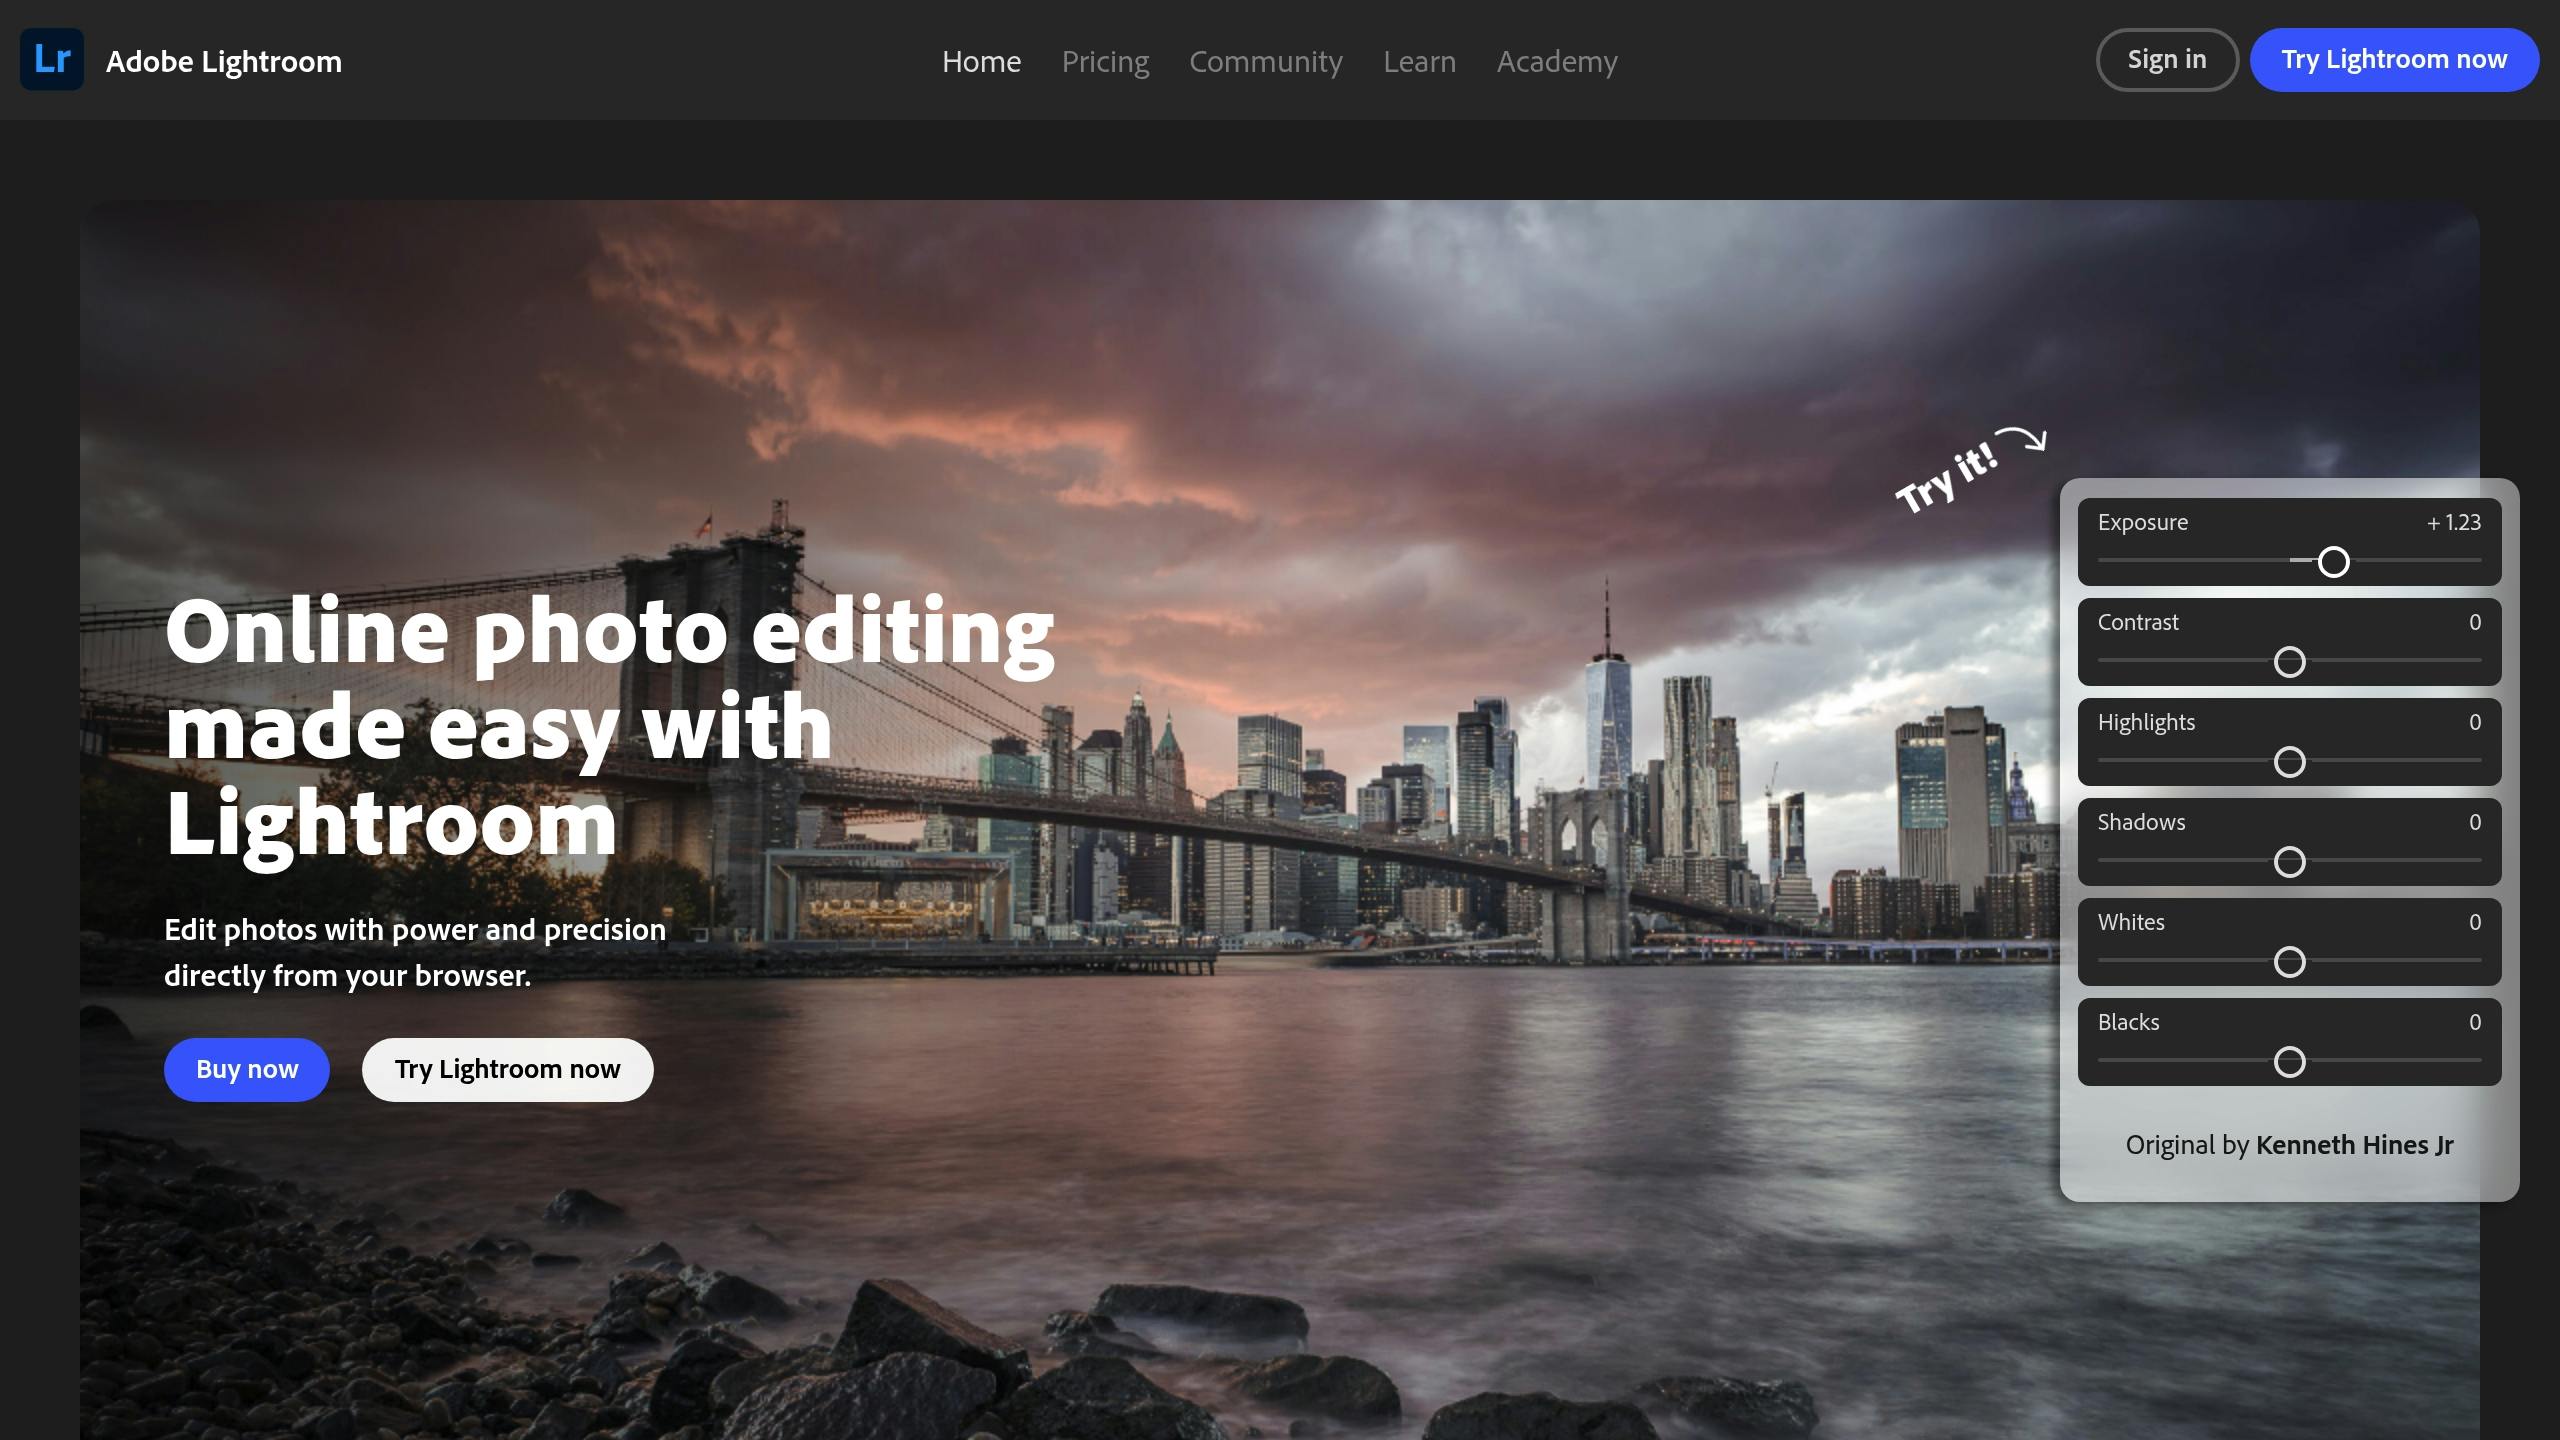
The Develop module is where all the magic happens when creating presets. To get started, click the "Develop" tab located in the top module picker. This section contains all the adjustment tools you’ll need, neatly arranged in panels on the right side of the screen.
The layout is straightforward: basic tools are at the top, while more advanced options are further down. This structure helps guide you through a logical workflow as you work on your pre-sets.
Choosing Your Test Photo
Pick a test photo that matches your usual style and shooting conditions. Professional photographer John Bosley explains:
"When you create presets, you are basically copying changes that you've made to an image and saving them for future use" [2].
Here’s what to look for in an ideal test photo:
- Representative content: Choose an image that reflects the type of work you typically shoot.
- Balanced exposure: Select a photo with a good range of highlights and shadows.
- Diverse elements: Include a variety of colors, textures, and tones.
- Clean edit history: Start with an unedited or minimally processed image.
Clearing Previous Edits
Starting with a completely unedited photo is crucial for creating accurate pre-sets. John Bosley advises:
"If you've already made edits to the image, make sure to hit 'Reset' in the lower-right corner to clear any existing edits" [2].
Here’s how to reset your image:
- Find the Reset button in the bottom-right corner of the Develop module.
- Click it to remove all previous edits.
- Double-check that all sliders are back to their default positions.
Bosley also points out:
"This is why earlier I suggested that you choose 'Check None' when creating your develop presets. If you only choose the settings you want to adjust with a given pre-set, you won't accidentally affect other settings that you may have already adjusted" [2].
Making Your First Preset
Let’s walk through creating your first custom pre-set, building on the workspace you’ve already set up.
Setting Basic Parameters
Start in the Basic panel. Set the White Balance to "As Shot" and keep exposure, contrast, highlights, shadows, whites, and blacks at neutral values (zero). You can also use Auto adjustments if you prefer. These settings provide a solid foundation to ensure consistent results across various images.
Once that’s done, move on to refining the colors.
Adjusting Colors
Fine-tuning colors is key to achieving a consistent look:
- Profile Selection: Pick a profile like Adobe Color, Adobe Landscape, or Adobe Portrait as your starting point.
- HSL Panel: Adjust individual color channels with precision.
- Vibrance vs. Saturation: Boost color intensity subtly without overdoing it.
"Don't include all of the settings when you create presets. Only include the settings that you've adjusted and want to apply to images in the future" [2].
Adding Tone Curves and Effects
Tone curves are a powerful tool for creating custom looks. Focus on these elements:
- RGB Curve: Tweak overall contrast and brightness.
- Individual Channels: Adjust specific color tones for added depth.
- Effects Panel: Add subtle touches like vignettes or grain to give your images character.
Once you’ve added these elements, you’re ready to save your pre-sets.
Saving Your Presets
Follow these steps to save your pre-sets:
- Click the "+" icon in the Presets panel.
- Select only the settings you’ve adjusted and want to include.
- Give your pre-sets a clear, descriptive name.
- Choose a folder to keep your pre-sets organized.
"Create a naming system for your presets that makes sense to you and your workflow. If you don't know what presets do or where it fits into your workflow, chances are you won't use it" [2].
It’s helpful to create pre-sets for specific tasks. As Bosley explains:
"You can use more than one preset on an image. If one pre-set changes image contrast and another adds a graduated filter, they will 'stack' with no problem" [2].
Your first pre-set might not be perfect, and that’s okay. Think of it as a starting point you can refine as your editing style evolves.
Testing Your Presets
Now that your presets are ready, it’s time to see how it performs. The goal is to ensure it works well across a range of photos and scenarios.
Using Your Presets
Try your pre-sets on different types of images to see how it holds up. Here’s how to do it effectively:
Start by making a virtual copy of your test photo. This lets you experiment without altering the original image. In the Develop module, right-click the image and choose "Create Virtual Copy."
- Reset all test images before applying your pre-sets.
- Use the pre-sets on photos with different lighting conditions - daylight, overcast, indoor - and on various subjects like portraits, landscapes, and architecture.
- Test it in multiple shooting environments, such as studio setups, outdoor scenes, or event photography.
"I highly recommend you apply pre-sets to pretty much every photo you take." - Andrew S. Gibson [1]
If you’re confident in the pre-set’s performance, you might even apply it during the import process to save time. As you review the results, take note of any inconsistencies or areas that need adjustment.
Making Improvements
After testing, you might find areas where your pre-set could perform better. Here’s how you can refine it:
- Adjust the profile selection if certain images look better with different profiles.
- Create separate versions for color and black-and-white photography.
- Develop variations tailored to specific genres, like portraits or landscapes.
If the profile saved in your pre-set doesn’t work for a particular image, you can always change it after applying the pre-set. This gives you flexibility while keeping edits consistent.
You can also build a complementary set of pre-sets to cover different needs:
| Preset Type | Purpose | Key Adjustments |
|---|---|---|
| Base Edit | Foundational changes | Lens corrections, exposure, contrast |
| Style | Creative adjustments | Color grading, tone curves |
| Genre-Specific | Subject-specific tweaks | Custom HSL, targeted adjustments |
Keep refining your pre-sets based on how they perform in real-world use. The aim is to create a dependable set of tools that streamline your workflow and enhance your creative process across various scenarios.
Tips for Better Presets
Creating effective pre-sets requires careful attention to detail and a solid grasp of editing basics. These tips can enhance your pre-set creation process and improve your overall editing workflow.
Use RAW Photos
When it comes to creating pre-sets, RAW files are your best friend. Unlike JPEGs, which are limited to 256 colors, RAW images capture between 4,096 and 16,384 colors[3]. This extra data gives you much more control when editing.
"And more information equals more freedom in your post-processing." – Anna Gay[3]
Here’s how to make the most of RAW files:
- Set your camera to shoot in RAW format.
- Focus on capturing well-exposed and composed shots.
- Import your RAW images into Adobe Camera Raw or Lightroom to retain all the data for editing.
Keep Edits Subtle
Pre-sets work best when adjustments are balanced and understated. Small, precise changes to exposure, contrast, and color make your pre-set more versatile, ensuring it works well across different lighting conditions and subjects.
Sort Presets by Type
Organizing your pre-sets makes your workflow smoother. Group them by categories like photography style (landscape, portrait, street), color treatment (color, black & white, muted tones), lighting conditions (indoor, outdoor, golden hour), or creative intent (vintage, modern, film simulation). Use clear, descriptive names - like "Soft Portrait - Indoor" or "Vibrant Landscape - Golden Hour" - to quickly identify their purpose.
Wrapping It Up
Save Time with Custom Presets
Custom pre-sets can make your editing process faster and more efficient. As John Bosley puts it:
"Develop pre-sets are powerful, time-saving tools that are built into Lightroom. They are not meant to be one-click solutions, although at times they might work like that. Instead, they are meant to save you time and give you a starting point for image corrections" [2].
By using custom pre-sets, you can significantly cut down on editing time [2]. Plus, they help you stay organized and ready to explore new creative possibilities.
What to Do Next
Now that you've got the basics, here’s how to keep improving:
Expand Your Preset Collection
- Include pre-sets for basic adjustments like exposure, contrast, and white balance.
- Create pre-sets tailored to different lighting scenarios, such as indoor, outdoor, or golden hour.
- Develop pre-sets for specific photography styles like portraits, landscapes, or street photography.
Fine-Tune Your Workflow
Andrew S. Gibson highlights the importance of refining your process:
"It's a simple process that doesn't take very long and can save you a lot of time when importing or editing your photos" [1].
- Regularly update your pre-sets as your style changes.
- Test them on different images and conditions to ensure versatility.
- Combine multiple pre-sets for more intricate effects.
Building pre-sets is an ongoing process. As you gain experience, you’ll uncover more ways to use Lightroom to match your personal style. These tips will help you continue mastering custom pre-sets and take your editing skills to new heights.


.png)
