
Photography Workflow Tips: How Presets Improve Efficiency
Editing photos takes time, but presets can help you save hours. They simplify the process, maintain quality, and ensure consistency across large projects. Here’s how presets improve your workflow:
- Save time:Apply a preset to hundreds of photos in seconds, perfect for big projects like weddings.
- Consistency: Maintain a uniform style across your collection, making your work recognizable.
- Custom edits: Use presets as a starting point and tweak settings to suit your specific needs.
- Easy learning: Study how presets adjust settings to improve your editing skills.
Whether you’re a beginner or a pro, presets streamline your workflow without sacrificing quality. Keep reading to learn how to choose, create, and organize presets for maximum efficiency.
Time-Saving Benefits of Presets
Quick Editing for Multiple Photos
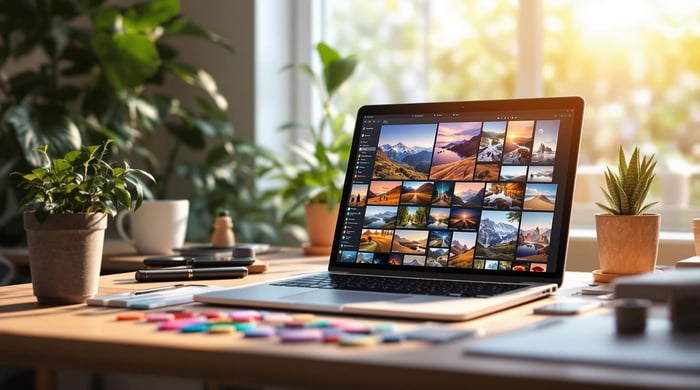
Presets can save a ton of time when working with large photo collections. Once you've narrowed down thousands of images to your final selections, you can apply a single preset to all of them in just a few clicks. Not only does this speed up the editing process, but it also ensures your photos maintain a consistent look.
Creating a Consistent Photo Style
Consistency is critical in professional photography, especially when working on client projects or creating cohesive photo sets. Presets make it easier to achieve a uniform style across your work, whether you're shooting portraits, products, or commercial projects. This helps establish a recognizable style that clients and audiences will associate with your brand.
Starting Points for Custom Edits
Presets aren't just about quick fixes - they're also great starting points for more detailed edits. After applying a preset, you can adjust elements like exposure or white balance to suit your specific needs [1]. This method offers several key benefits:
| Benefit | Description |
|---|---|
| Time Efficiency | Skip the hassle of making small adjustments manually by starting with a preset. |
| Learning Tool | Study how presets adjust settings to sharpen your editing skills. |
| Workflow Flexibility | Combine preset foundations with your own tweaks for a personalized result. |
To get the most out of presets as a starting point:
- Opt for subtle presets when you're still mastering editing techniques.
- Take a closer look at the adjustments each preset makes to understand its impact.
- Use presets to quickly experiment with different styles and get client feedback.
Balancing speed with customization is the trick to an efficient and polished workflow.
Best Practices for Preset Usage
Selecting Presets That Match Your Work
Pick presets that complement your style without overshadowing your images. Photographer Andy Day puts it perfectly:
"If people see the edit before they see the photo, you've gone too far." [1]
When choosing presets, keep these factors in mind:
| Style Element | What to Look For |
|---|---|
| Color Treatment | Clean, vibrant colors or muted tones |
| Contrast Level | Subtle tweaks or bold adjustments |
| Grain Amount | Fine, film-like texture or sharp clarity |
| Overall Impact | A natural look or an artistic flair |
Creating and Storing Custom Presets
If pre-made presets don't fully meet your needs, crafting your own can help you develop a consistent, personal style. Here's how to create custom presets:
- Pick a base image: Use a photo that represents your usual lighting and subjects.
- Tweak essential settings:
- Adjust exposure and contrast
- Fine-tune color temperature and tint
- Modify the tone curve
- Experiment with color grading
- Save and test: Save your preset and apply it to different images to ensure it delivers consistent results.
Organizing Presets into Categories
Using Presets on Mobile Photography Apps
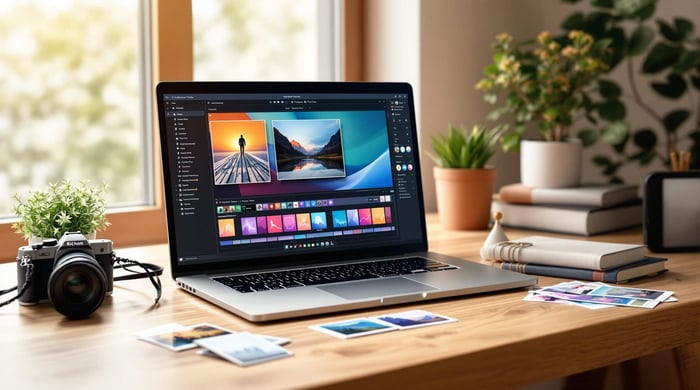
Modern photographers often rely on mobile apps like Lightroom Mobile or VSCO to edit photos on the go. These platforms support custom preset imports, making it easy to apply your signature photography style even when you're not at your desktop. For content creators and travel photographers, mobile presets offer speed, portability, and brand consistency in your editing workflow.
To make your editing process smoother, group your presets into clear categories:
| Category Type | Examples |
|---|---|
| Project Type | Weddings, Portraits, Landscapes |
| Light Conditions | Indoor, Outdoor, Studio |
| Style | Natural, Film, Black & White |
Keep your categories updated, prioritize frequently used presets, and archive the ones you no longer need. Use descriptive names to quickly identify each preset's purpose.

Adding Presets to Your Workflow
Applying Presets During Import
Speed up your editing process by using presets during import. Travel photographer Viktor Elizarov highlights this approach:
"The ImportPresets is one of the functionalities that help us automate digital asset management in Lightroom. You create presets once and you will be able to reuse them for years, which saves time with every import." [2]
Here’s how to set it up:
- Open the import dialog box.
- Find the "Apply During Import" section.
- Choose your desired preset.
- Click "Save the Current Settings as a New Preset..." at the bottom.
Pro tip: Pair preset application with preview rendering to save even more time. [3]
After handling imports, move on to export presets for consistent output.
Export Preset Templates
Once your import process is optimized, take the same approach with export settings. To create an export preset:
- Adjust your export settings in the Export dialog box.
- Click "Add" in the Preset panel.
- Name your preset in the "New Preset" dialog box and click "Create." [4]
These export presets ensure that every project meets your exact specifications, saving time and maintaining quality.
12 Ways to use Presets in Lightroom Classic to Automate Your ...
Conclusion
Using presets in your photography workflow can save time and improve your editing process without sacrificing quality. They make handling large photo collections more manageable while helping you maintain creative control.
Key Advantages
Time-Saving: Applying a preset to hundreds of photos at once ensures a consistent look and speeds up the editing process. For example, processing 300 images with a single preset streamlines your workflow [1].
Improved Skills: Presets can teach you how certain edits work. By studying their effects, you can better understand your editing tools and sharpen your skills.
Better Workflow: As Andy Day highlights, presets strike a balance between speed and quality [1]. They are especially useful for managing large projects or creating a cohesive style across different shoots.