.png)
Get Perfect Skin Tones with These Lightroom Presets
Achieving natural skin tones in portrait photography can be challenging, but Lightroom presets make it easier. They save time, ensure consistency, and help you create polished, professional results. This article covers:
- Common Challenges: Harsh lighting, varying skin types, inconsistent edits, and time-consuming adjustments.
- Top Presets: Mastin Labs, Presets.io, Pretty Presets, DVLOP, and Tribe Archipelago - all designed to handle different lighting and skin tone scenarios.
- Lightroom Tools: Learn to use White Balance, HSL, Tone Curve, and Adjustment Brush for manual refinements.
Quick Comparison
| Preset | Best For | Key Features |
|---|---|---|
| Mastin Labs | Warm, natural tones | Flexible adjustments for lighting conditions |
| Presets.io | Diverse skin tones | Lighting-specific and skin-type optimization |
| Pretty Presets | Mixed lighting and group portraits | Local controls and lighting adaptation |
| DVLOP Portrait Presets | Precision and flexibility | Advanced color calibration and local tweaks |
| Tribe Archipelago | Artistic color grading | Fine control over tonal balance and textures |
Start with a preset that matches your lighting, then fine-tune using Lightroom’s tools for perfect results. Let’s dive into the details!
3 Tips for Luminous Skin Tones: Natural Light Portraits Lightroom Tutorial
Basic Lightroom Tools for Skin Tone Edits
Before jumping into presets, it's important to get familiar with Lightroom's core tools for skin tone adjustments. These tools allow for precise control over color, exposure, and texture - whether you’re working manually or enhancing with presets.
The White Balance tool, featuring Temperature and Tint sliders, helps set a neutral starting point. Warmer tones can complement skin nicely, but be cautious not to push too far into orange.
The HSL Panel (Hue, Saturation, Luminance) is key for fine-tuning skin tones. Use the Hue slider to subtly adjust orange or red tones, lower Saturation for a more natural appearance, and increase Luminance to brighten and soften the skin.
For targeted adjustments, the Adjustment Brush is your go-to. Slightly reduce Clarity and Texture for smoother skin while keeping Sharpness low. The Tone Curve Panel allows for even more control by tweaking individual color channels. For example, lowering the blue channel can help correct any unwanted blue hues.
"Achieving natural-looking skin tones requires careful attention to the RGB values in your image. Using the Targeted Adjustment Tool in the HSL Panel allows you to click and drag directly on the skin to adjust brightness or saturation, making it easier to achieve professional results." [2]
Once you’ve mastered these tools, you’ll be able to refine presets to suit any lighting situation or skin tone. Presets then become a powerful shortcut for creating polished, portrait-ready results.
1. Mastin Labs Presets
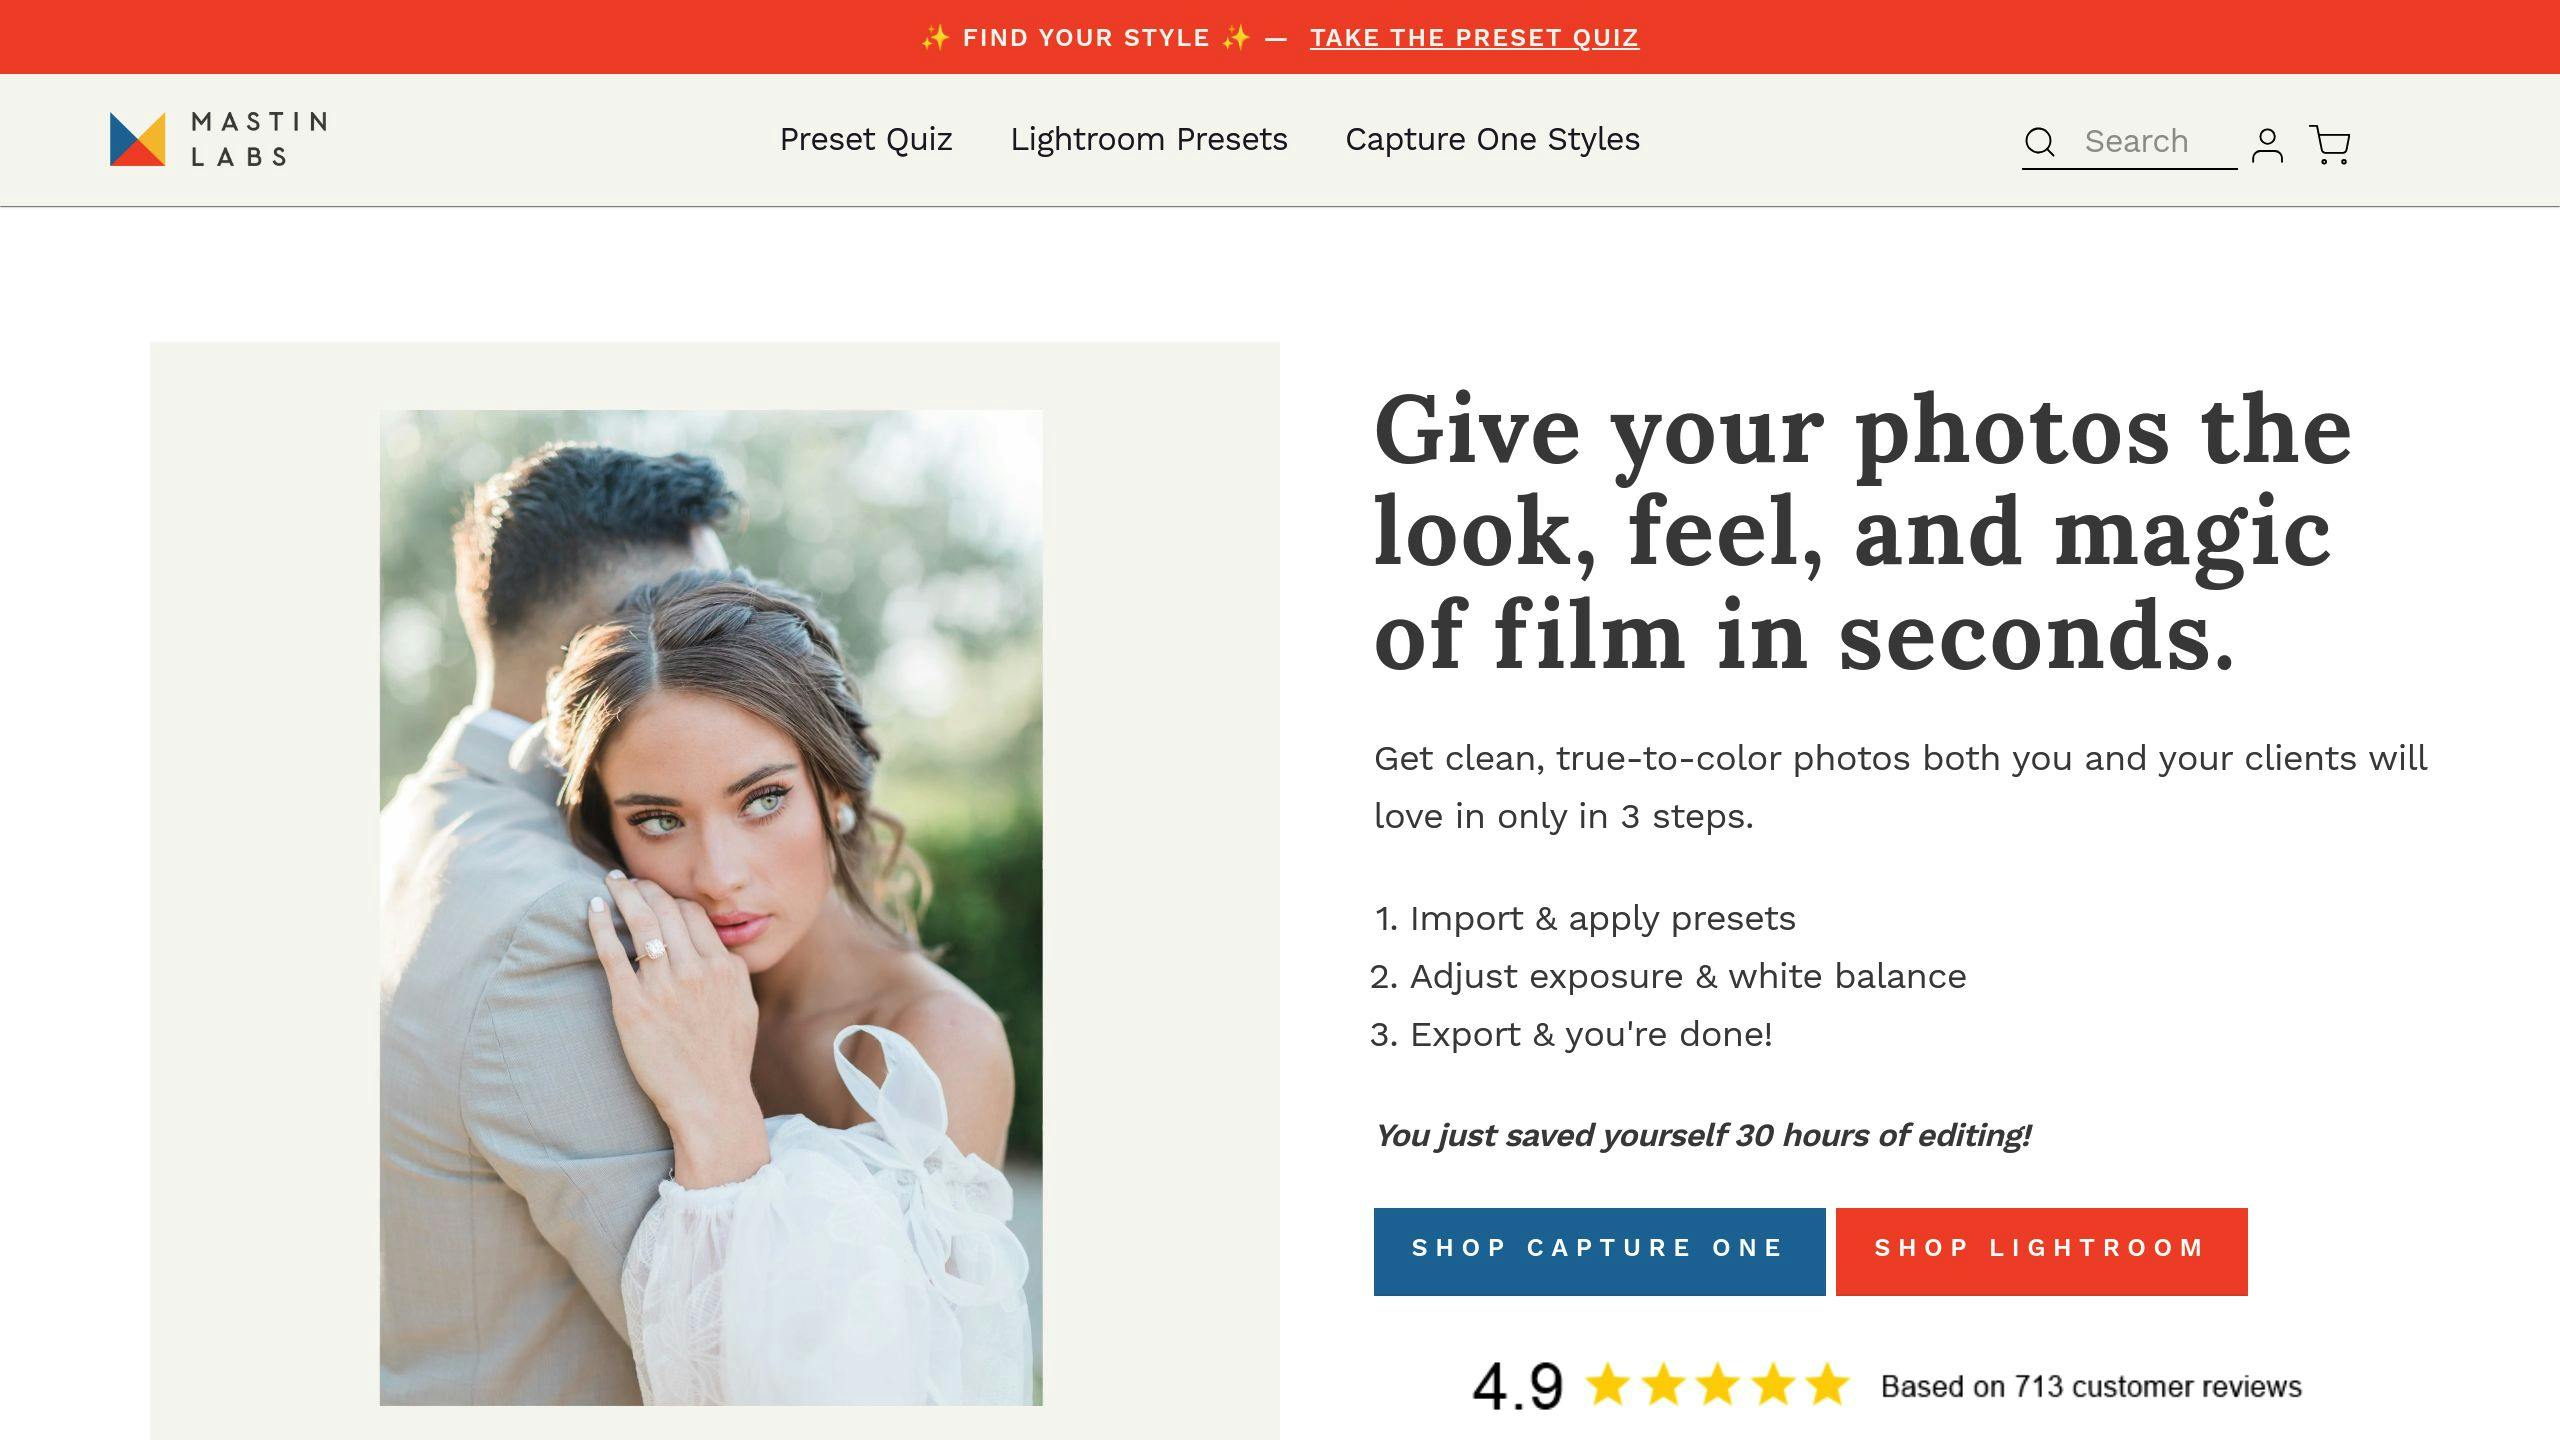
Mastin Labs presets are a go-to choice for portrait photographers who want to achieve natural-looking skin tones without hassle. They are a solid option for both seasoned professionals and newcomers looking for reliable editing tools.
These presets make editing easier by delivering accurate skin tones with minimal adjustments. Whether you're working with natural or artificial lighting, they help keep your photos consistent and cut down on editing time. The presets are built to provide warm, even results across different lighting conditions.
Here’s a quick guide to using Mastin Labs presets in common lighting scenarios:
| Lighting Condition | Suggested Adjustment | Outcome |
|---|---|---|
| Daylight | Adjust White Balance | Produces warm tones |
| Indoor/Mixed Light | Tweak Shadows/Exposure | Creates balanced tones |
One of the key benefits of these presets is their flexibility. After applying a preset, you can fine-tune the Temperature slider to add warmth or lower the Saturation to tone down overly vivid colors. This makes them versatile enough for a variety of portrait styles, from solo shots to group photos.
Pairing these presets with Lightroom's built-in tools can give your portraits a polished, professional finish. While the presets are beginner-friendly, getting the most out of them requires some practice and a basic understanding of color adjustments.
Although Mastin Labs presets are great for consistent results, you might also explore options like Presets.io for different styles and approaches to editing.
2. Presets.io Collections
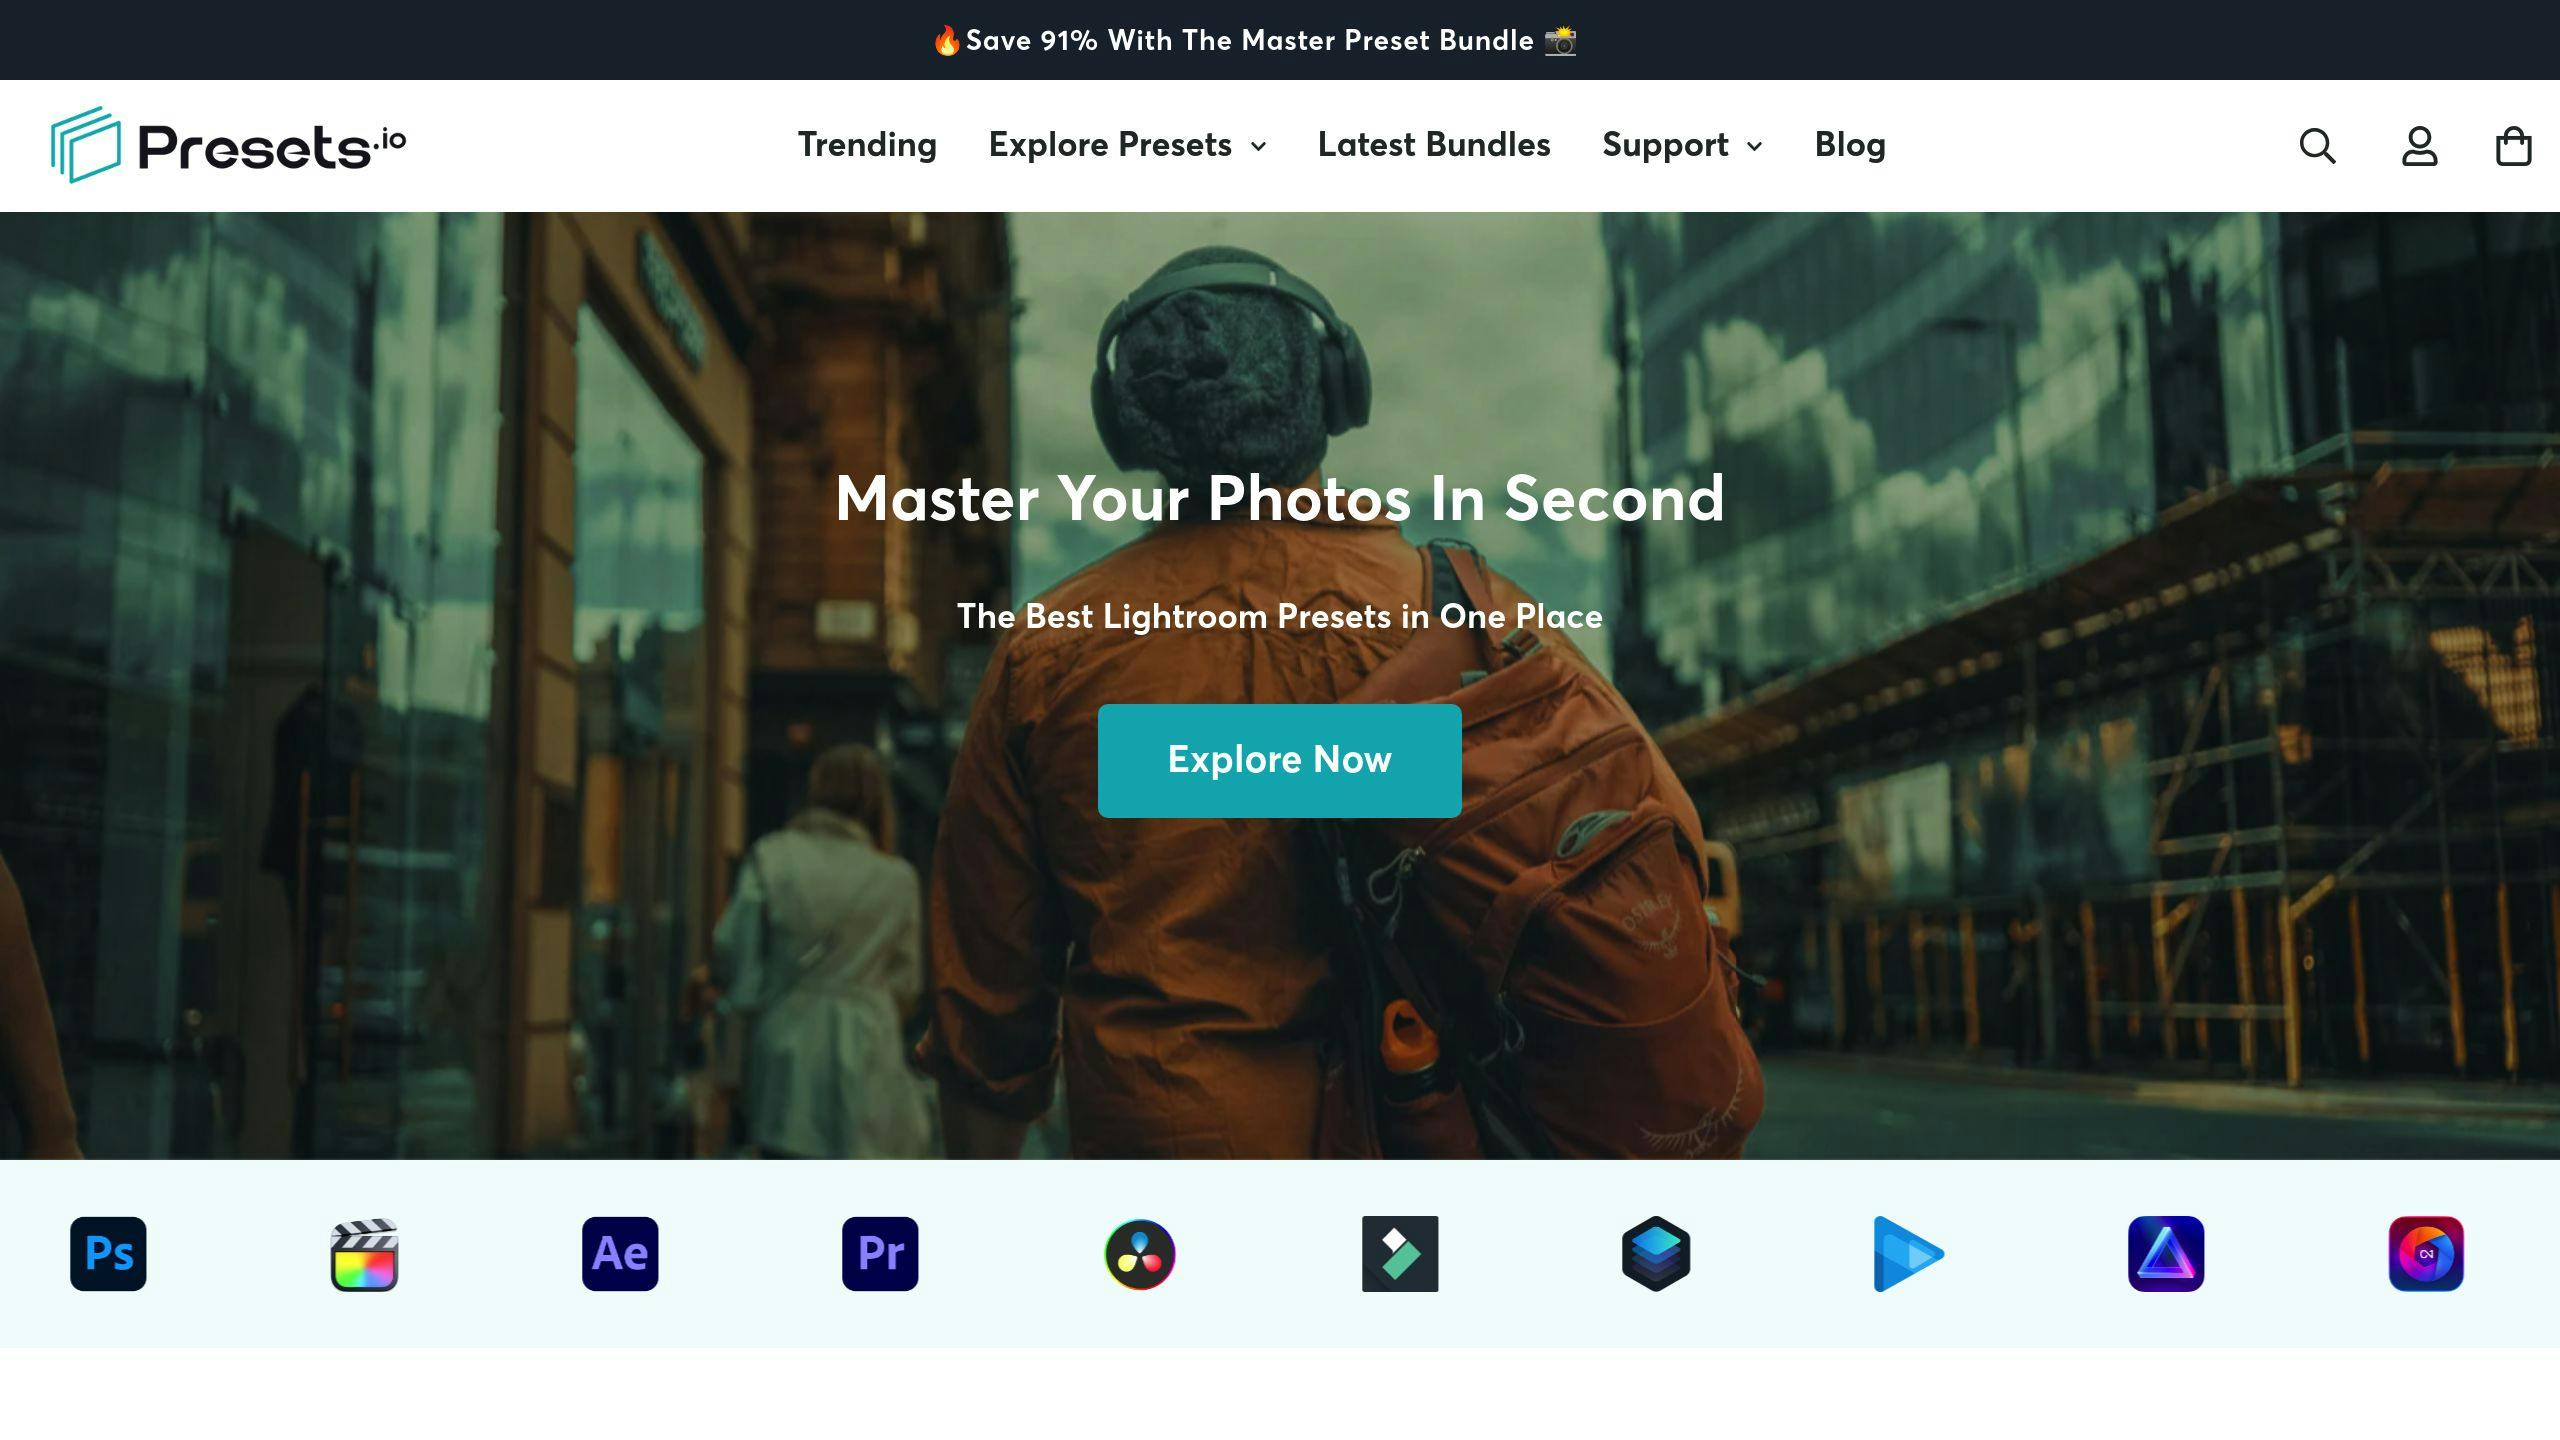
Presets.io collections are designed specifically for improving skin tones in portrait photography. These presets tackle common challenges like working with diverse skin tones and various lighting conditions, making them a go-to tool for portrait photographers.
Here’s a quick breakdown of their key features:
| Feature | Benefit | Best Use Case |
|---|---|---|
| Lighting-Specific Presets | Maintain consistency in different lighting | Indoor, outdoor, and studio shoots |
| Skin Type Optimization | Achieve natural results across all skin tones | Portraits with diverse subjects |
| Advanced Color Control | Fine-tune skin tones with precision | Adjusting specific colors in detail |
The focus is on keeping skin tones accurate and natural while giving photographers room to make creative adjustments in other parts of the image. These presets are most effective when applied to well-prepared photos, requiring minimal extra edits. For areas that need extra attention, use the Adjustment Brush tool to refine specific skin tones.
Start by selecting a preset that matches your lighting conditions. Then, tweak the Temperature and Tint sliders for the perfect look. This streamlined approach is perfect for handling large volumes of portraits efficiently, without losing quality.
Presets.io collections also include tools for handling challenging scenarios like mixed lighting or extreme exposures. Whether it’s a wedding or an event with unpredictable lighting, these presets help recover highlights and shadows while keeping skin tones looking natural. They ensure consistent results across multiple images, making them invaluable for professionals.
Though Presets.io excels in precision, other options like Pretty Presets offer their own distinct methods for enhancing skin tones, giving photographers a variety of tools to choose from.
3. Pretty Presets

Pretty Presets are a popular choice for photographers looking to achieve natural-looking skin tones in their portraits. Designed for Adobe Lightroom Classic CC 7.1 and newer, these presets easily fit into most modern editing workflows.
The presets focus on key areas of adjustment, using Lightroom's built-in tools to simplify the process of correcting skin tones. They strike a balance between precision and efficiency:
| Adjustment Area | Purpose | Key Features |
|---|---|---|
| Color Balance | Match Skin Tones | Tracks RGB values for accurate results |
| Lighting Adaptation | Ensure Consistency | Tailored for various lighting conditions |
| Local Controls | Fine-Tune Specific Areas | Enables targeted adjustments |
One of the standout aspects of Pretty Presets is their ability to handle different lighting environments, from natural outdoor settings to more intricate studio setups. This makes them especially useful for photographers working with a variety of clients and locations.
To get the best results, start with a base preset that aligns with your lighting situation. Then, make small tweaks using tools like temperature, tint, and local adjustments. This method ensures corrections look natural while addressing any unwanted color casts.
These presets are particularly helpful for managing mixed lighting or group portraits with varying skin tones. The combination of a systematic editing approach and Lightroom's local tools ensures you can fine-tune specific areas while keeping the overall image consistent.
While Pretty Presets offer a reliable, structured editing process, DVLOP Portrait Presets provide an alternative for those seeking more creative flexibility in enhancing skin tones.
4. DVLOP Portrait Presets

DVLOP Portrait Presets have carved a niche in the Lightroom preset world thanks to their advanced color adjustment capabilities. Designed for Adobe Lightroom Classic CC and Adobe Camera Raw, they fit seamlessly into professional photography workflows.
These presets focus on three main areas of adjustment:
| Adjustment Area | Function | Purpose |
|---|---|---|
| Base Tone Control | Adjusts exposure and contrast | Sets the stage for natural-looking skin tones |
| Color Calibration | Refines RGB color channels | Delivers accurate and lifelike colors |
| Local Adjustments | Targets specific areas | Makes isolated tweaks without altering the entire image |
One standout feature is their ability to handle mixed lighting scenarios. Built-in temperature and tint controls help maintain consistent skin tones, making them useful in both natural and studio lighting setups. Whether you're dealing with harsh sunlight or controlled indoor lighting, these presets ensure professional-grade results.
Key Features
- Advanced white balance and temperature adjustments
- HSL sliders optimized for skin tones
- Pre-designed tone curves for different lighting conditions
- Tools for recovering details in shadows and highlights
These presets allow for precise tweaks to warmth, brightness, and contrast, making them suitable for a variety of skin tones. Start with a well-exposed image, apply the preset as your base, and then fine-tune using Lightroom’s native tools for the best outcome.
DVLOP prioritizes maintaining natural textures and accurate colors, making it a go-to choice for photographers who value efficiency without sacrificing quality. While DVLOP leans toward precision and flexibility, other brands like Tribe Archipelago focus on artistic and mood-driven color grading, offering photographers diverse creative options.
5. Tribe Archipelago Presets

Tribe Archipelago presets are designed to give photographers greater control over color grading, especially when it comes to maintaining natural-looking skin tones. They provide tools to adjust color temperature, tonal balance, and specific hues, helping you achieve professional results in a variety of lighting conditions.
These presets are divided into three key adjustment categories:
| Category | Purpose | Benefits |
|---|---|---|
| Color Temperature | Adjusts overall warmth | Ensures consistent skin tones under different lights |
| Tonal Balance | Manages highlights and shadows | Preserves detail while balancing contrast |
| Fine Color Control | Tweaks specific colors | Allows targeted adjustments for various skin tones |
Whether you're working with natural or studio lighting, these presets deliver reliable results. They are especially effective at keeping skin tones accurate while retaining natural textures - perfect for creating polished, professional portraits.
Key Features
- Smart exposure adjustments to avoid over-editing
- Natural texture retention with selective smoothing
- Precise color tools for lifelike skin tones
To get started, select a base preset that matches your lighting setup. From there, refine specific areas using the Adjustment Brush tool. The color adjustment panel lets you make detailed tweaks to fit different skin tones and lighting environments.
Handling Challenging Lighting Scenarios
Tribe Archipelago presets shine in tricky lighting situations, such as weddings or events with mixed light sources. Start by ensuring proper in-camera exposure and making slight white balance adjustments before applying the presets. This method helps preserve skin tone accuracy and minimizes the need for heavy corrections.
For photographers who want a mix of artistic color grading and realistic skin tones, these presets are a fantastic choice. Pairing them with Lightroom's tools can take your edits to an even higher level of precision.
How to Adjust Presets for Better Results
Presets can be a great starting point for editing, but fine-tuning is key to achieving personalized, polished results. Learning how to tweak presets ensures skin tones look natural in any situation.
Key Adjustments
Begin by adjusting White Balance before diving into more detailed corrections. Small tweaks to the Temperature setting help maintain consistent skin tones under different lighting. The HSL Panel is another powerful tool for refining colors, complementing the basic preset adjustments.
| Adjustment Tool | Purpose | Tips for Use |
|---|---|---|
| White Balance | Adjust overall color temperature | Make small, gradual changes |
| HSL Panel | Refine specific colors | Focus on skin tone areas |
| Tone Curve | Fine-tune color channels | Balance colors individually |
Advanced Techniques
Use the Develop Module to check RGB values by hovering over skin areas. The Tone Curve can help fix color imbalances, like reducing excess blue. For precise adjustments, the targeted adjustment tool lets you click directly on skin areas to lighten or darken while keeping the colors balanced.
Making the Most of Presets
Presets work best as a starting point. Combine them with manual tweaks like HSL and Tone Curve adjustments for natural, professional-looking results [1]. This method blends speed with creative control, ensuring edits stay consistent and high-quality [2].
For trickier edits:
- Apply the preset first.
- Adjust White Balance as needed.
- Use the HSL Panel to refine colors.
- Adjust the Tone Curve for precision.
- Double-check the overall skin tone balance.
Final Thoughts on Using Presets for Skin Tones
Understanding how to tweak presets is just the beginning - what really matters is how they fit into your workflow and creative process. Presets are best seen as starting points rather than one-click fixes. When paired with tools like the HSL Panel and Tone Curve, they allow photographers to create a consistent approach that adapts to various lighting conditions and skin tones [1].
Collections like Mastin Labs and Pretty Presets show how presets can combine efficiency with room for customization. These tools provide a solid base for achieving warm, natural skin tones, but the best results come from understanding the basics of color and lighting [2].
Achieving perfect skin tones is about more than just presets - it’s about having both the right tools and the ability to recognize natural color under different lighting. This mix of technical skill and artistic insight helps photographers produce timeless, professional portraits while staying true to their creative style.